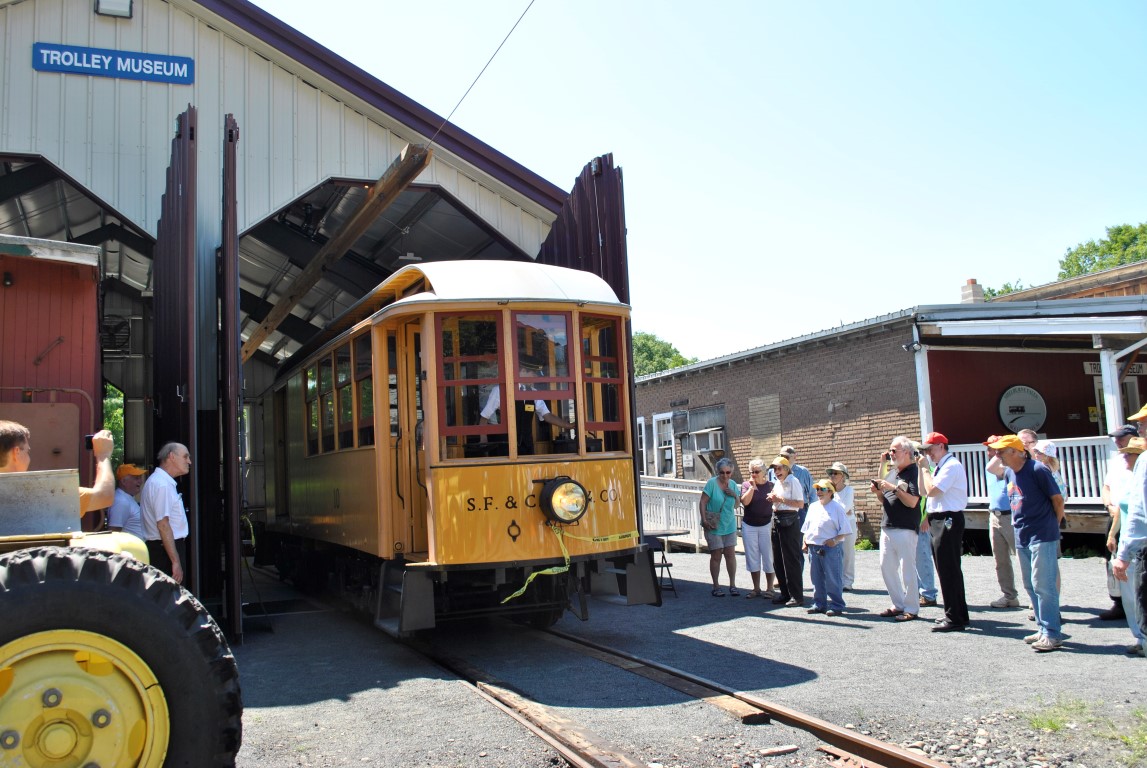
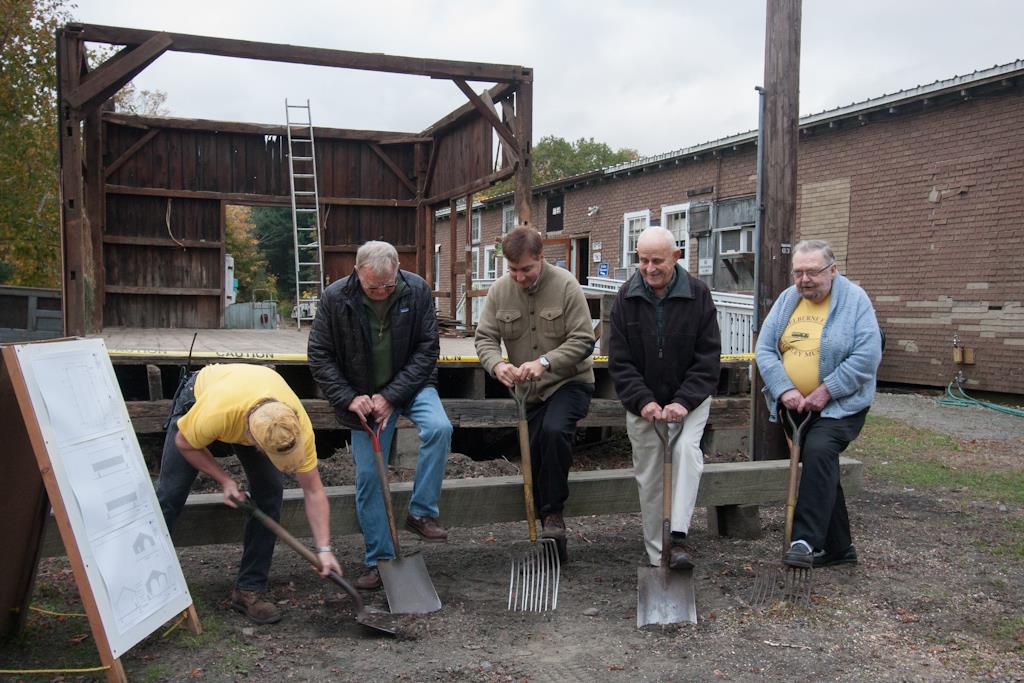
No. 10 breaks the ribbon at the New Carbarn Grand opening July 23, 2016
Shelburne Falls Trolley Museum
In 2007 David Bartlett, a founding director of SFTM, proposed that the museum's resources should be directed toward building a fire-resistant Carbarn for storing trolley No. 10. The reasoning was that it was unwise to store a wooden museum piece in a wooden shed attached to another wooden building. Although these buildings are protected by a fire detection system, the board agreed with David's concerns, especially in light of recent fires at other museums that had caused loss of important historic railroad rolling stock.
The next few years were spent in designing the building, determining the best site for it on museum property in the Buckland Freight Yard in Shelburne Falls, and searching for funding sources. It was decided that the building should have room for a second stall to allow restoration of other rolling stock. The building should also be sited and designed to allow it to be extended to allow storage of more cars as our collection grows (click here to jump to the Car Barn Extension page). These considerations led to the decision to build a 40'x60' building on the location of an old grain building next to the Visitors Center building. This location would utilize the existing House Track for access, but would require additional trackage, overhead wires and turnouts to serve the two stalls.
A study determined that the total project, including the new trackage and overhead wire to serve the new Carbarn, would cost over $100,000, including much volunteer labor for trackwork and building construction. Fundraising efforts began with a request for donations from our members, which resulted in a very satisfactory response. We also approached foundations and other granting organizations, and were awarded grants from the Amherst Railway Society, the Thomas Dailey Foundation ($2500), the 20th Century Electric Railway Foundation ($10,000 matching grant), the Massachusetts Cultural Facilities Fund ($27,500), the Asahel P.H. Bloomer/Caroline D. Bloomer Charitable Trust (two grants $5000) and the Community Foundation of Western Massachusetts ($3000). Amherst Railway Society supported us with their 2013 Heritage grant for trackwork ($3000), their 2014 Founders Award for the building itself ($10,000) and their 2015 Heritage grant for overhead trolley wire ($3500). Amherst Railway Society has awarded us grants for many other projects over the years as well.
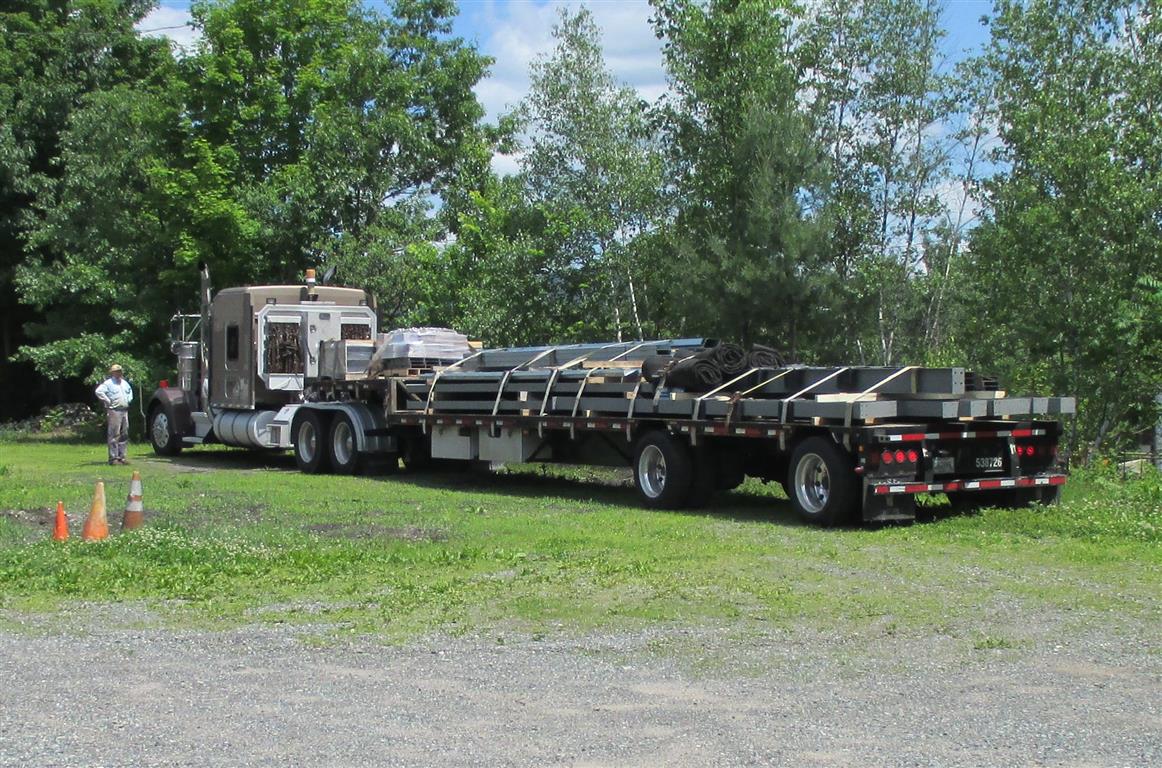
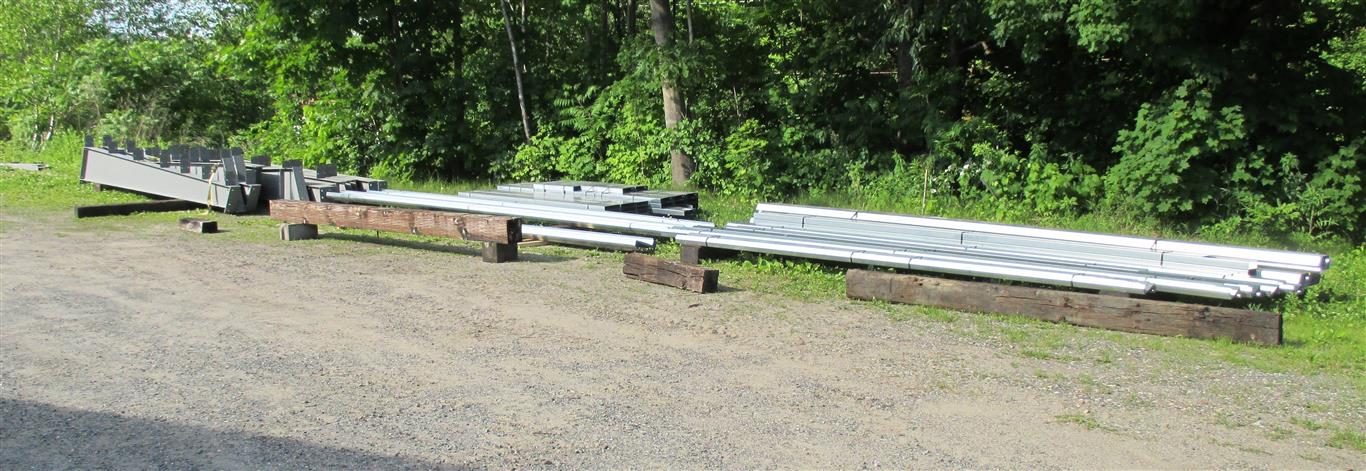
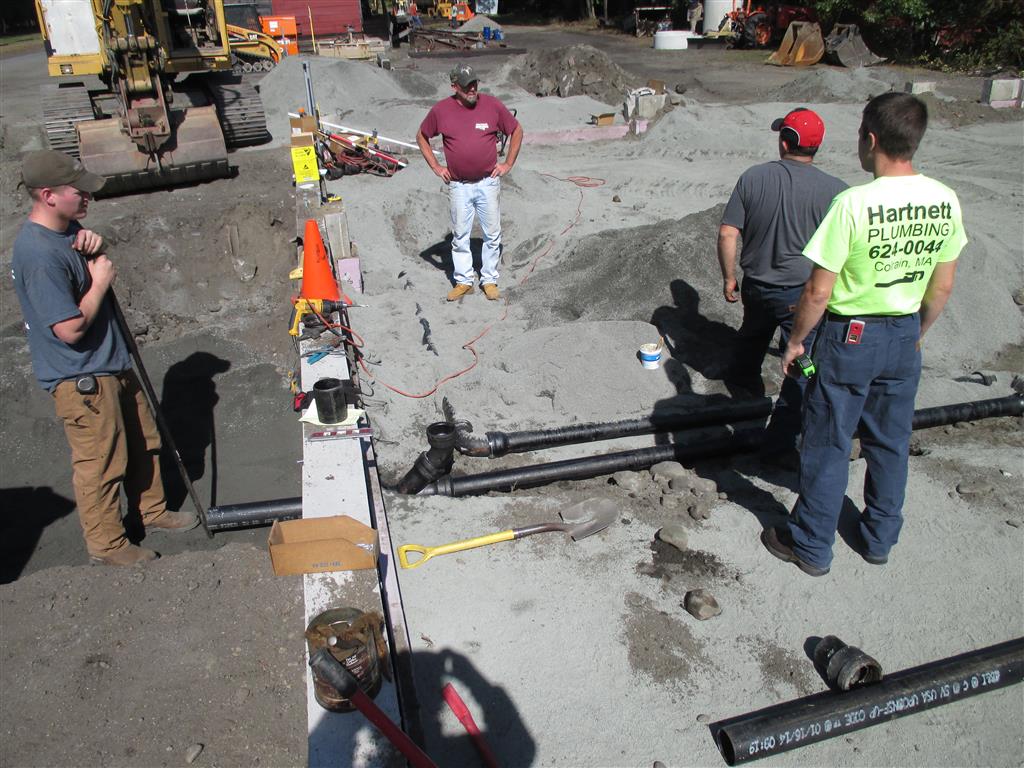
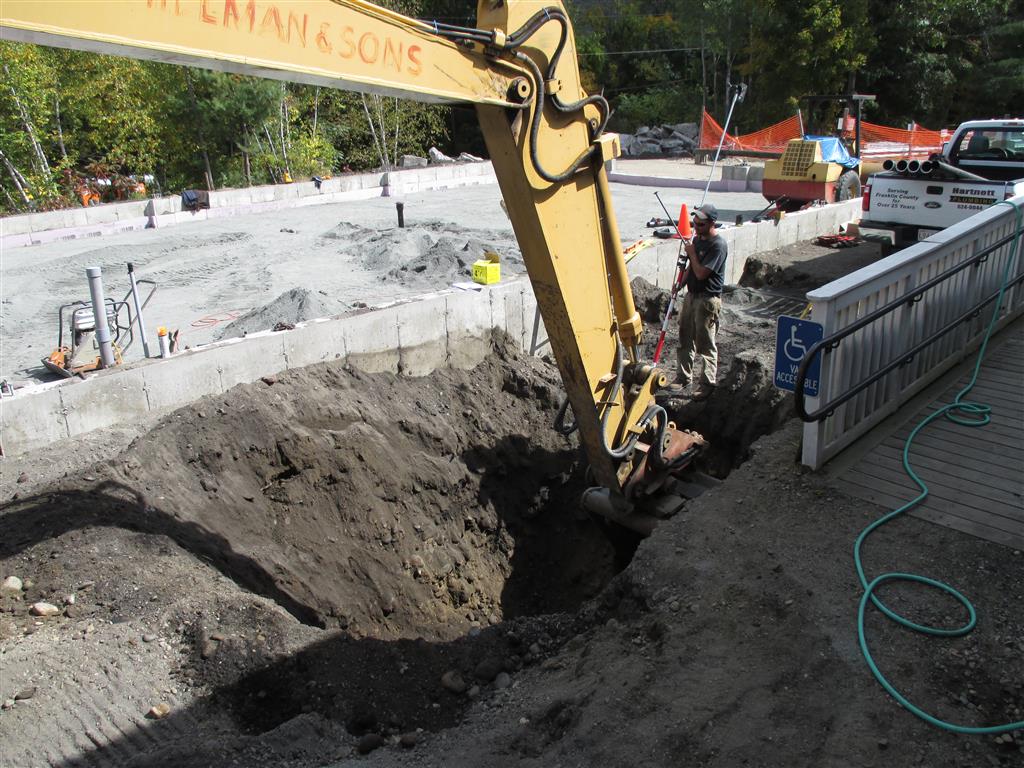
Additional support came in the form of in-kind contributions from local companies. Austin Design of Colrain did much of the architectural and code-compliance work pro-bono, Vreeland Associates provided foundation structural engineering services pro-bono, and W.R. Hillman Sons Excavating and STI Services discounted their services. A donation of the track materials needed for the approach tracks, including rails, turnouts and ties, saved us about $50,000.
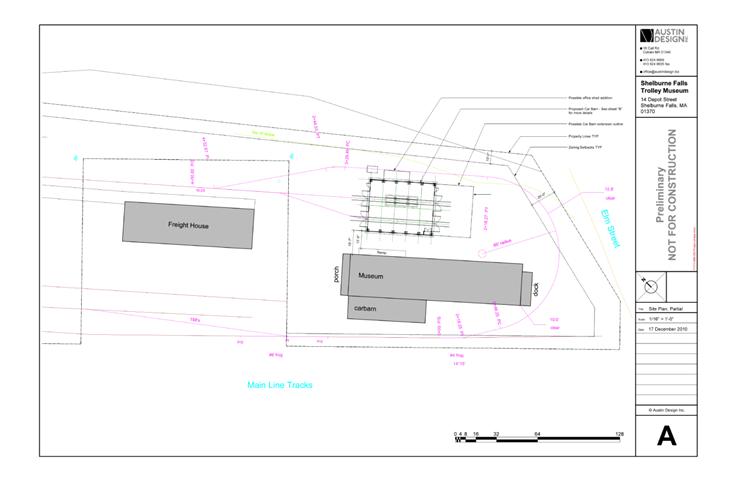
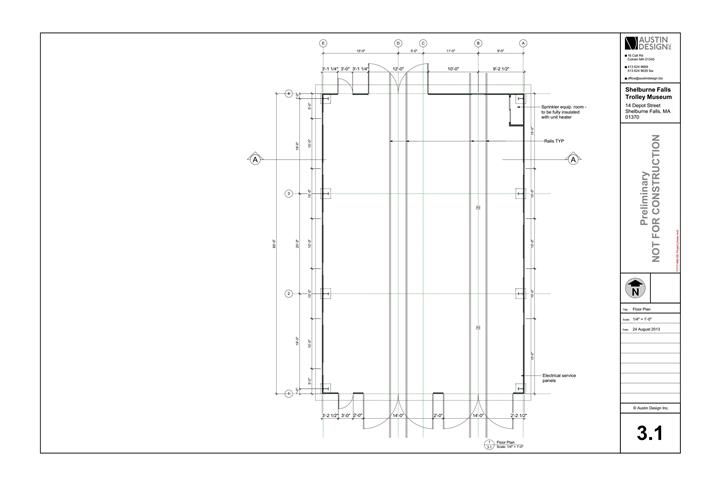
Here is our Building Plan. Note that the architect used compass bearings for his views,
whereas we use railroad timetable directions, so what we would consider to be the west elevation is called the north elevation on the Building Plan.
See the Site Plan for clarification.
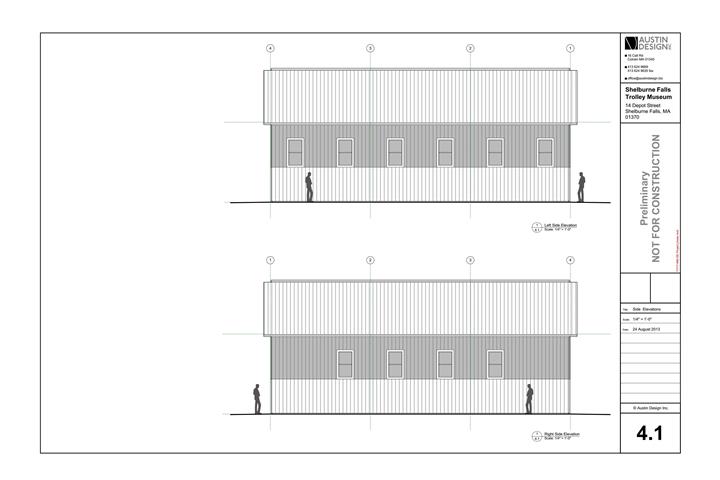
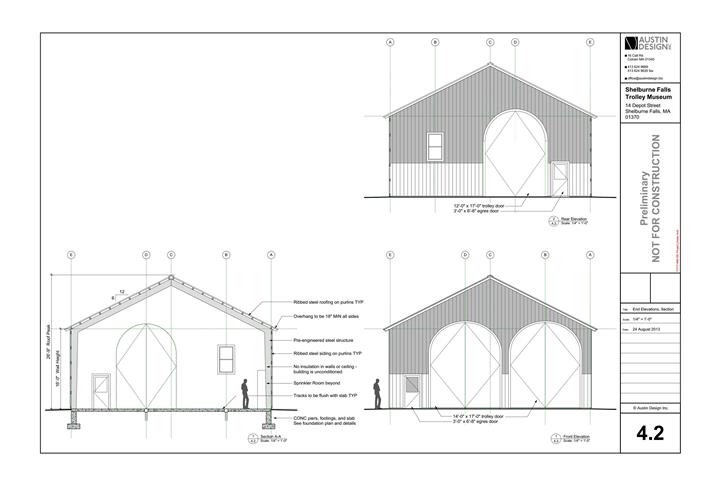
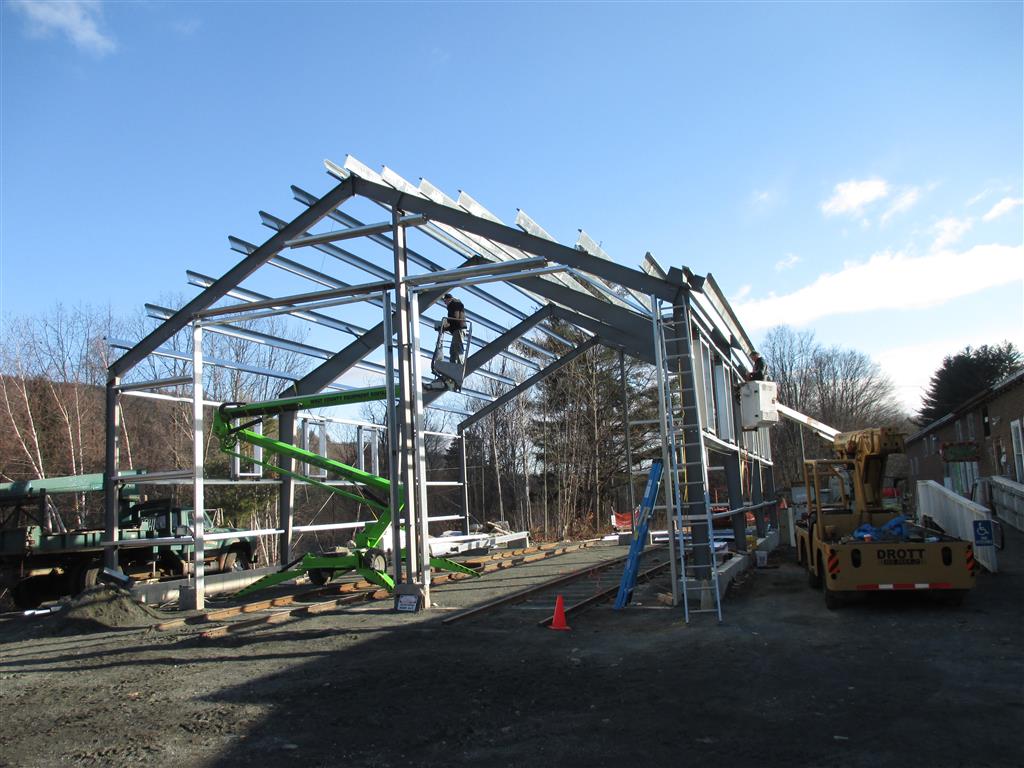
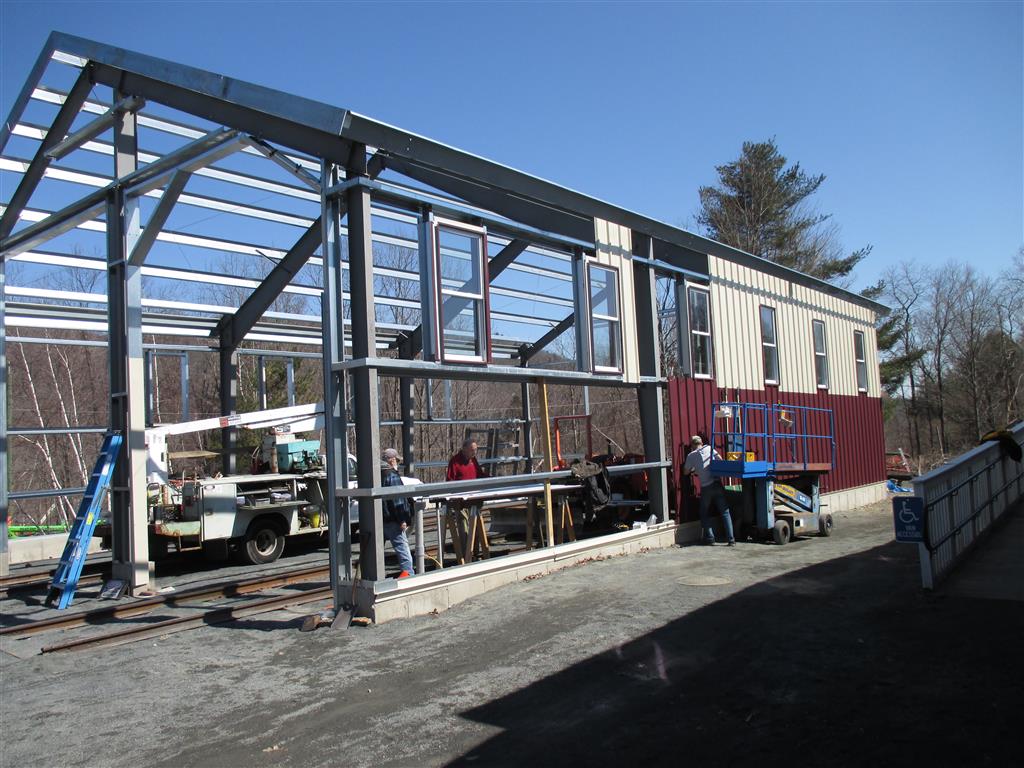
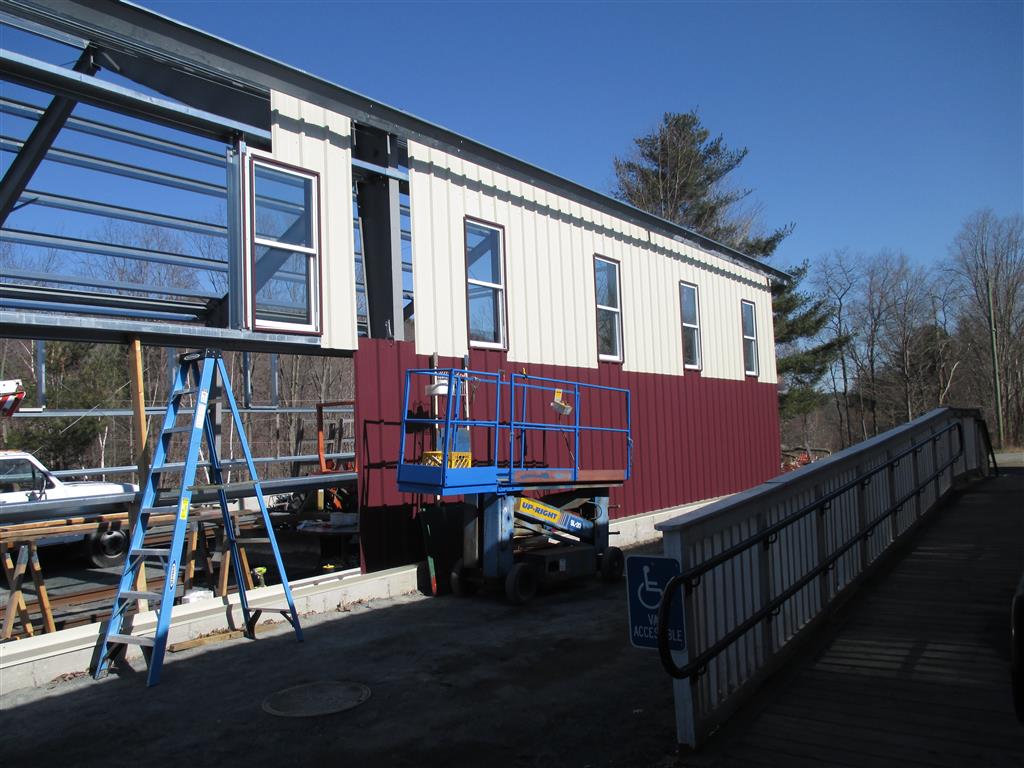
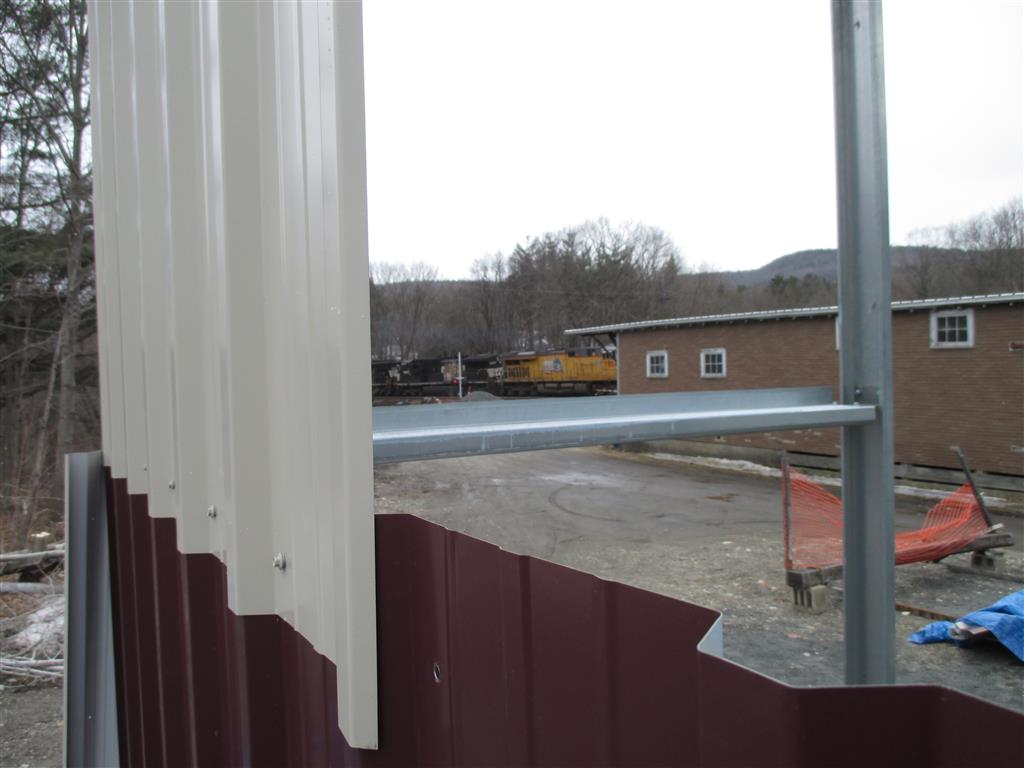
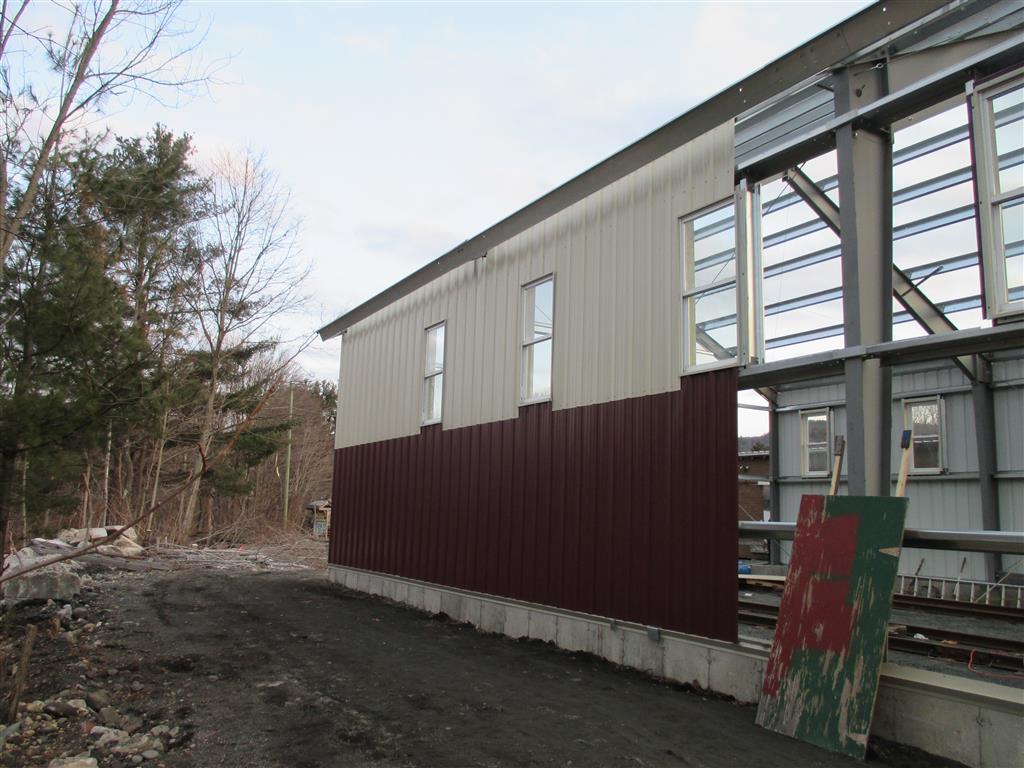
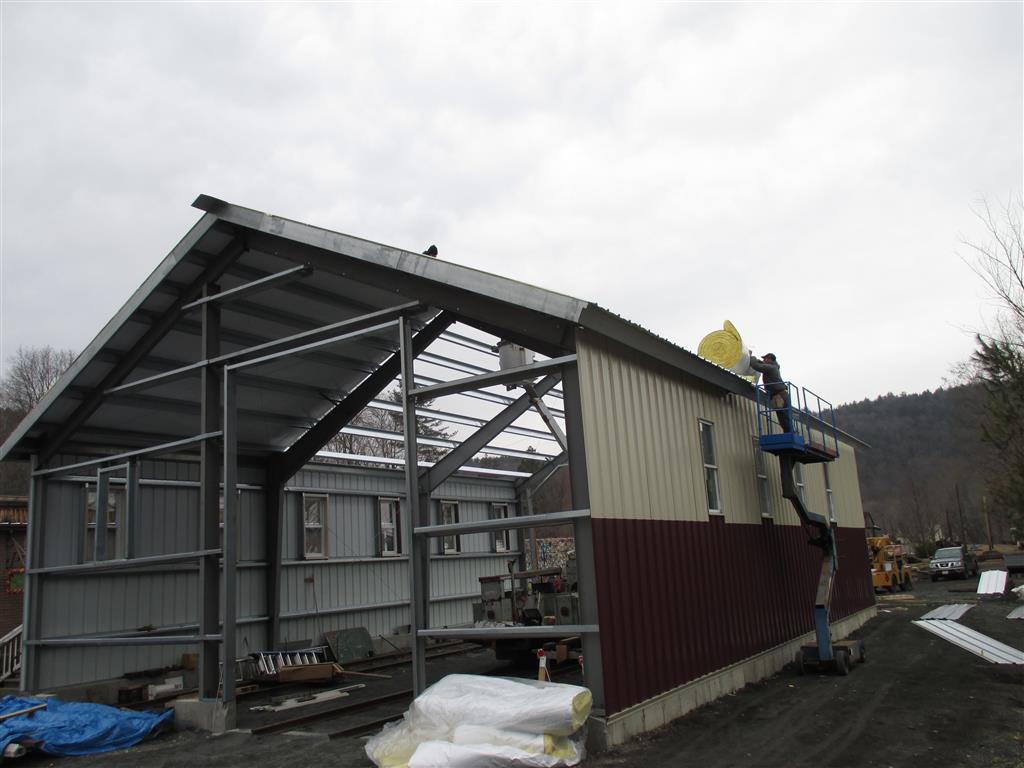
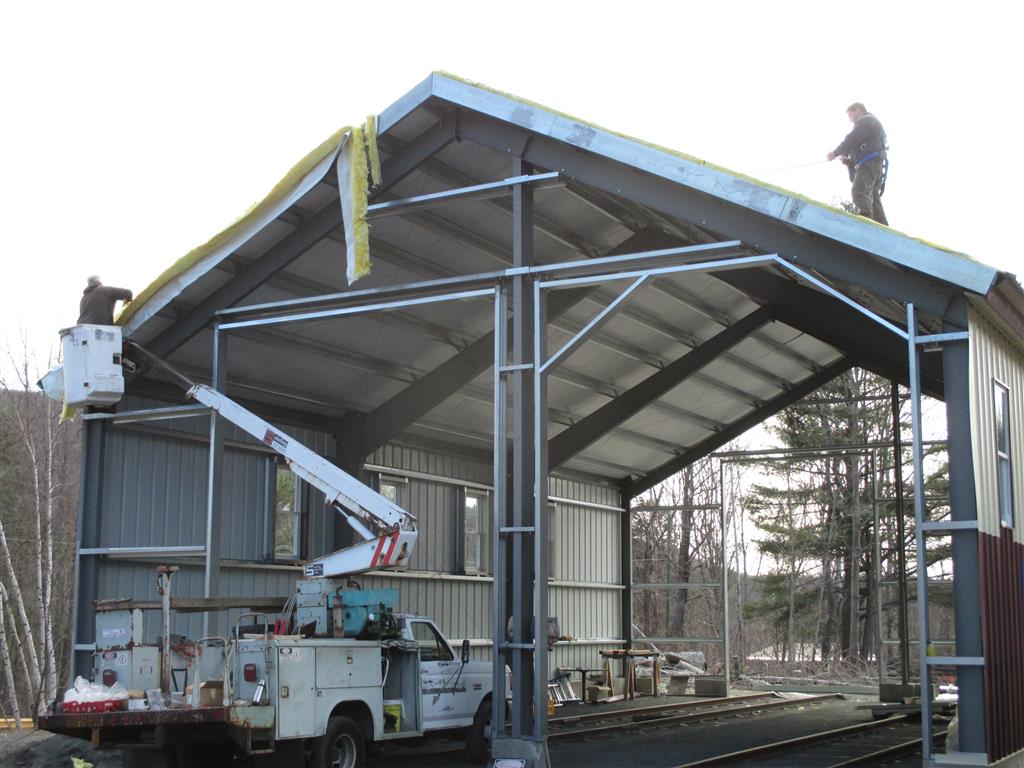
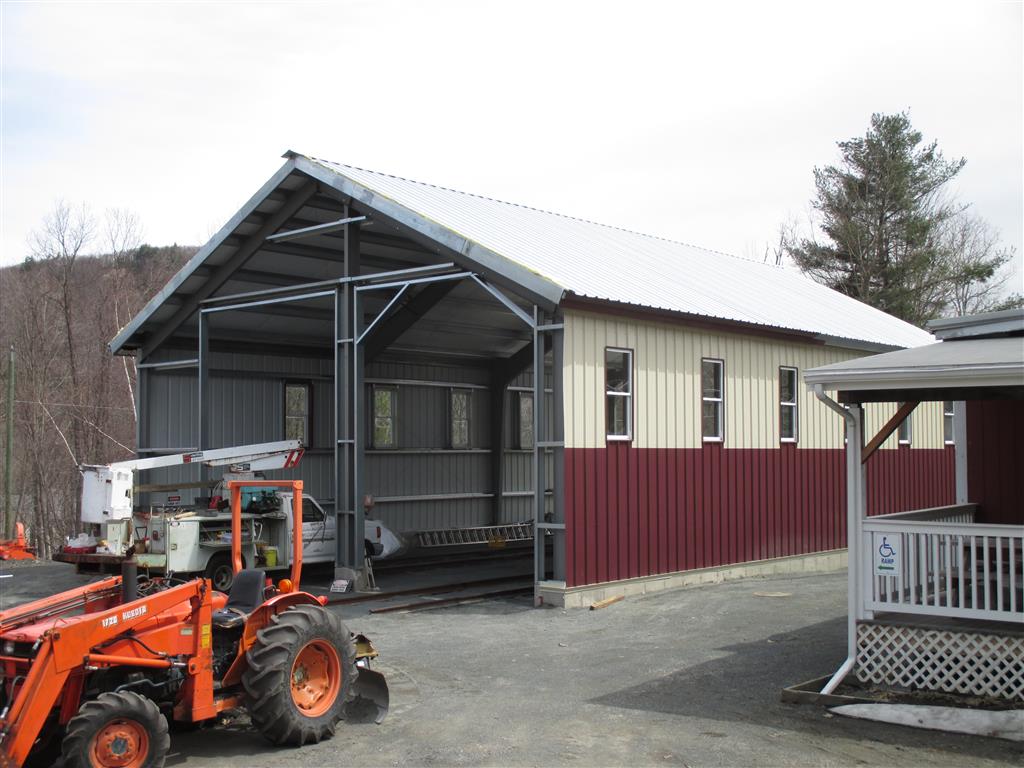
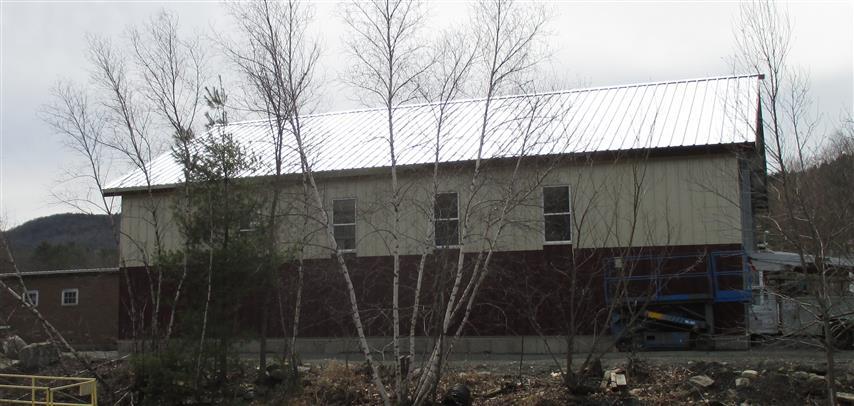
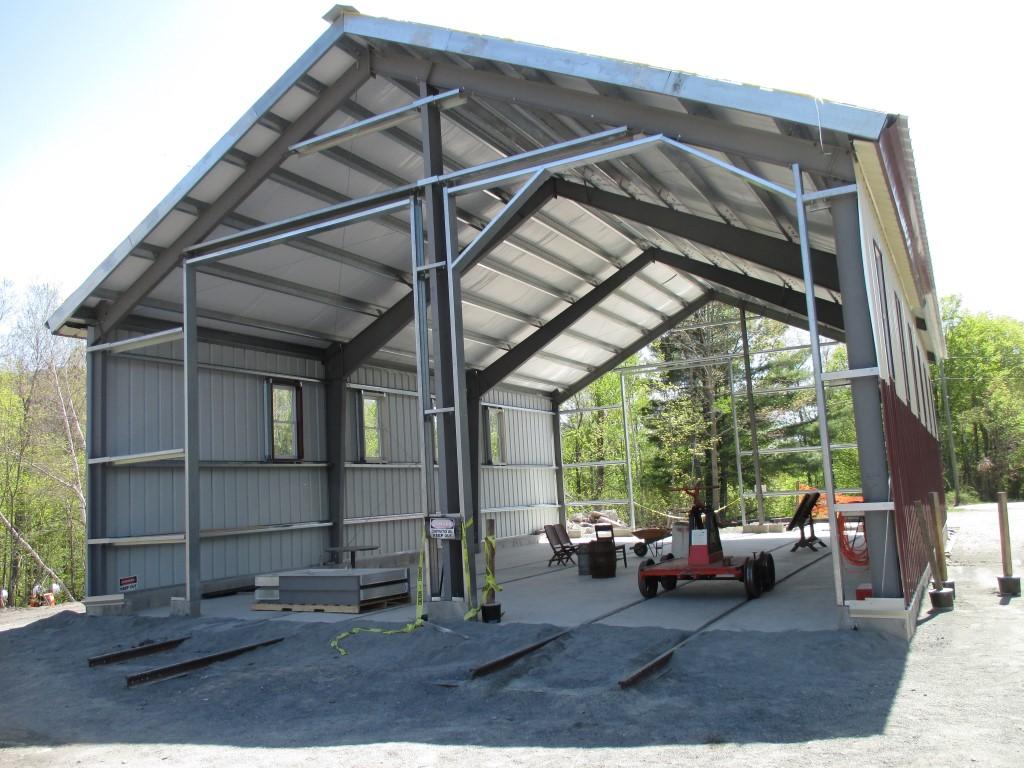
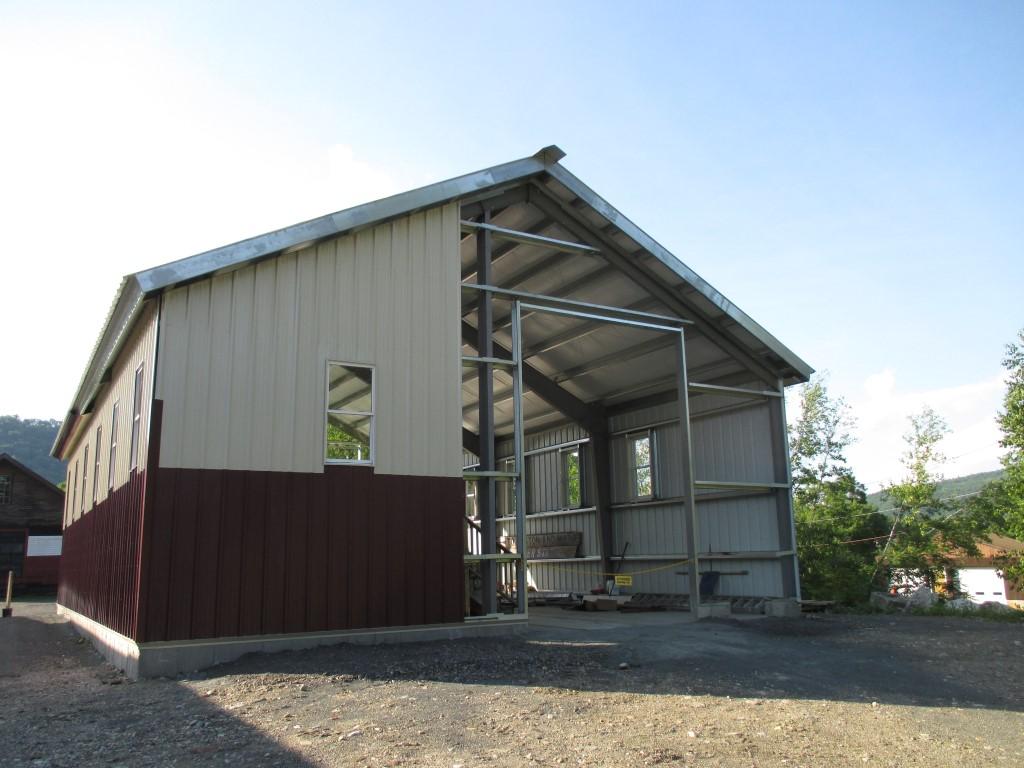
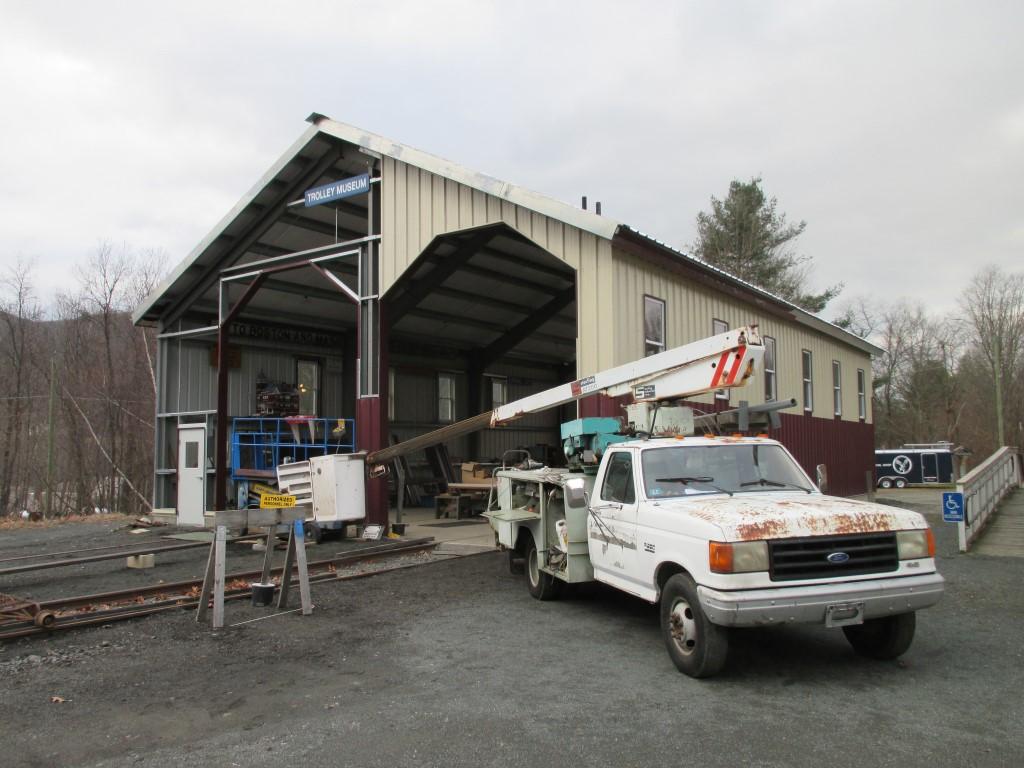
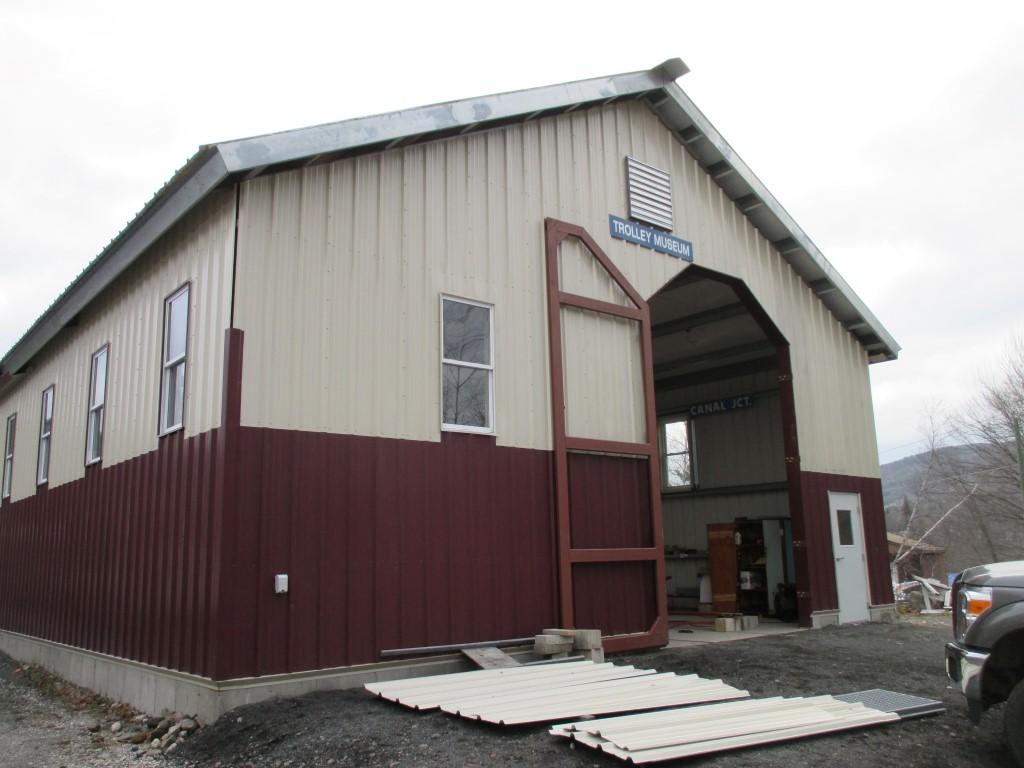
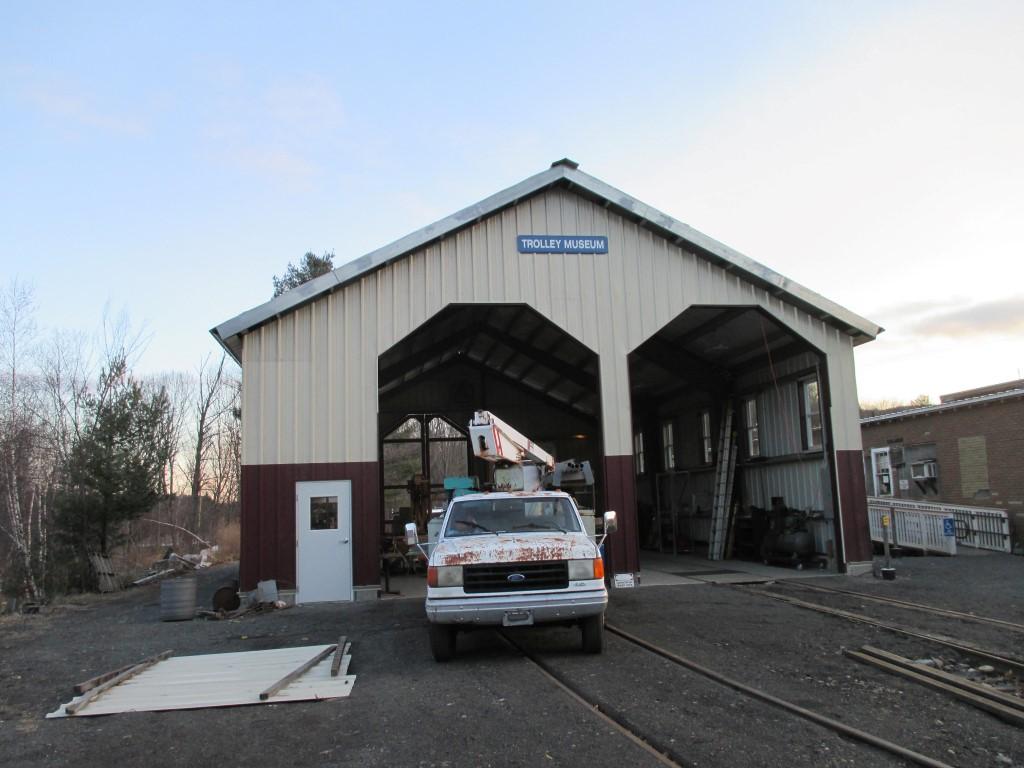
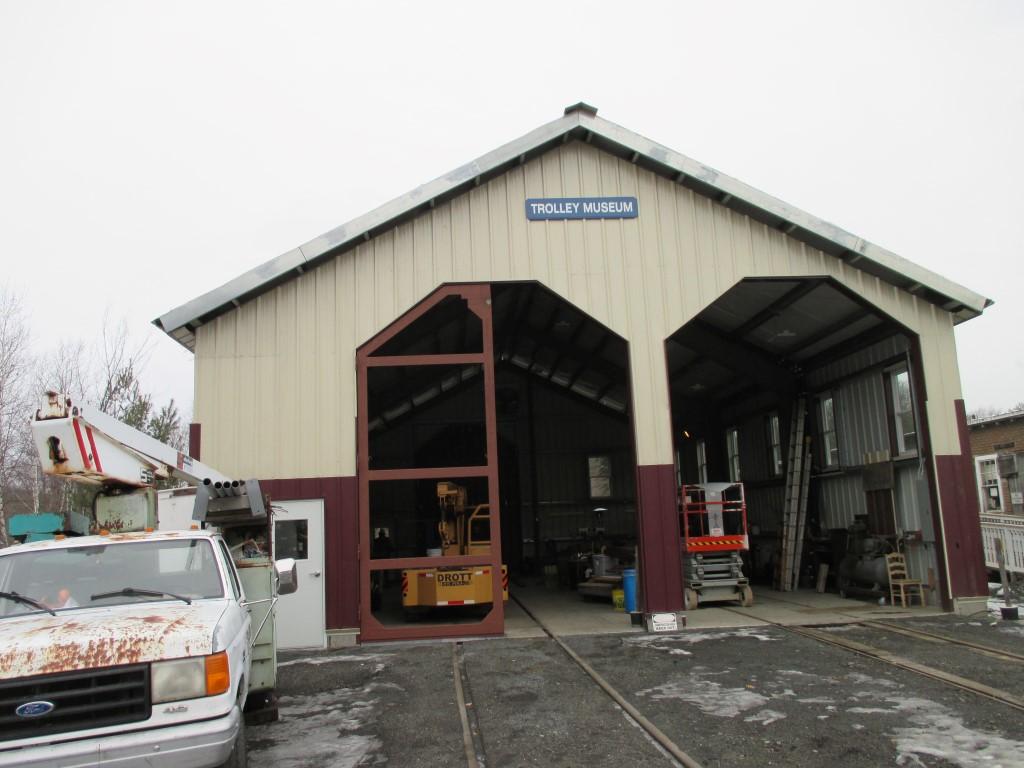
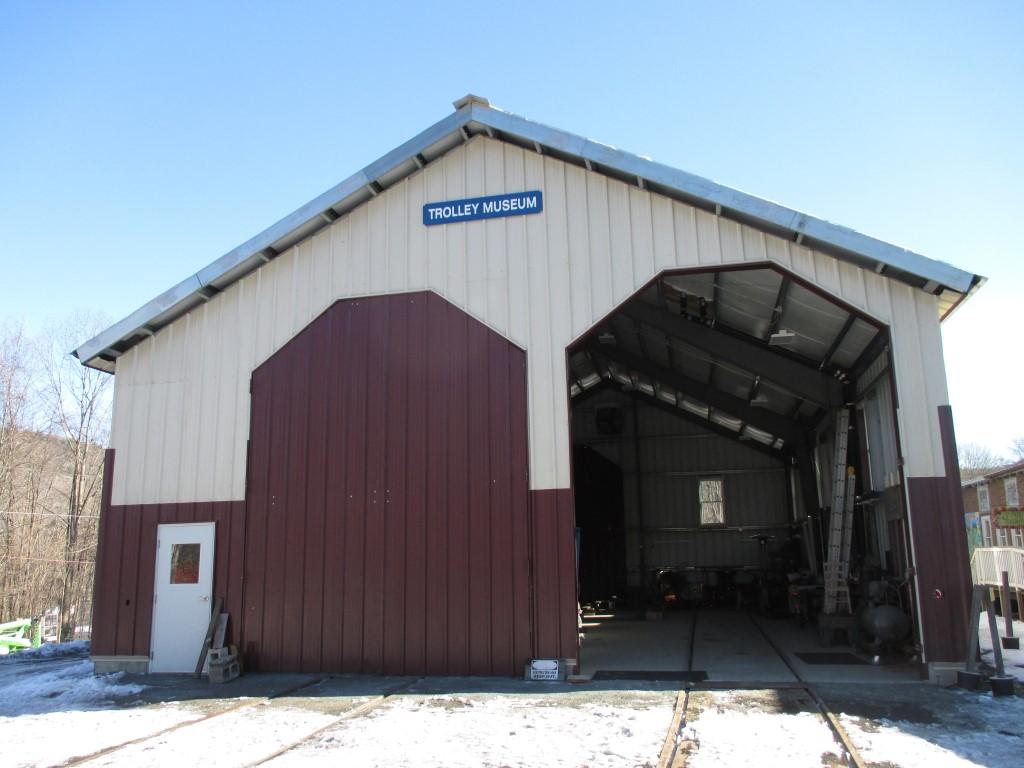
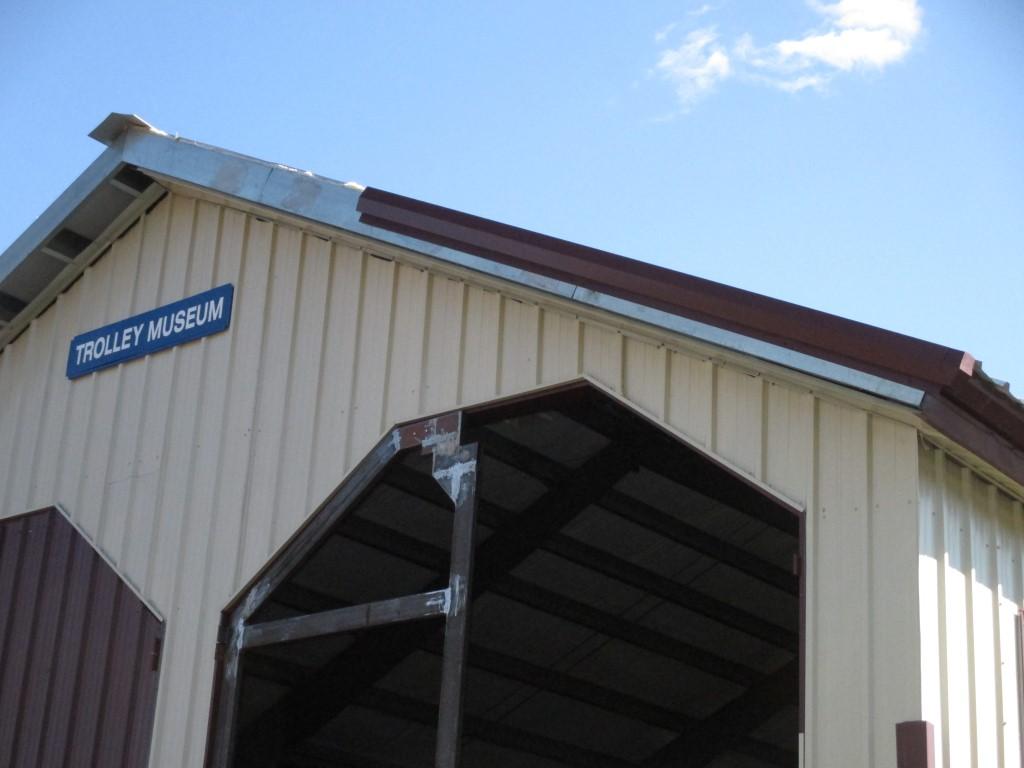
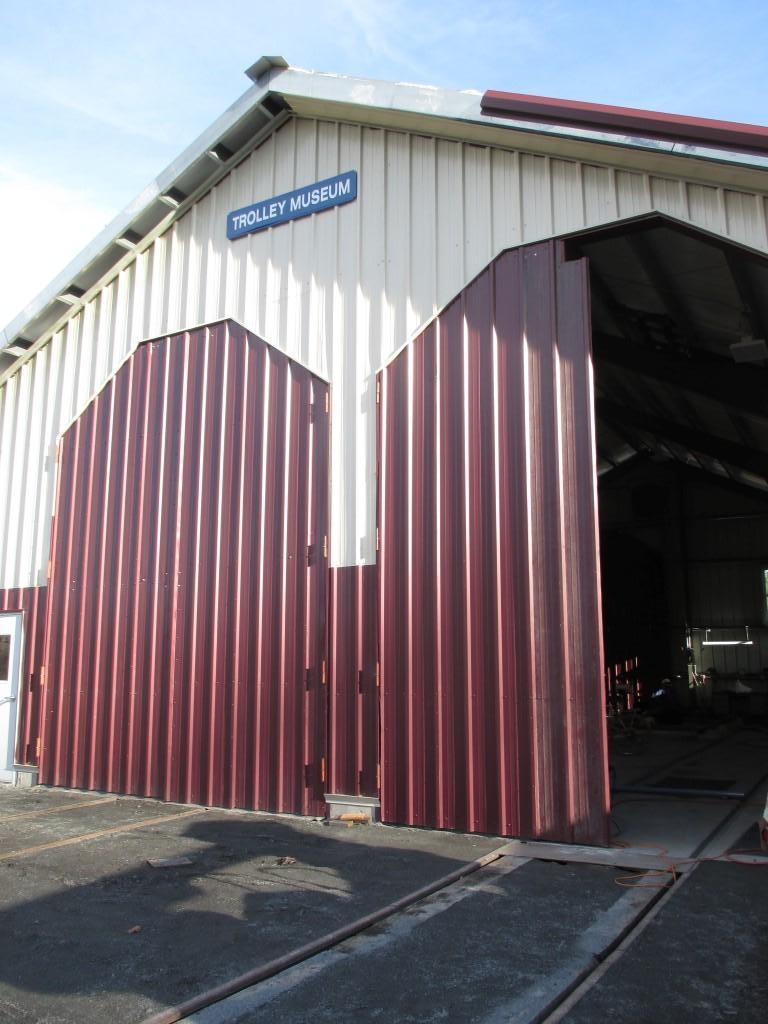
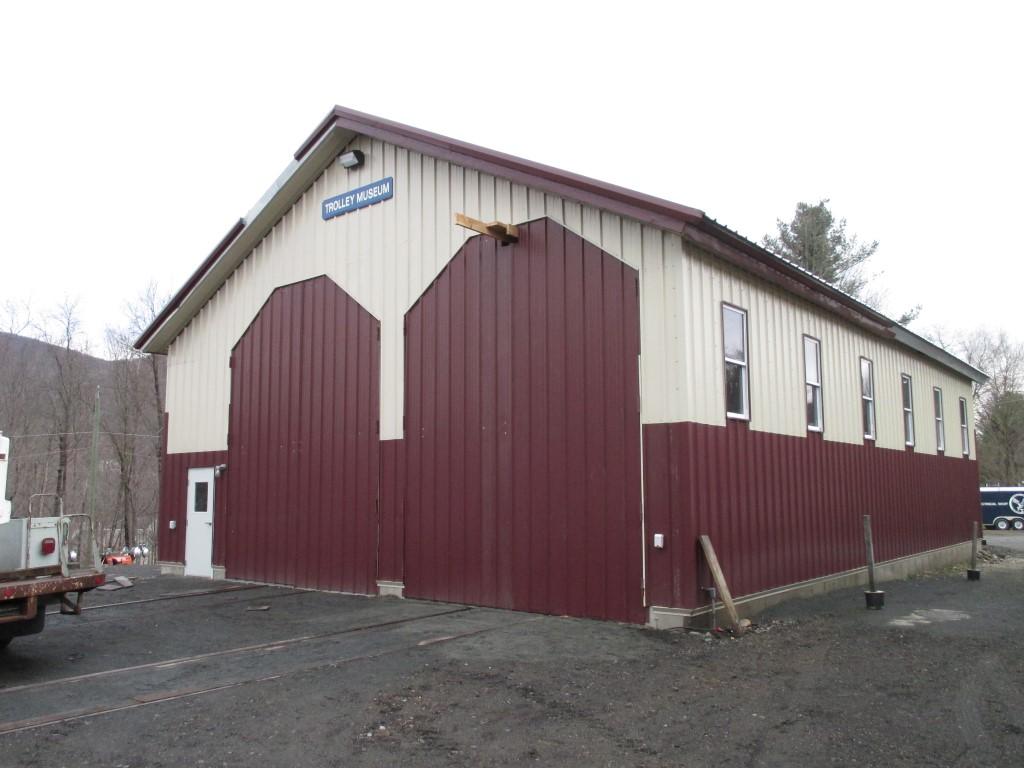
The New Carbarn is designed to fit in aesthetically with the existing 1867 Freight House that it sits next to. The Carbarn's roof line is steeper than typical modern steel buildings and it has eave extensions to mimic the railroad style of the Freight House. Additionally, we chose the siding in a two-tone scheme that matches the Boston & Maine Railroad scheme for the Freight House.
After much online searching for pre-engineered metal buildings (which led to lots of high-pressure return calls to 'pull the trigger now to save $20,000') we settled on Northern Building Systems of Dalton, MA for our building. Although we determined that the arched door openings would be too complicated, we were able to work with NBS to get the rest of the design that we wanted, whereas most other companies tried to to fit us into one of their standard designs. The NBS 'kit' came mostly precut and predrilled, so that we could use our team of volunteers and our cranes, with some additional heavy lifting by Mike Skalski's STI Services, to erect the building. NBS was also very helpful in getting us started on the actual assembly of the building. If you really want to 'get into the weeds', here are the NBS Structure Plans.
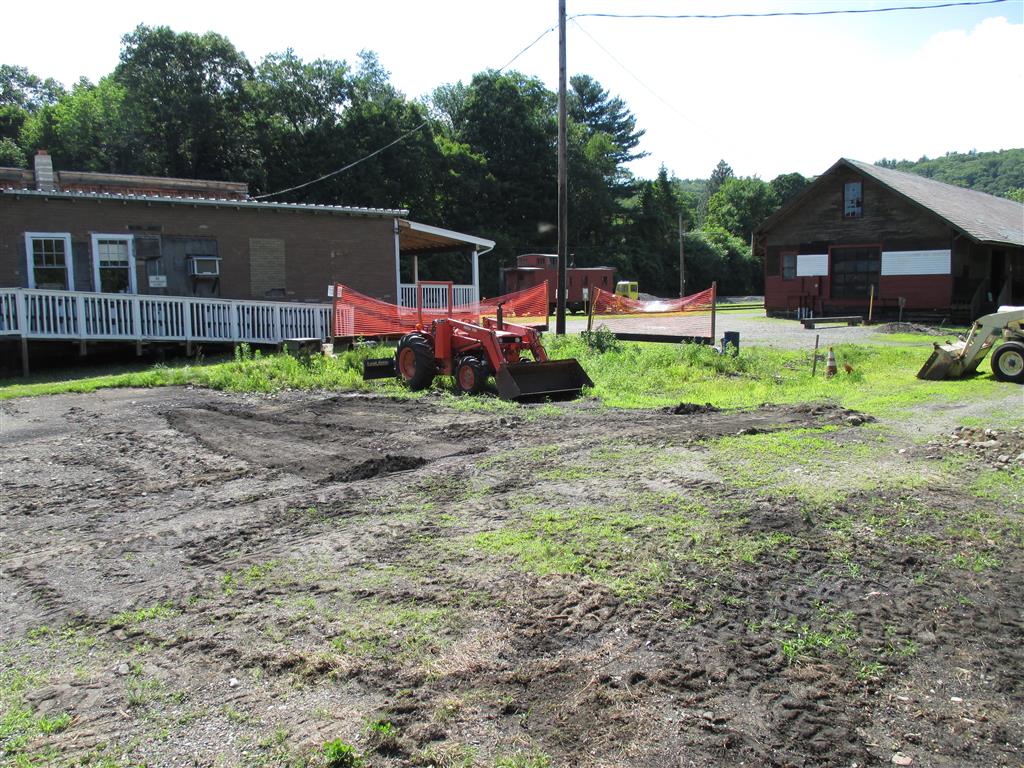
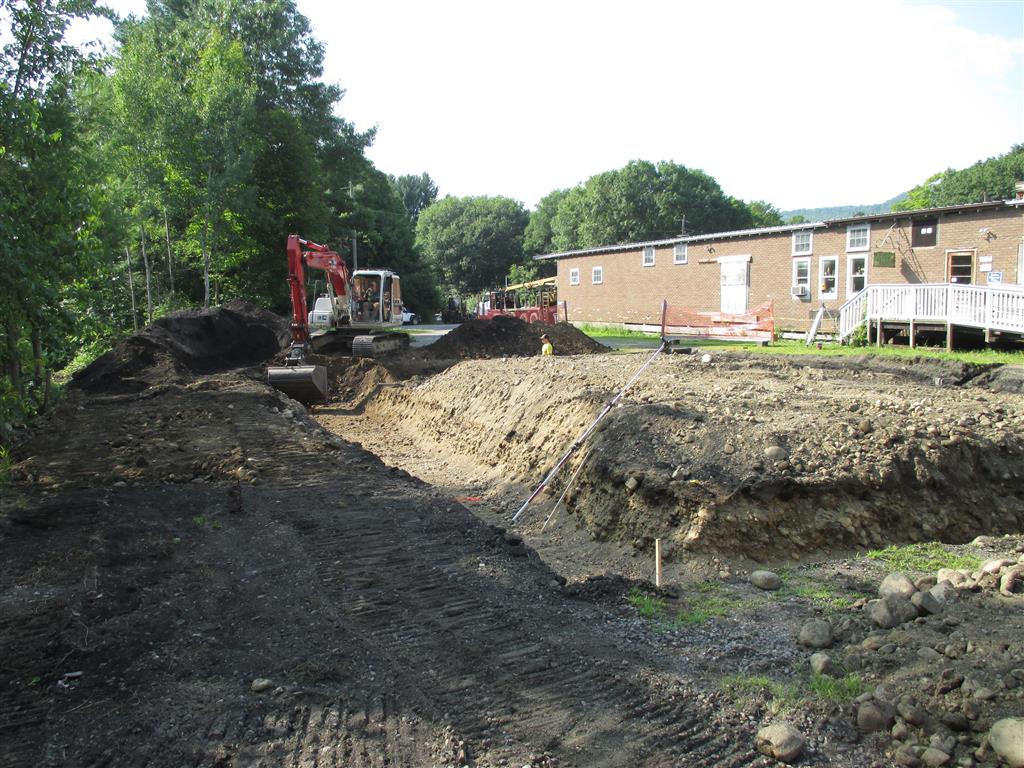
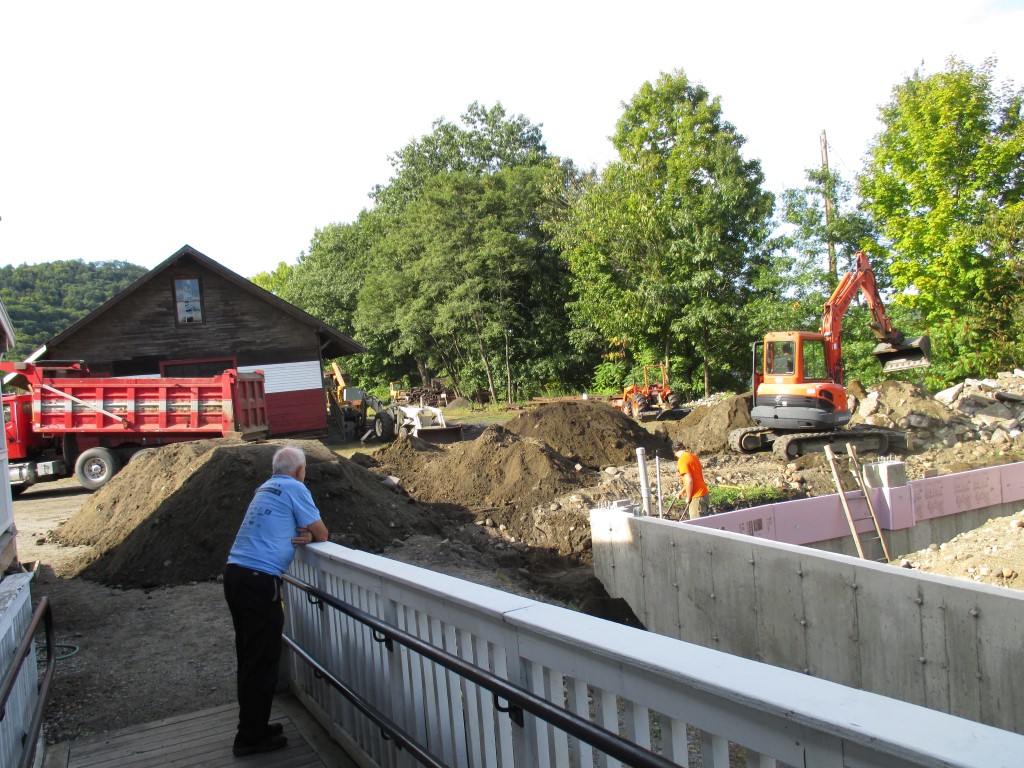
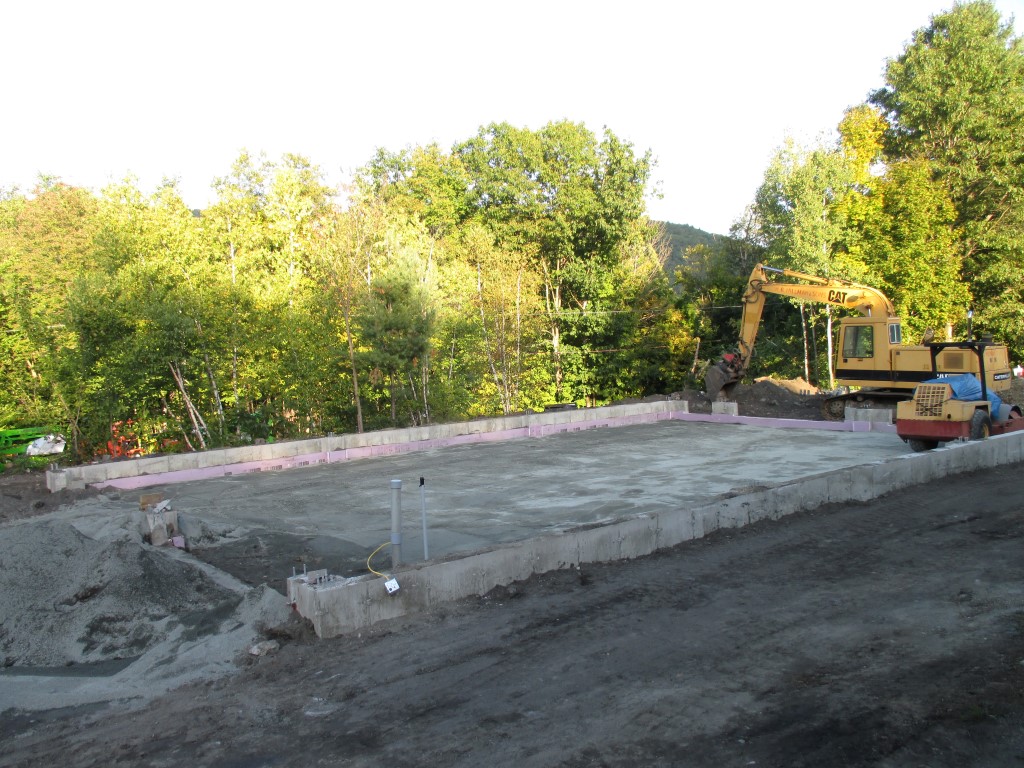
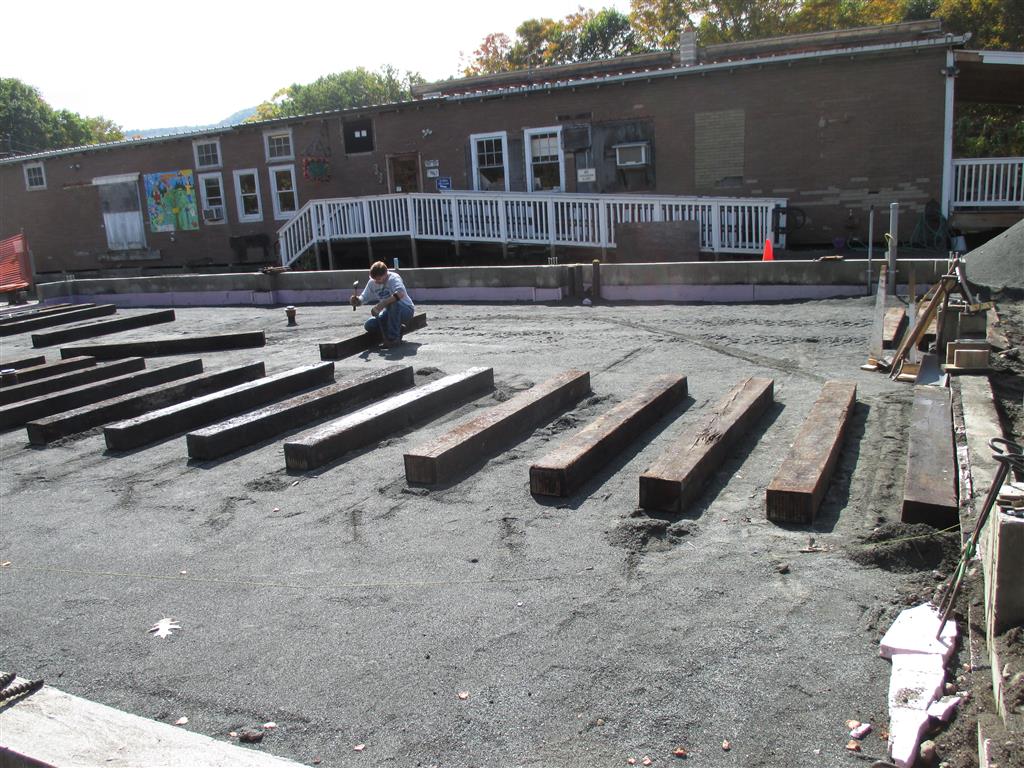
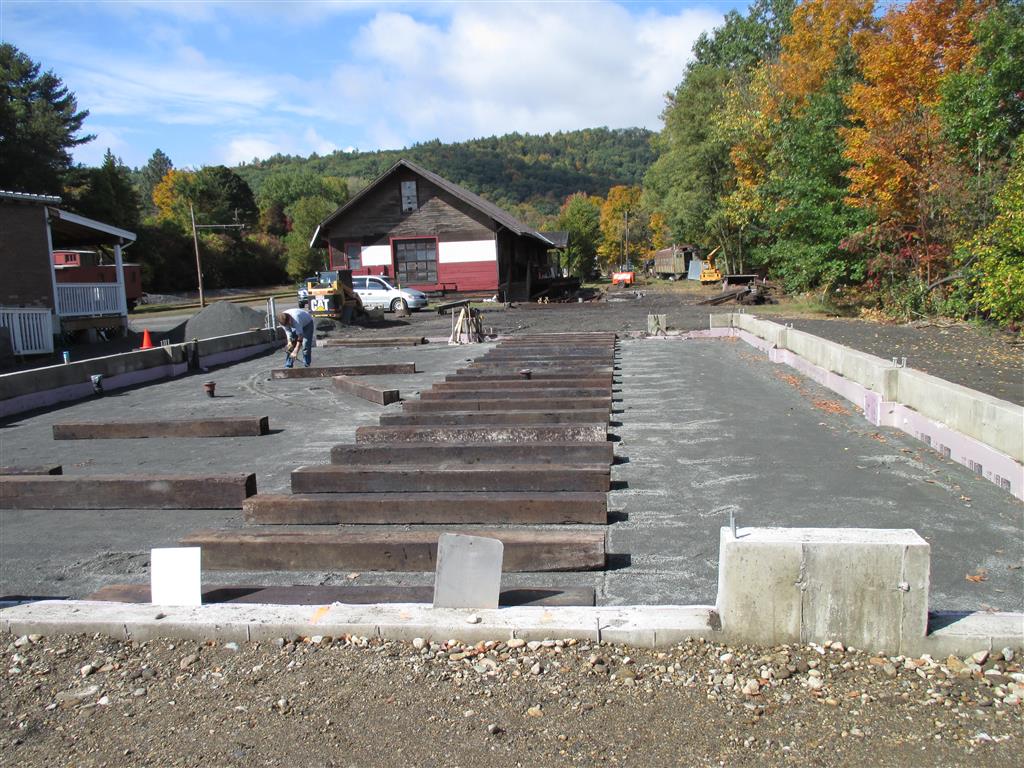
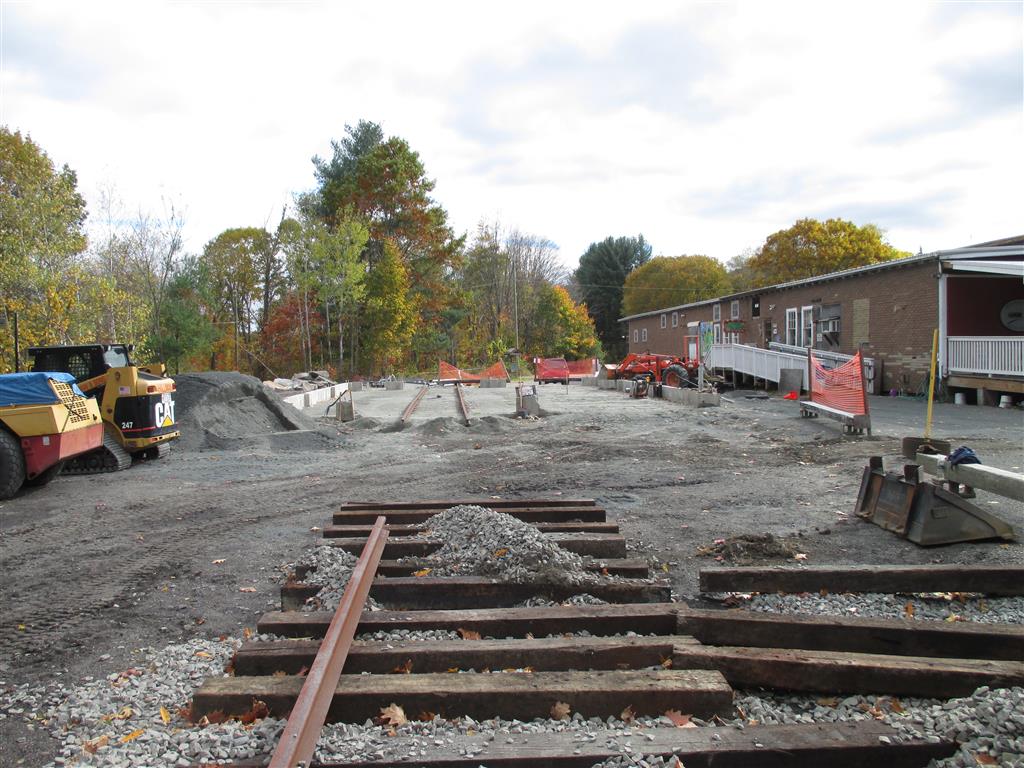
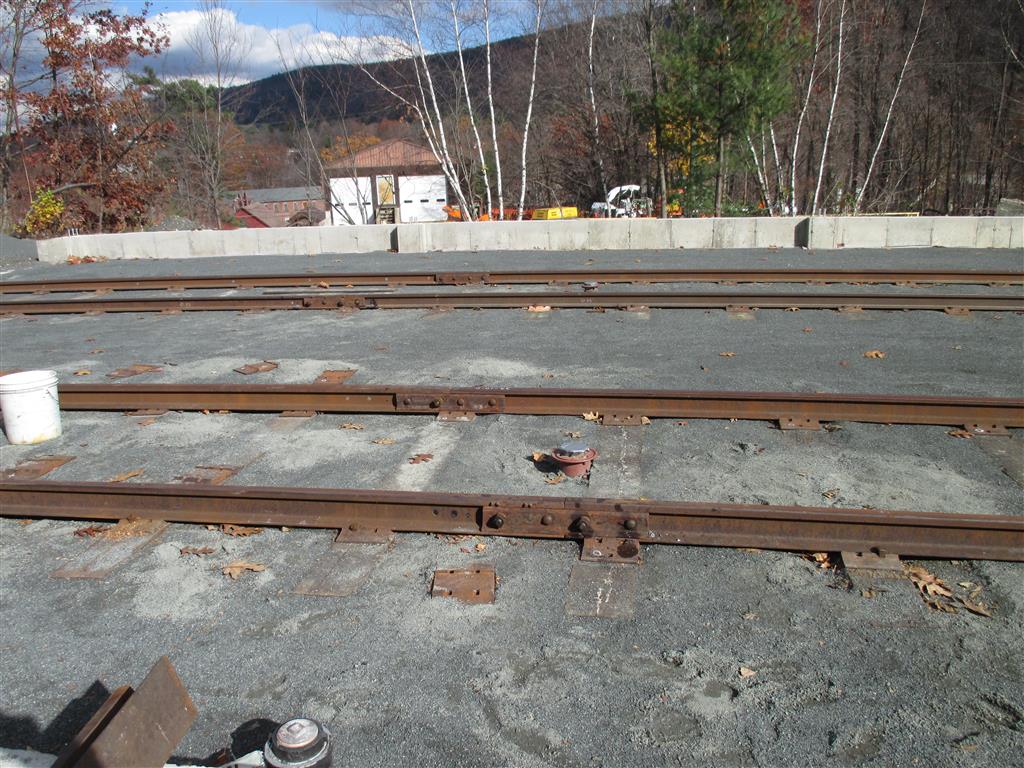
Progress became evident in 2013 when we started the site preparation. The first step was to remove the old Grain Shed.
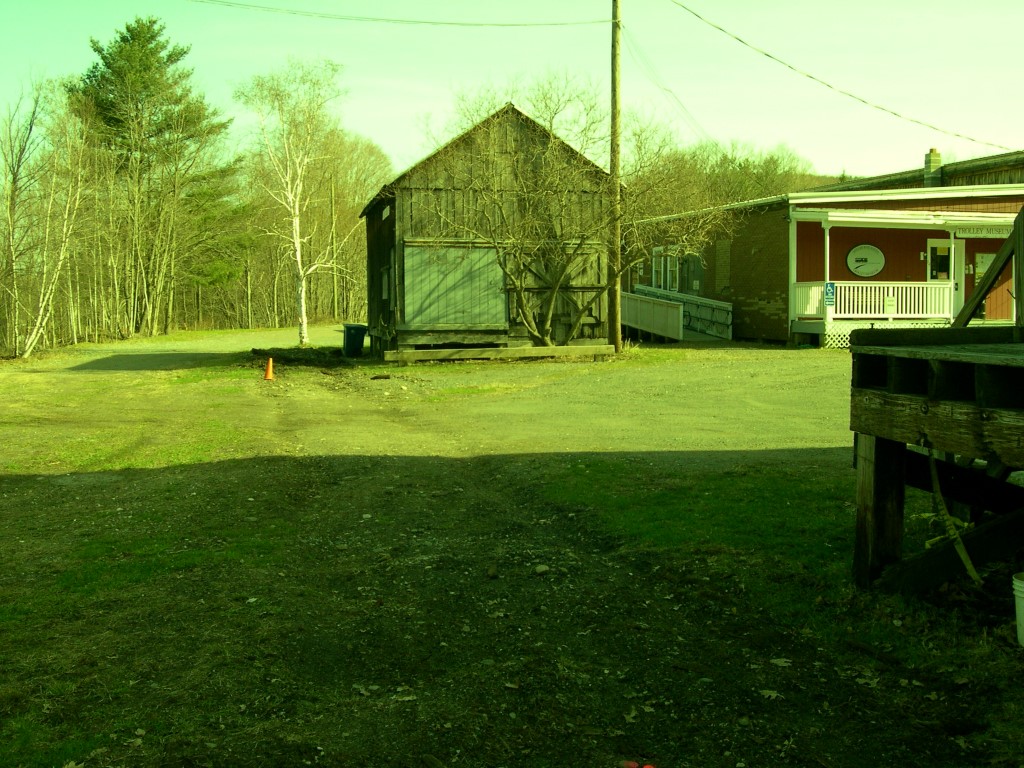
There are some pictures of the Old Grain Shed and its demolition on this page. The new Carbarn is situated right where this building once stood (compare to the picture at the top of the page). You can see ruts in the foreground where the end of the House Track has been removed.
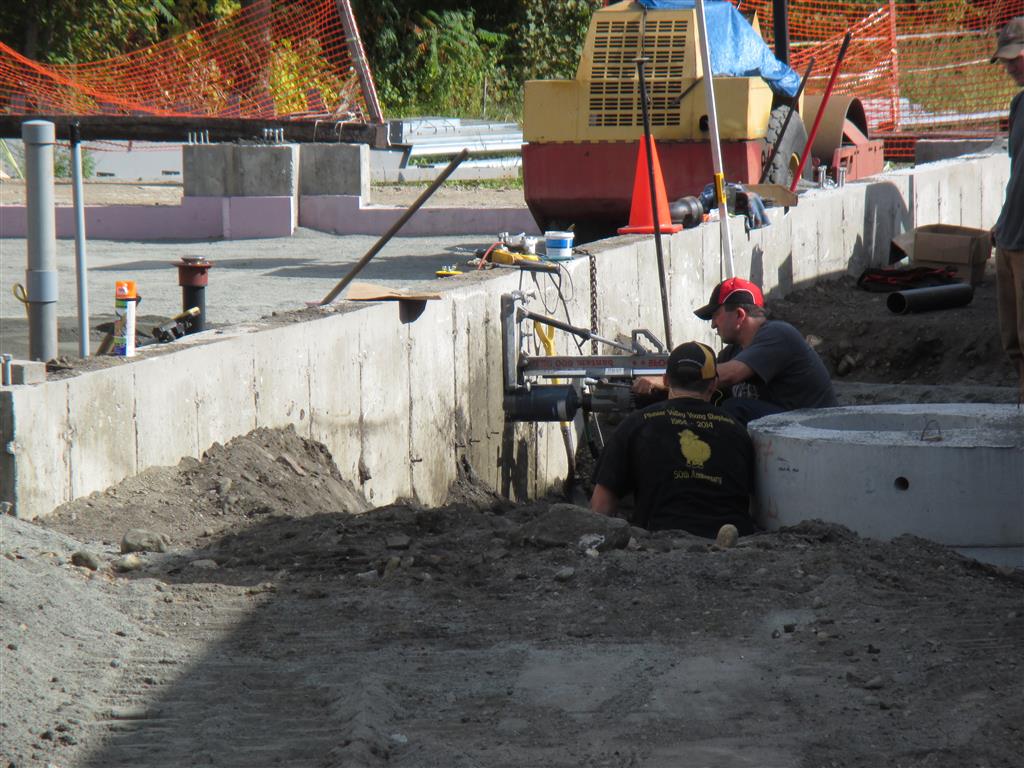
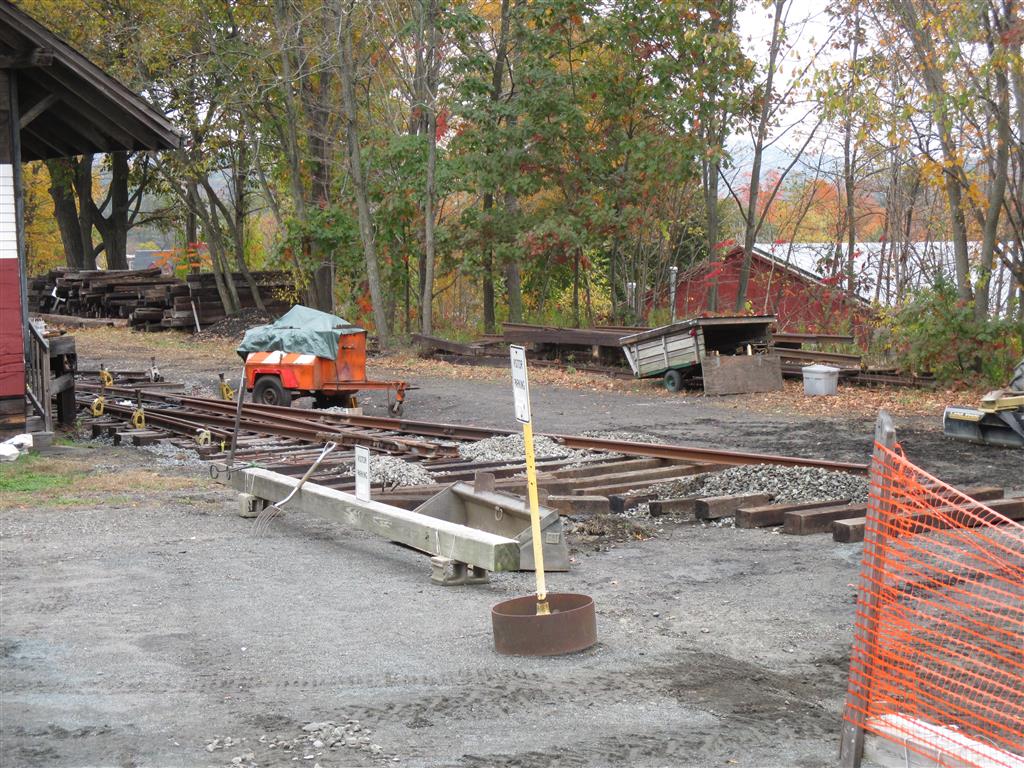
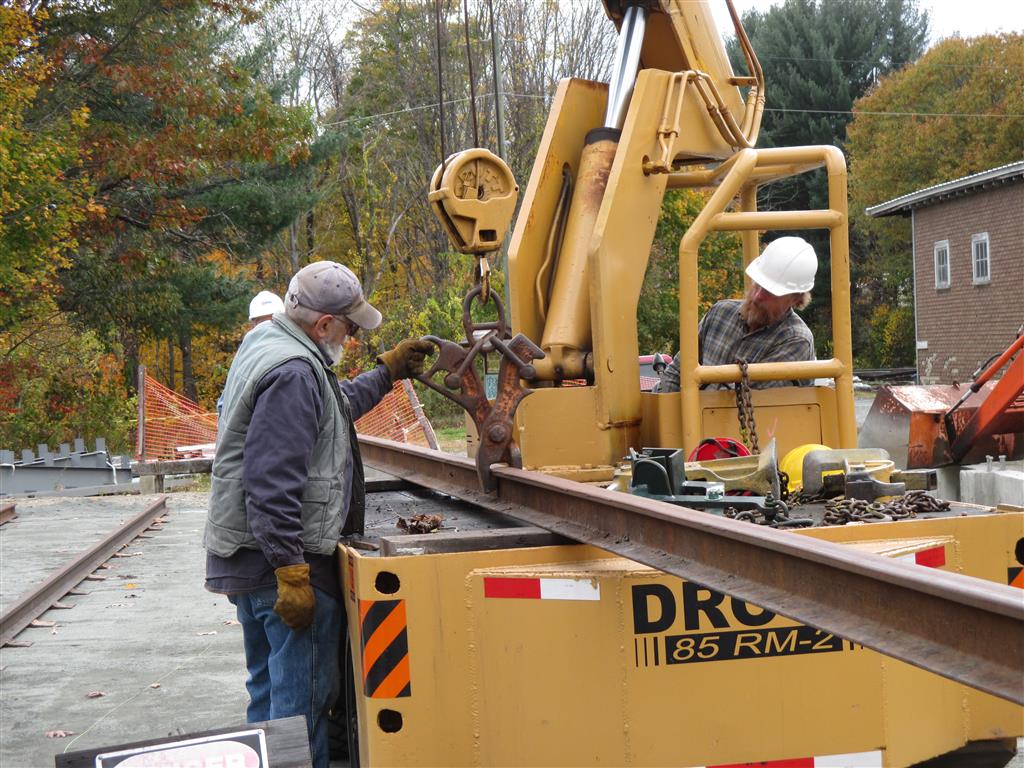
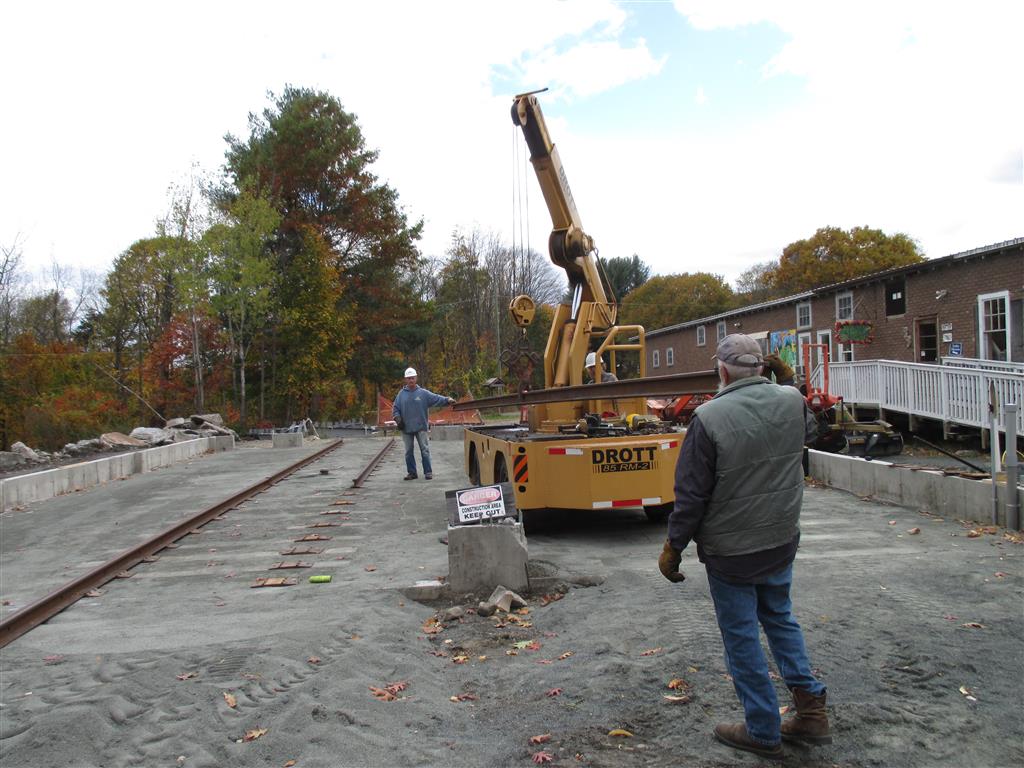
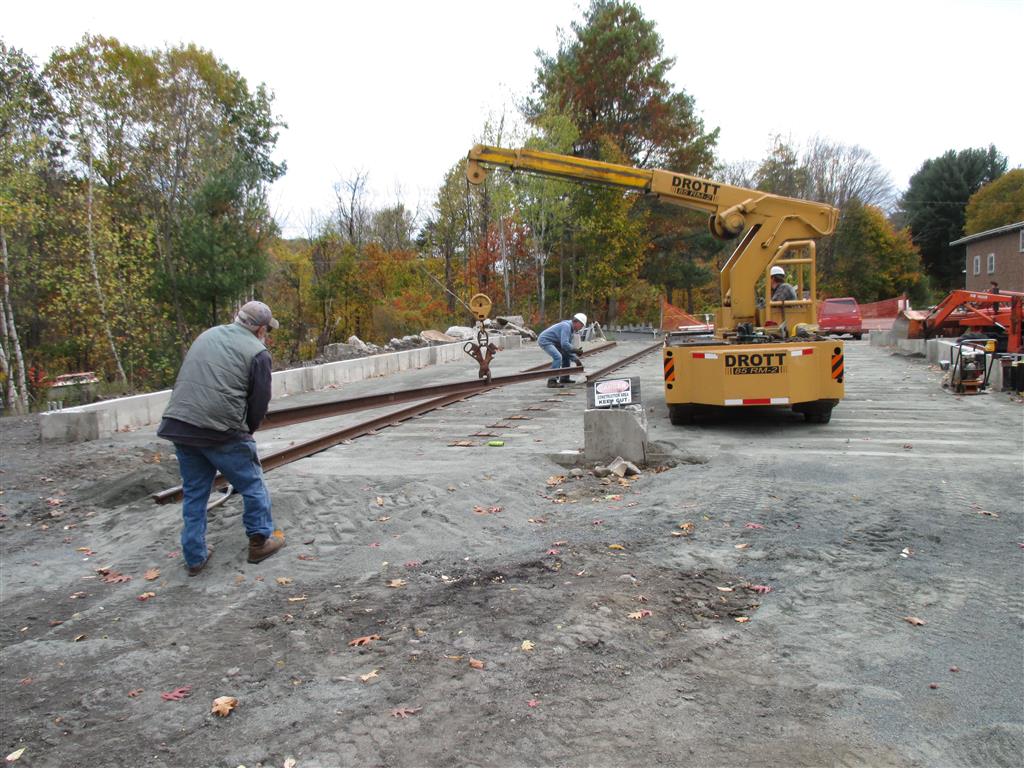
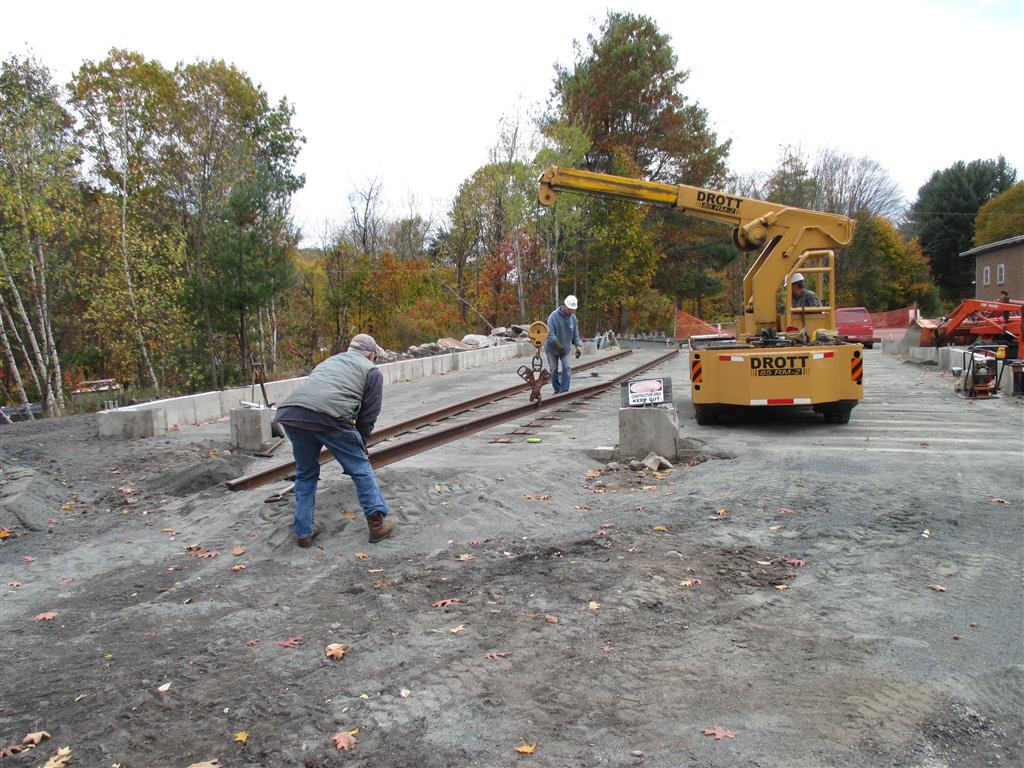
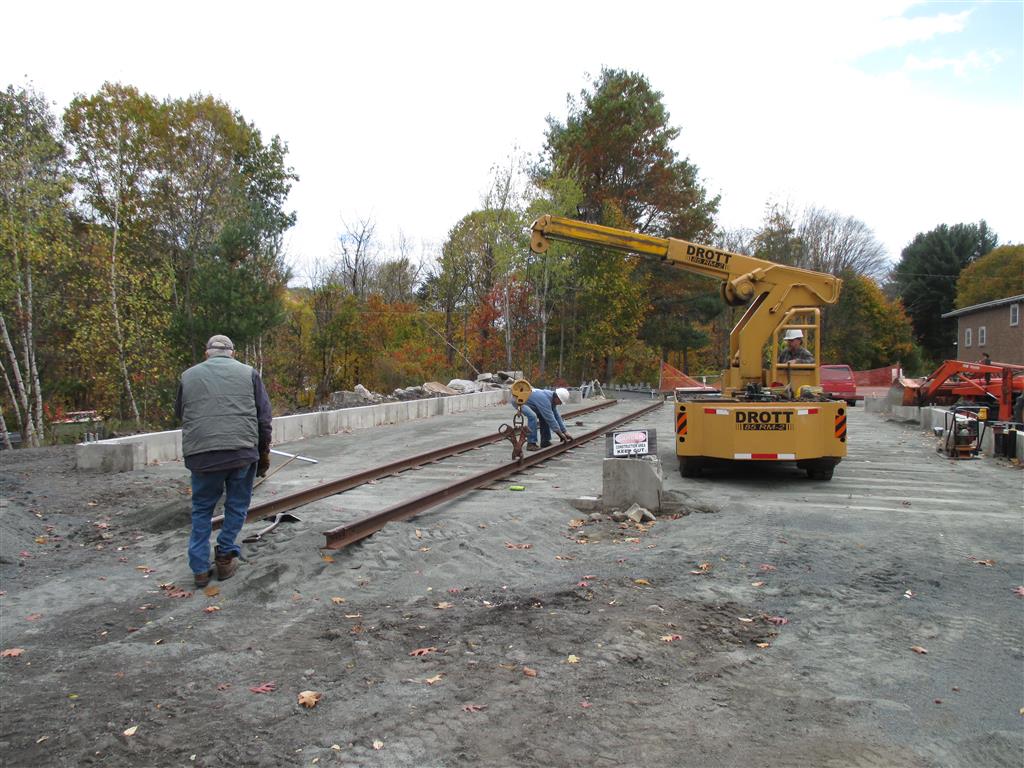
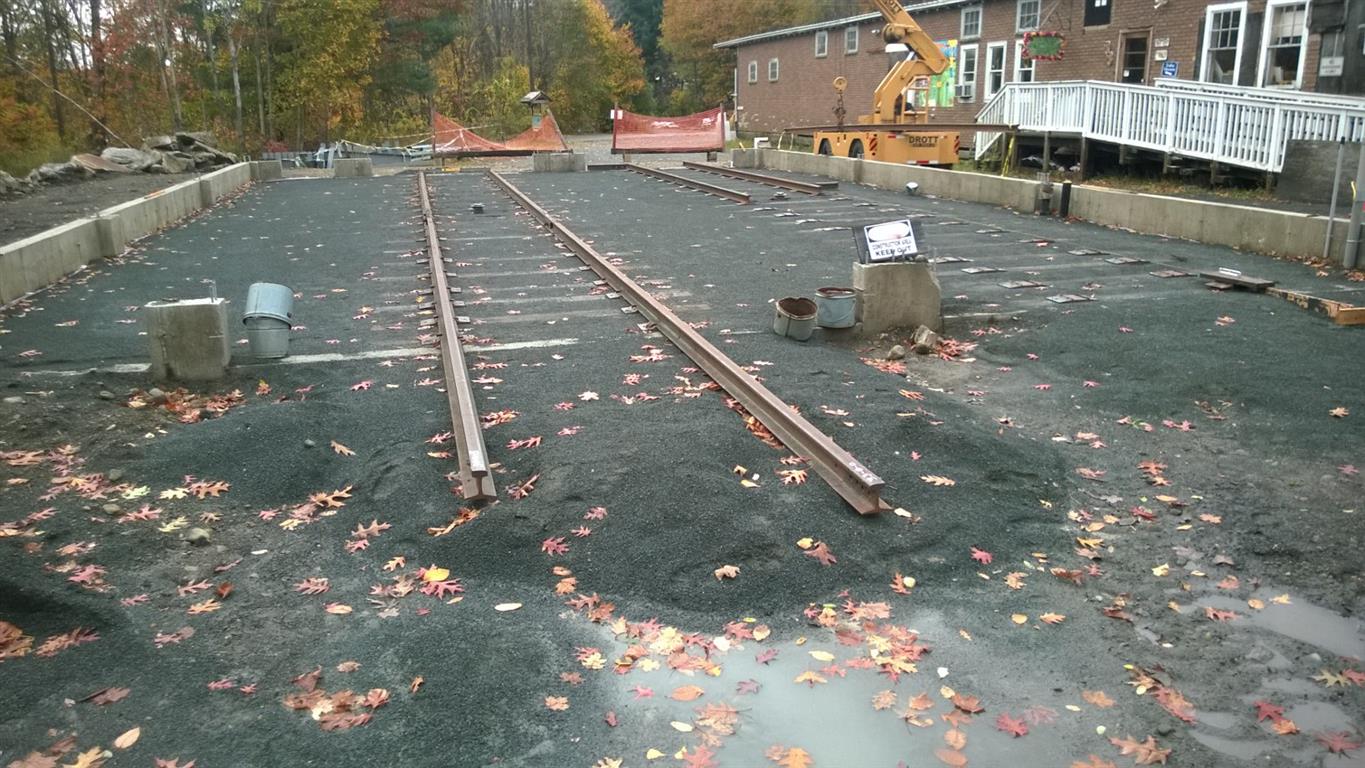
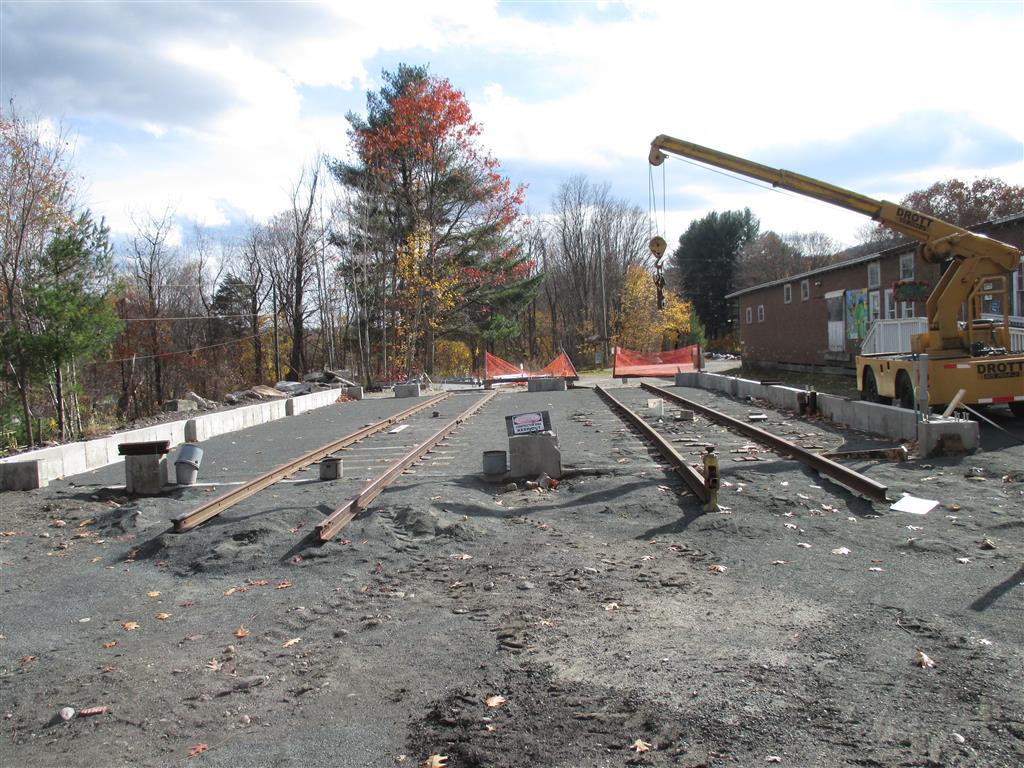
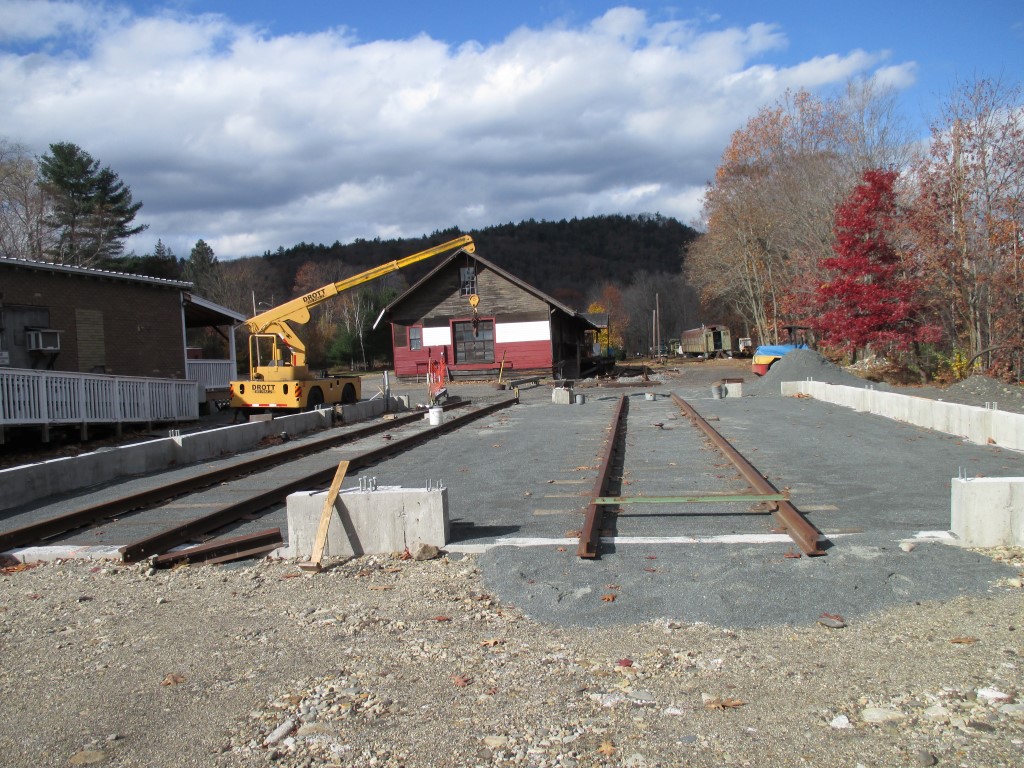
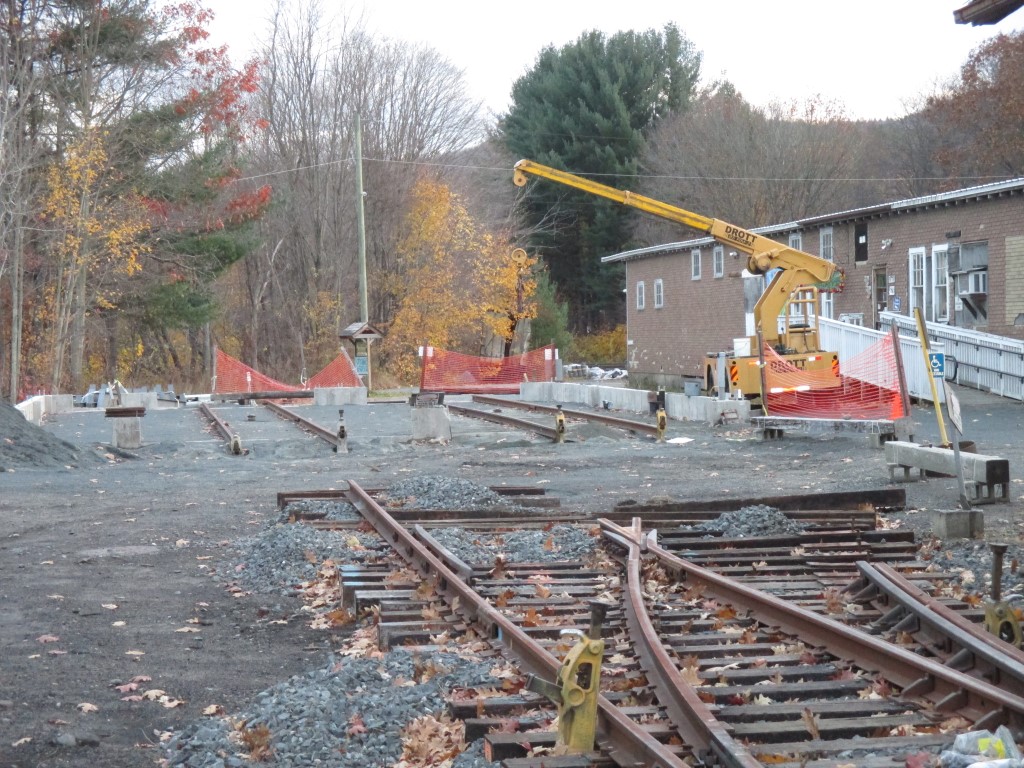
At this point we were able to move ahead on several fronts. We needed to keep raising money, we needed to rebuild the track with the new turnouts
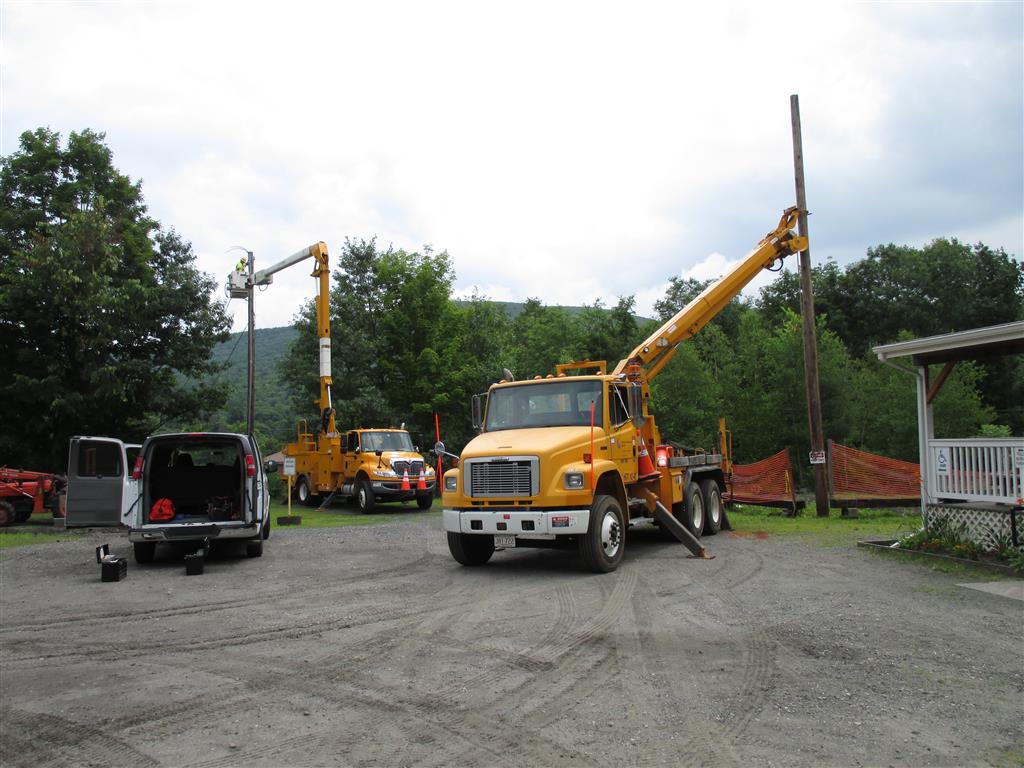
(see pictures of that project here), we needed to install poles, bracket arms and overhead wire
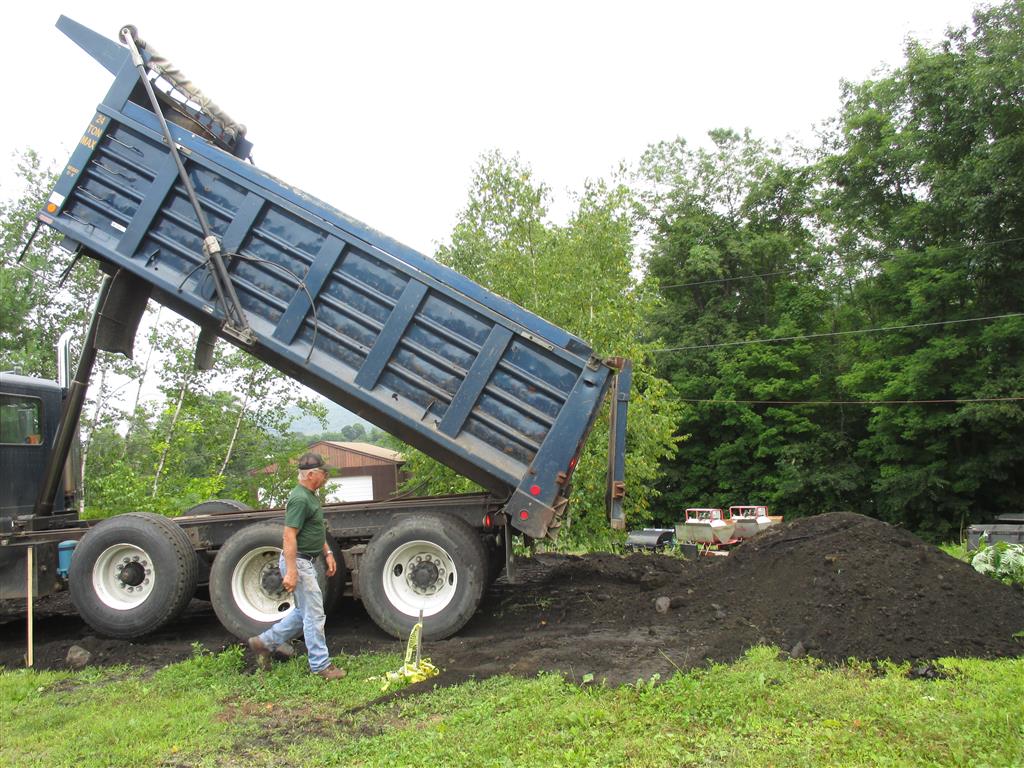
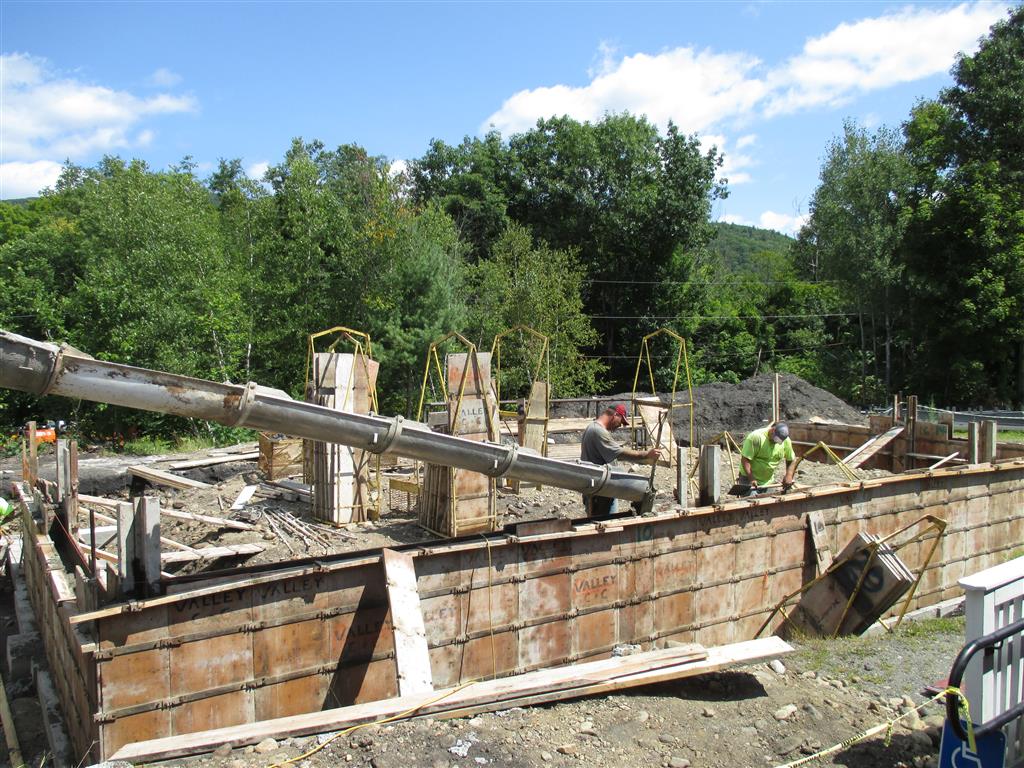
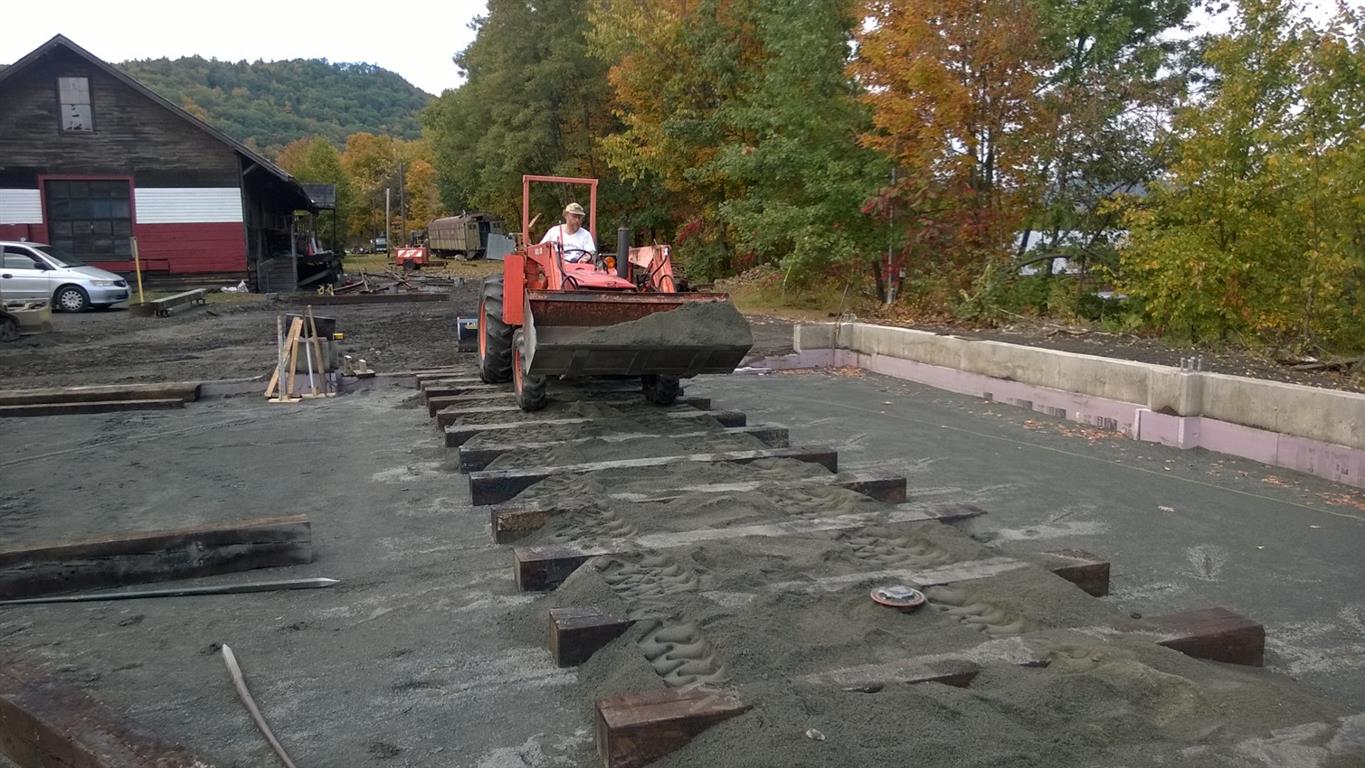
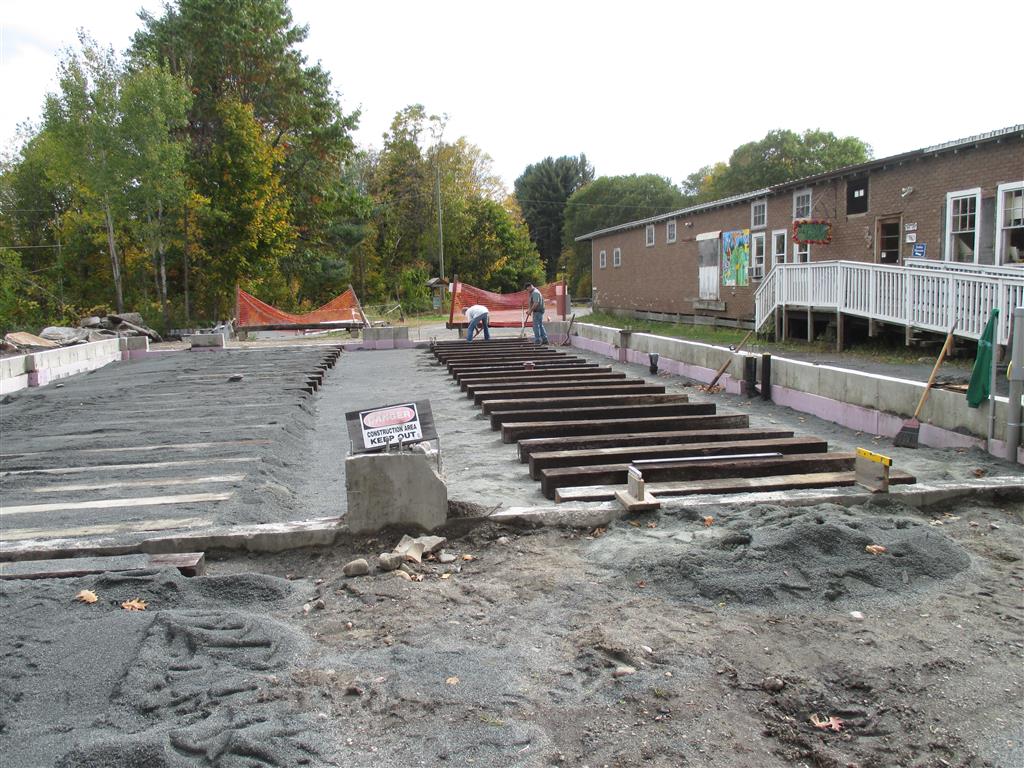
(see pictures of that project here), we needed to finalize the foundation plans and get a permit, and we needed to prepare the site for the building.
Use these links to jump to certain phases:
Site Preparation, Fall 2013
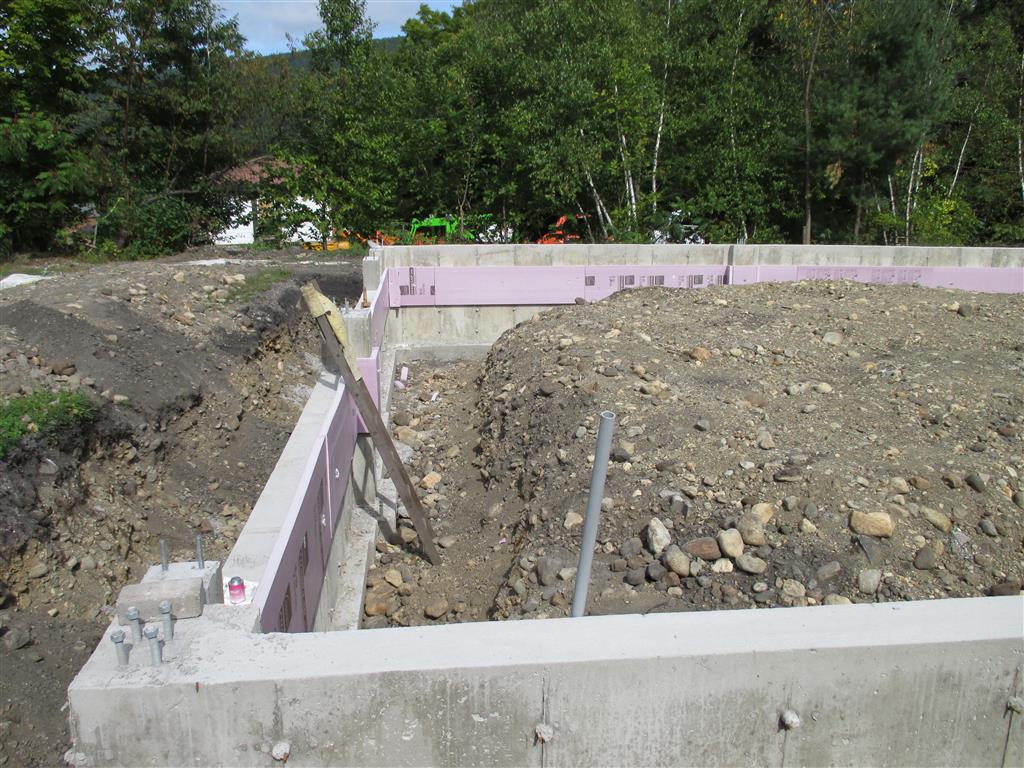
Foundation, Summer 2014
Stall Tracks, Fall 2014
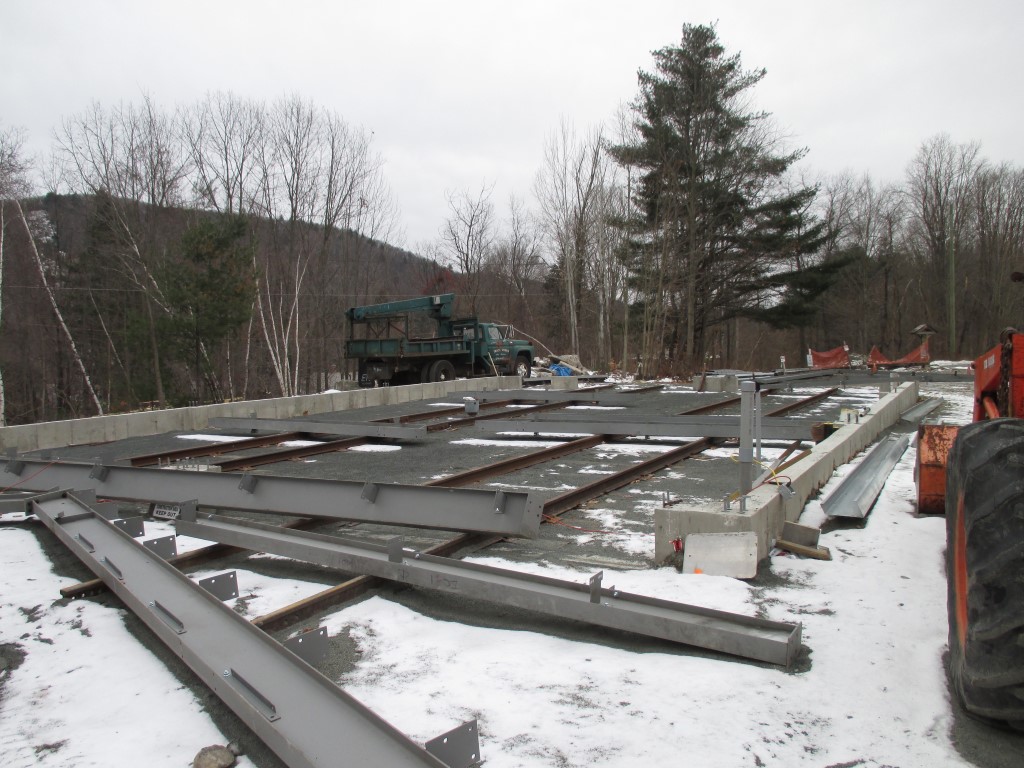
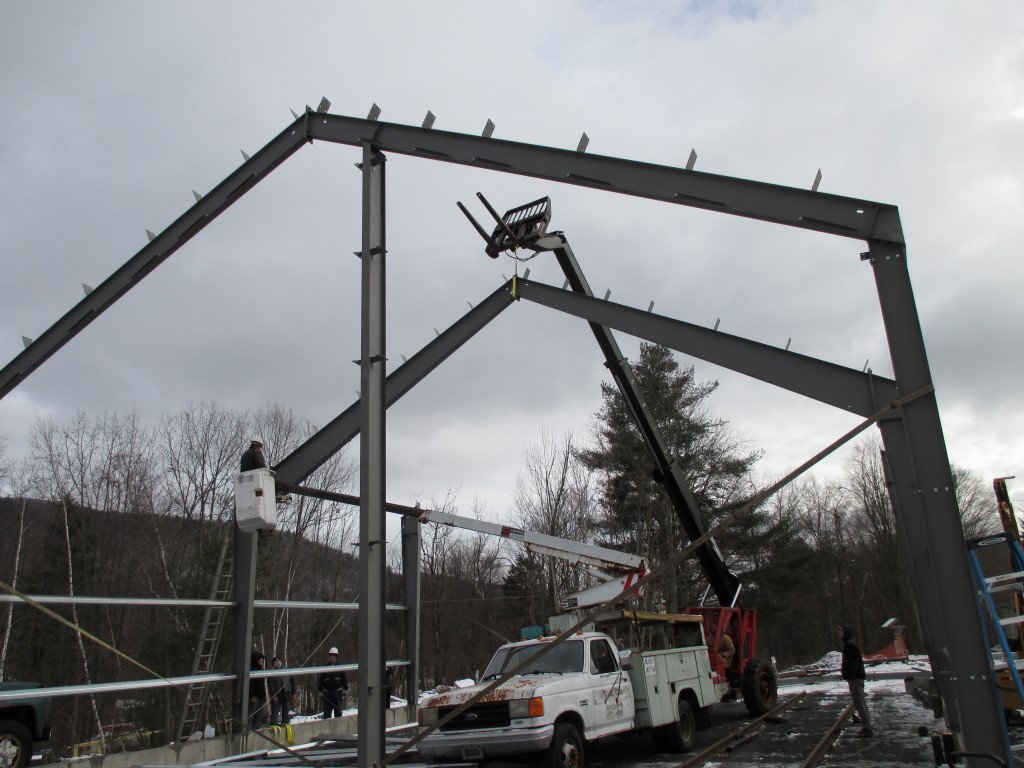
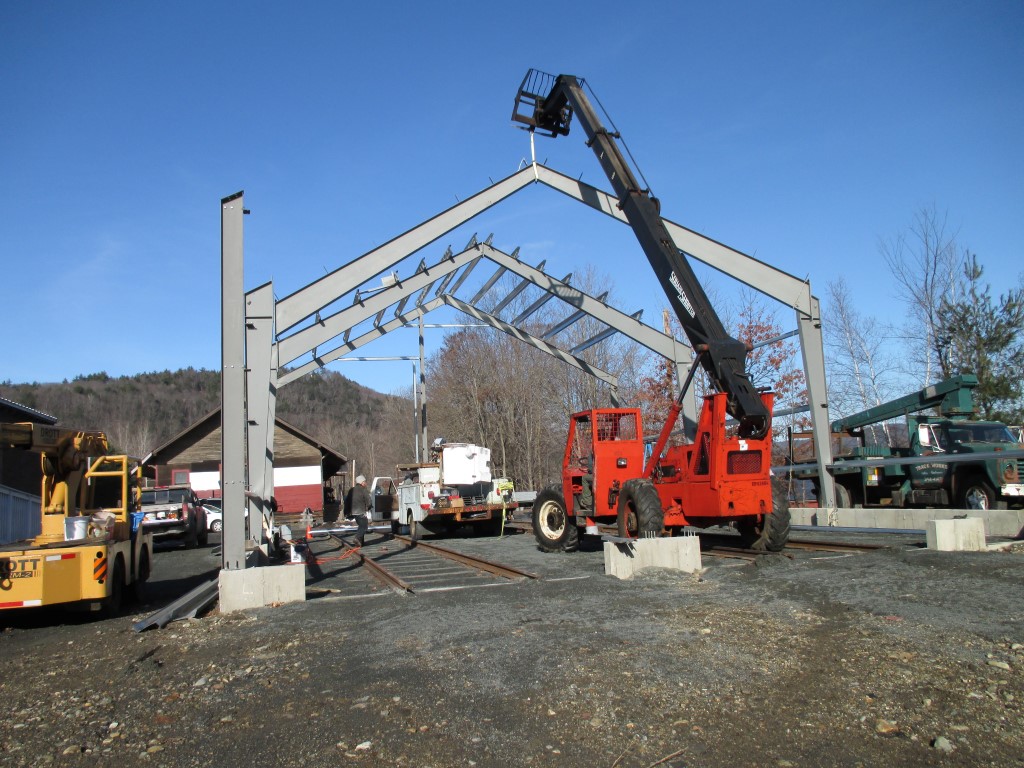
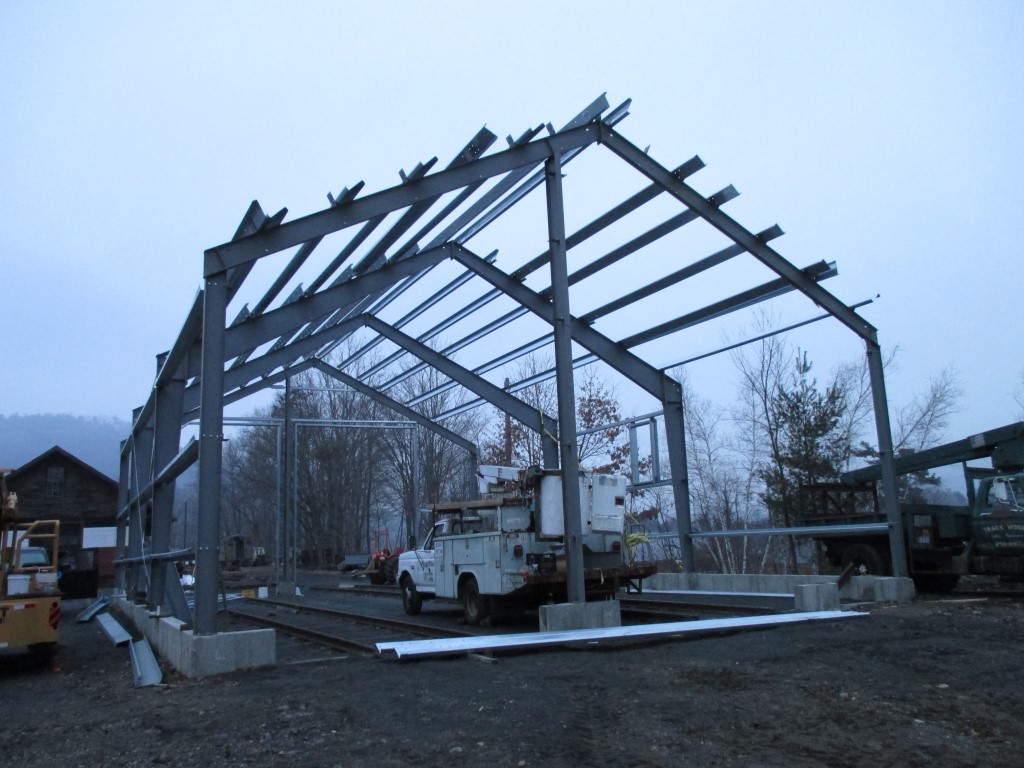
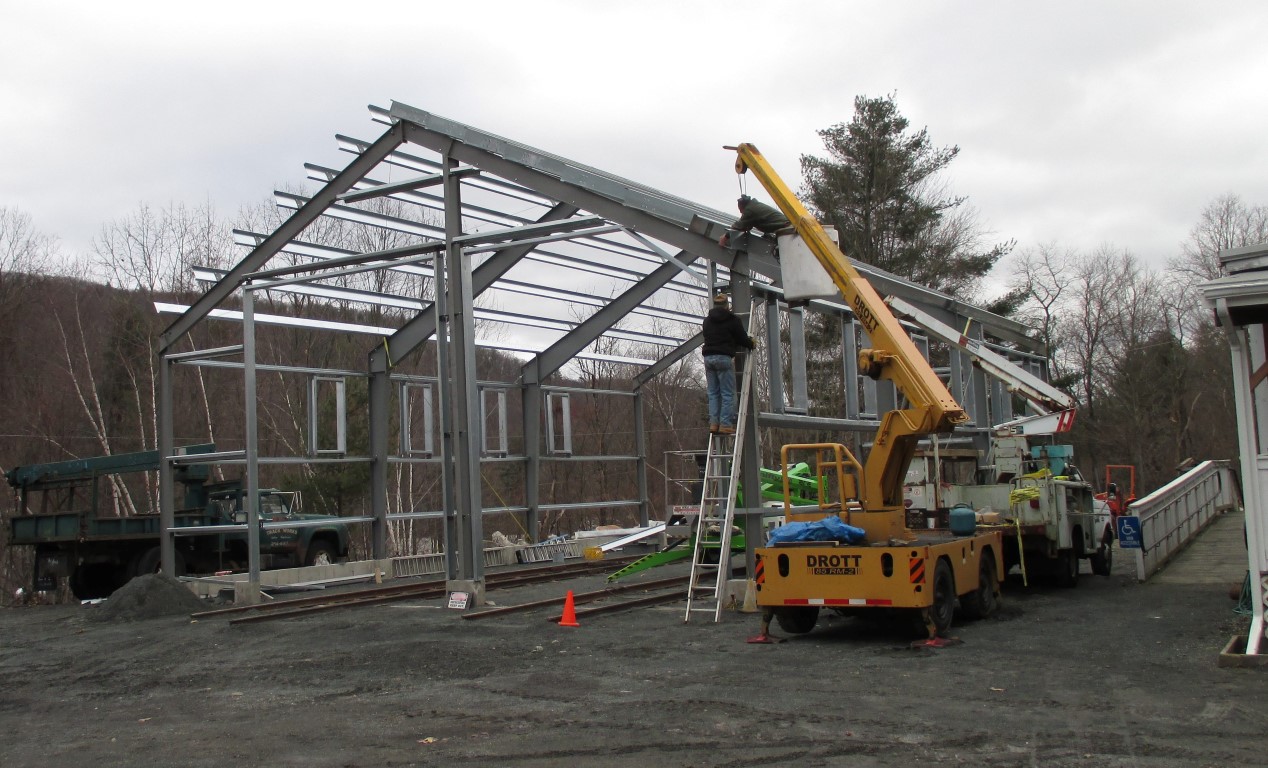
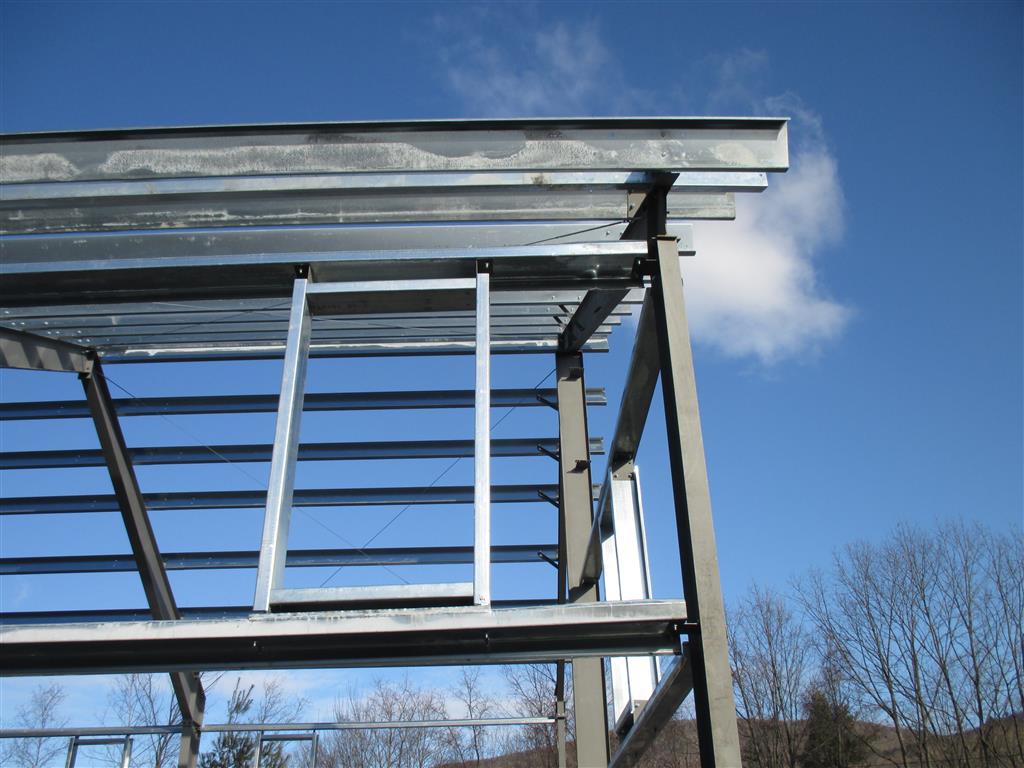
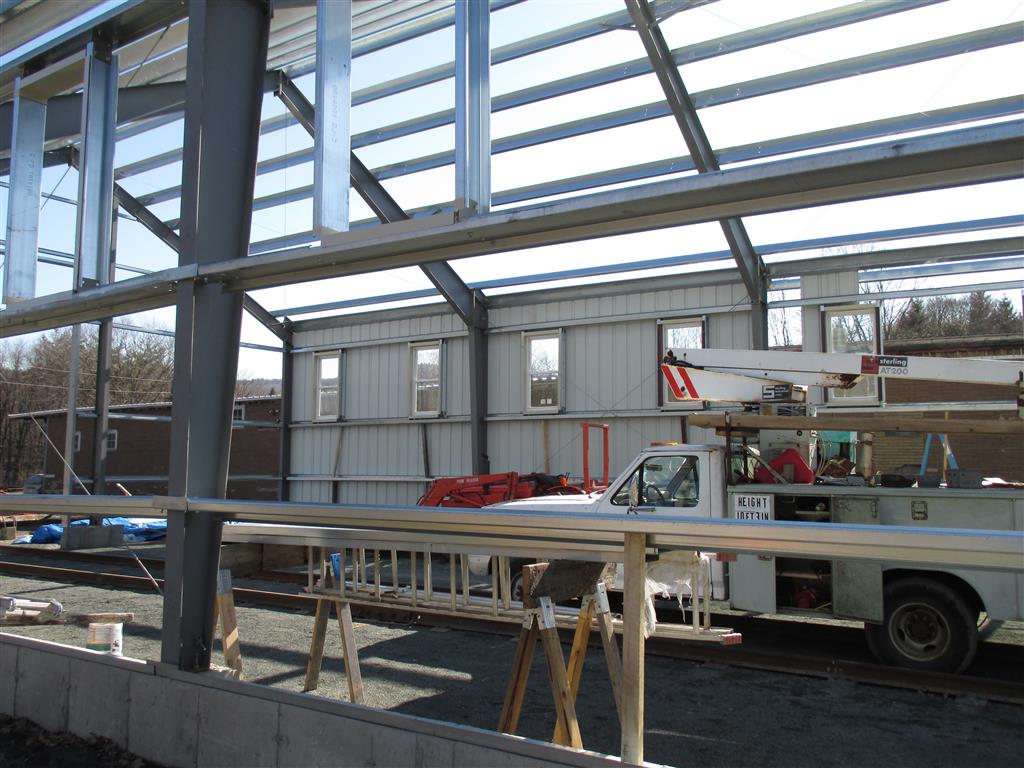
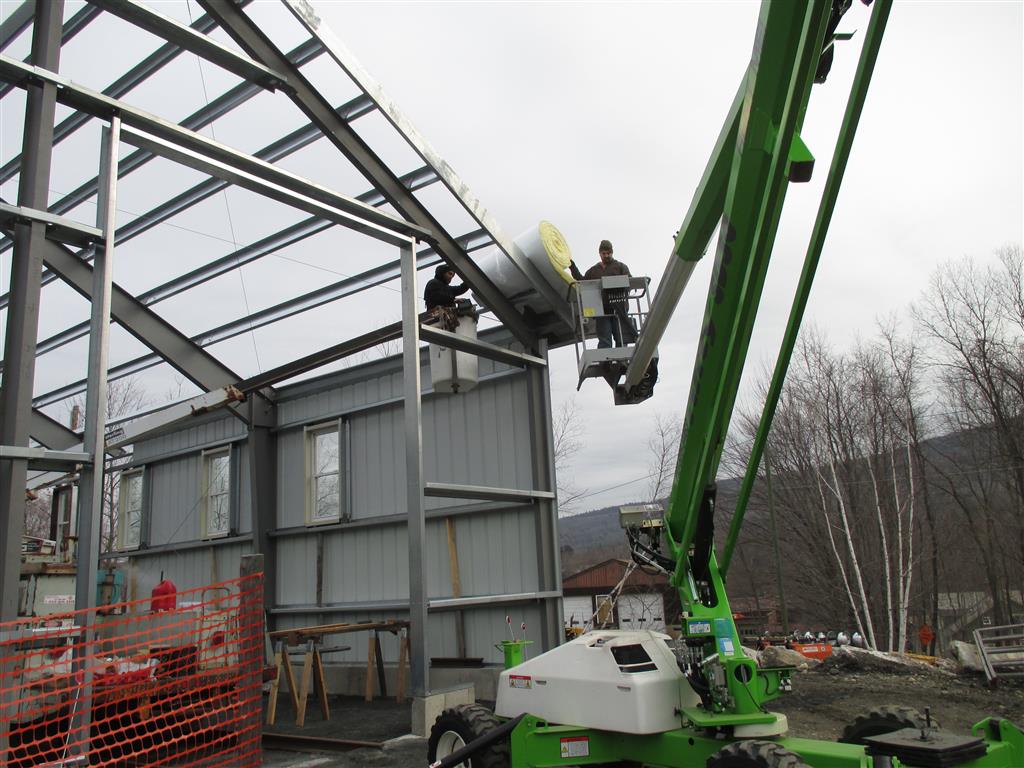
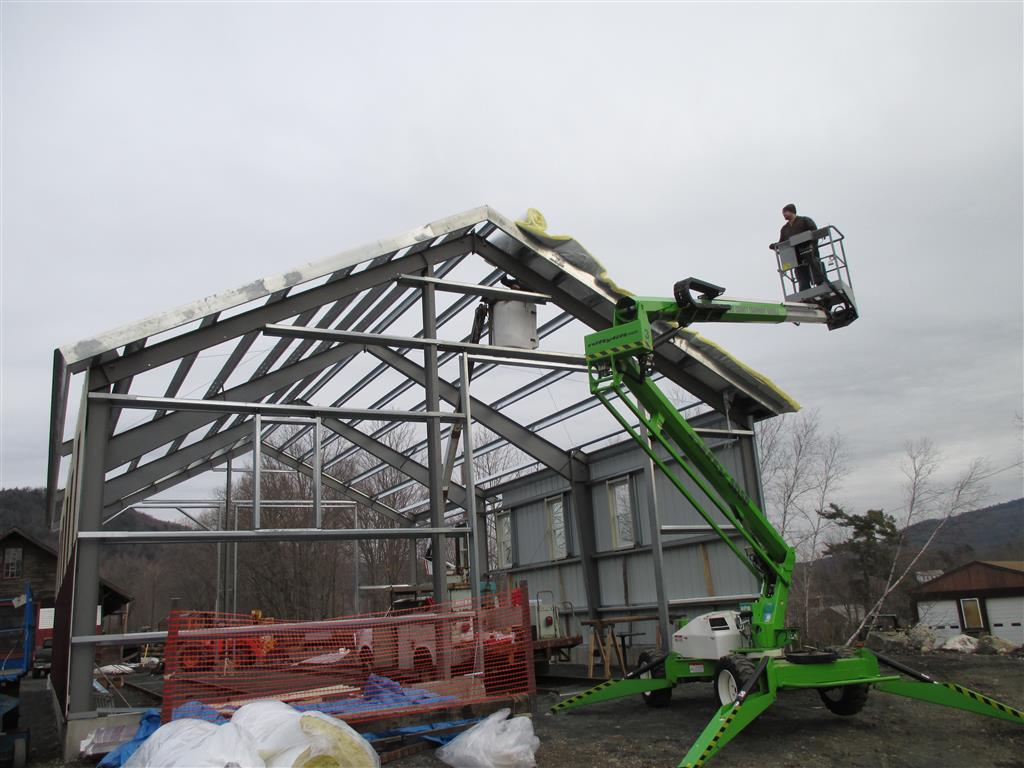
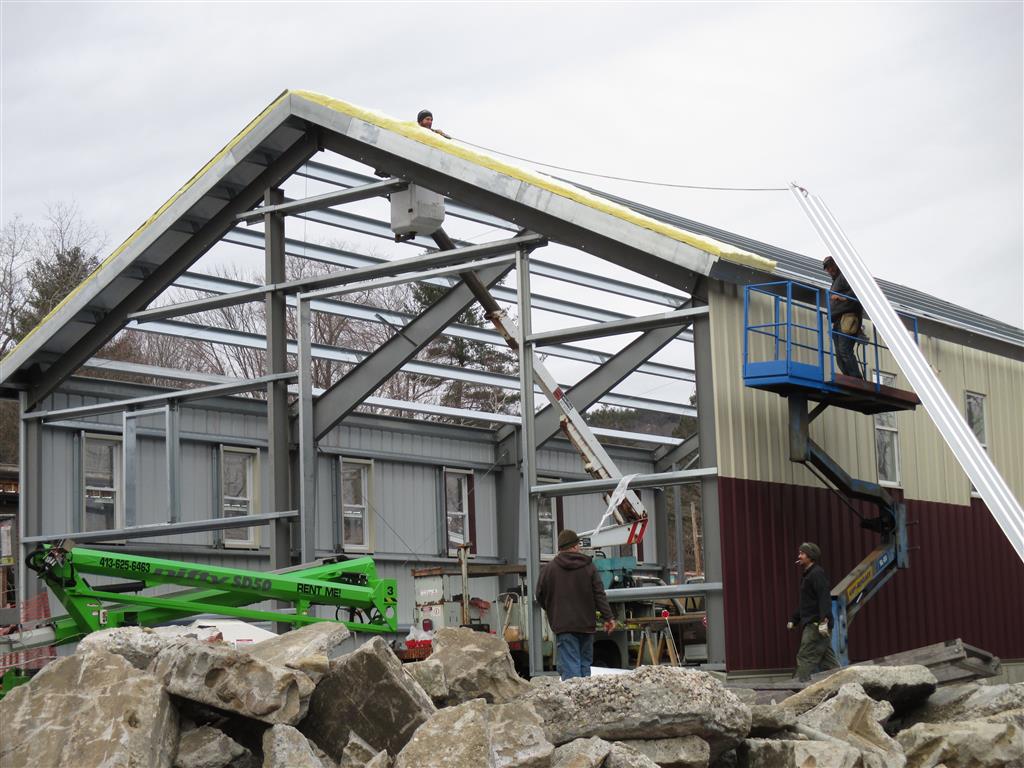
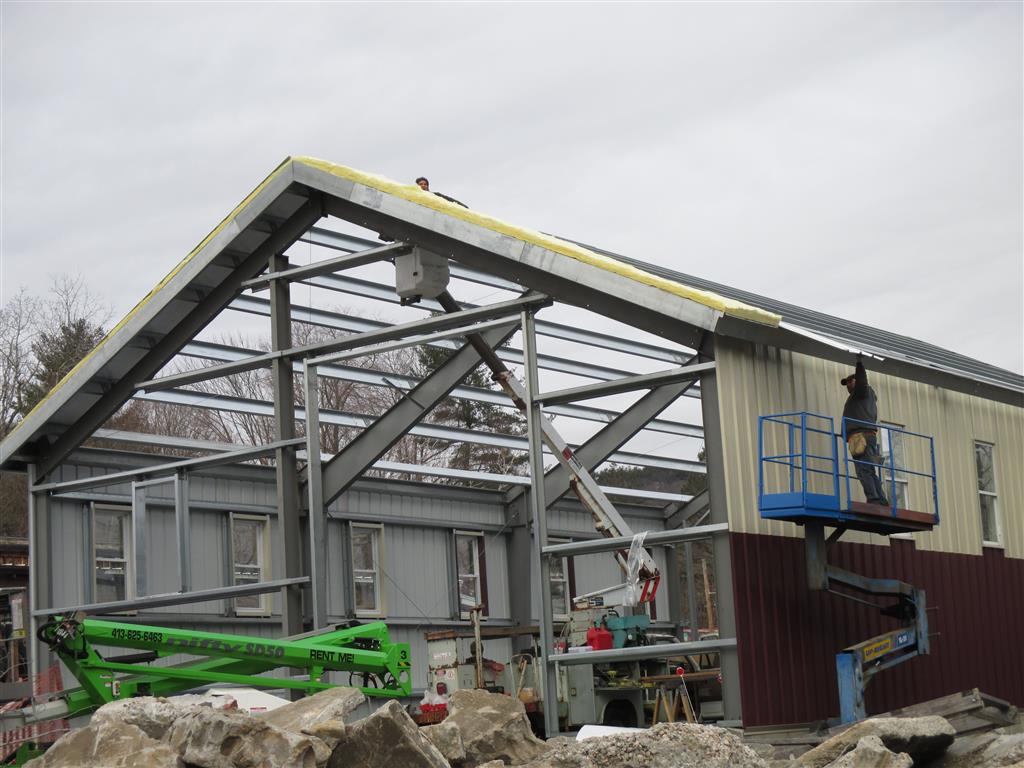
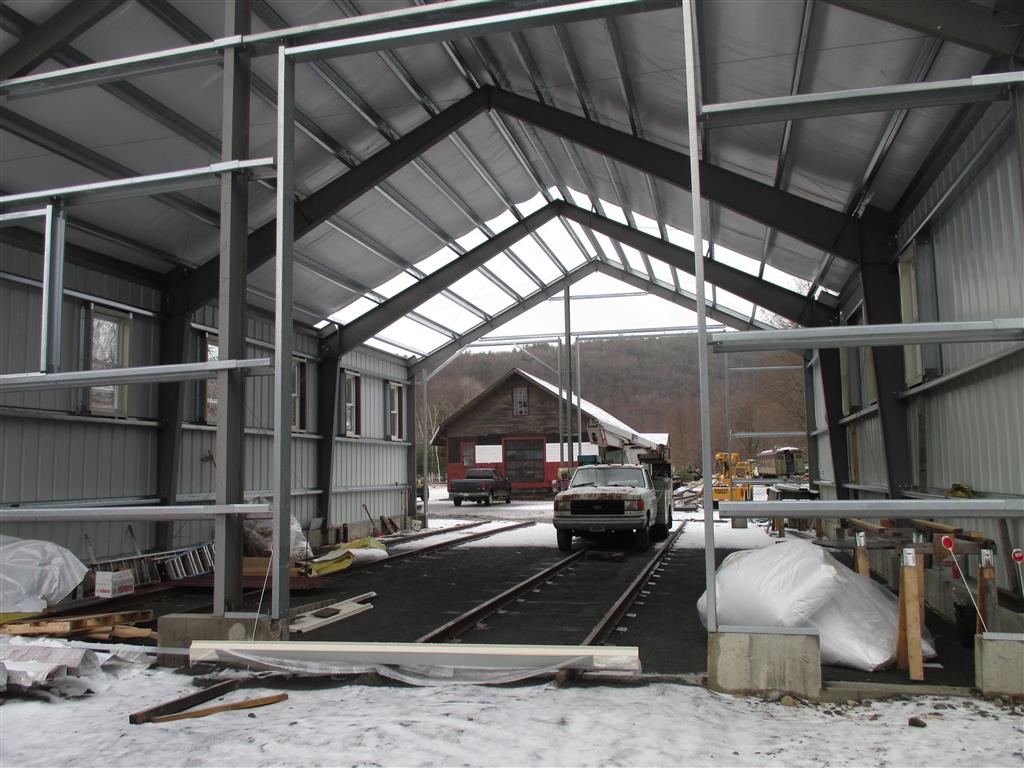
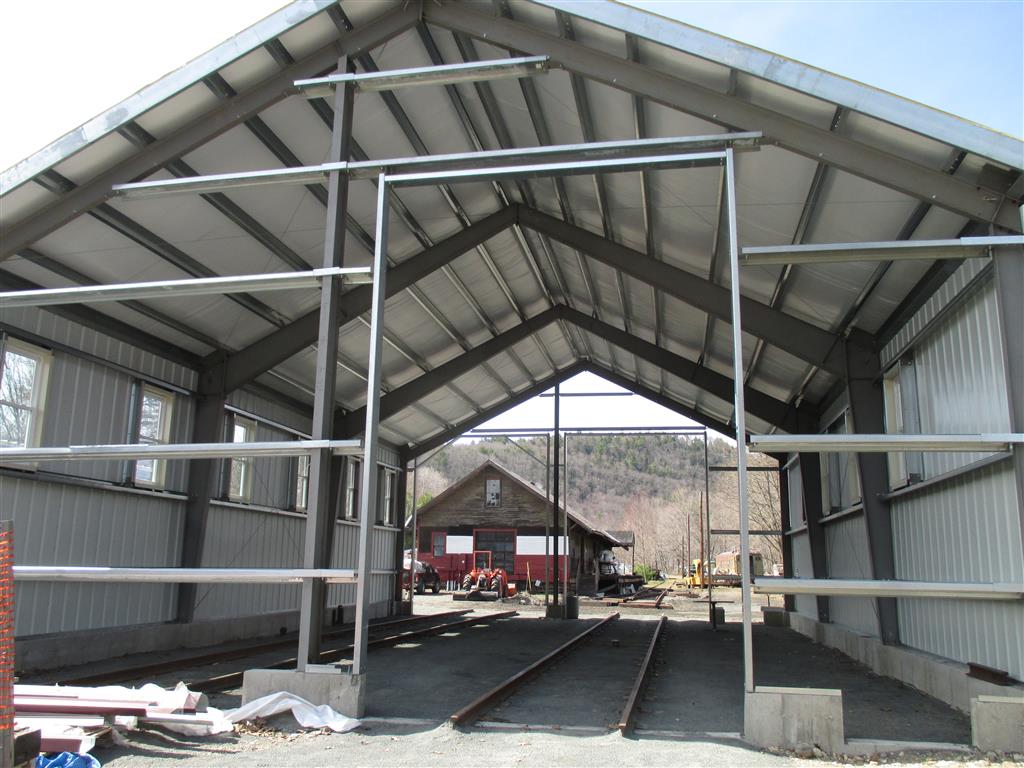
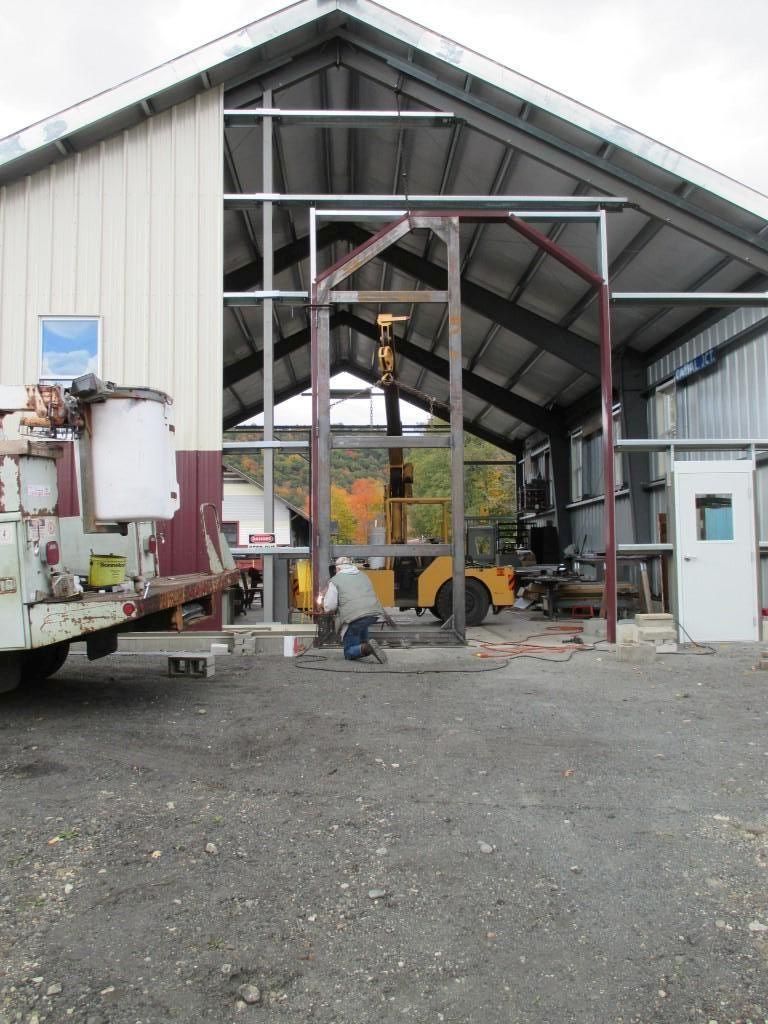
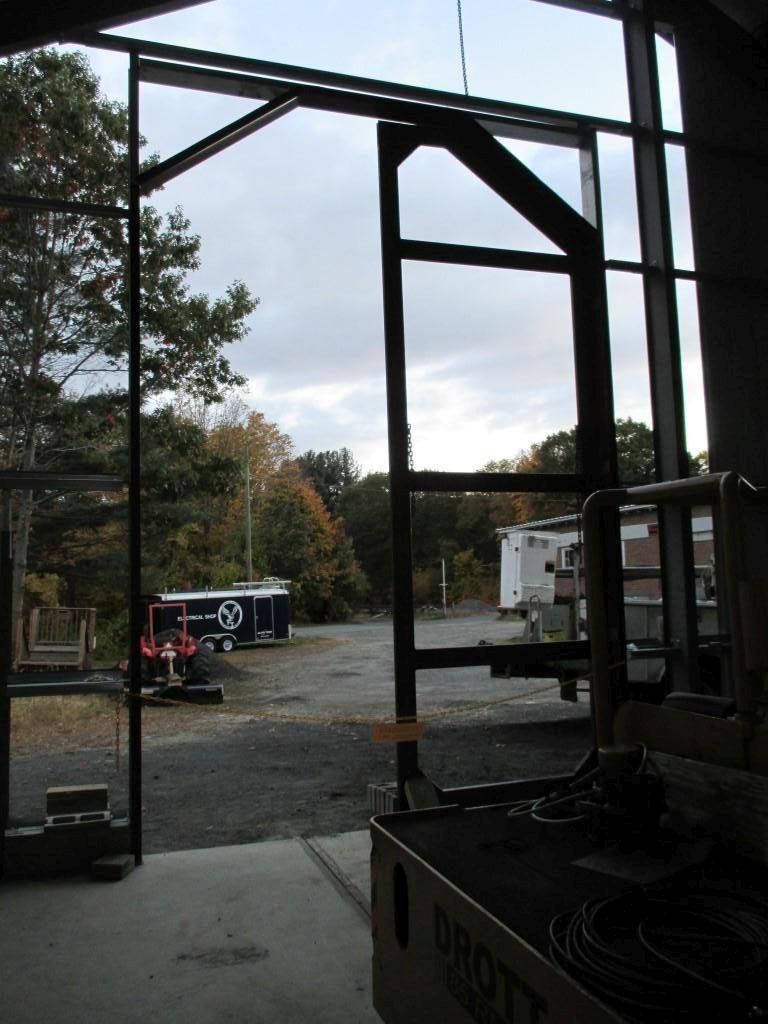
Frame, Winter 2014
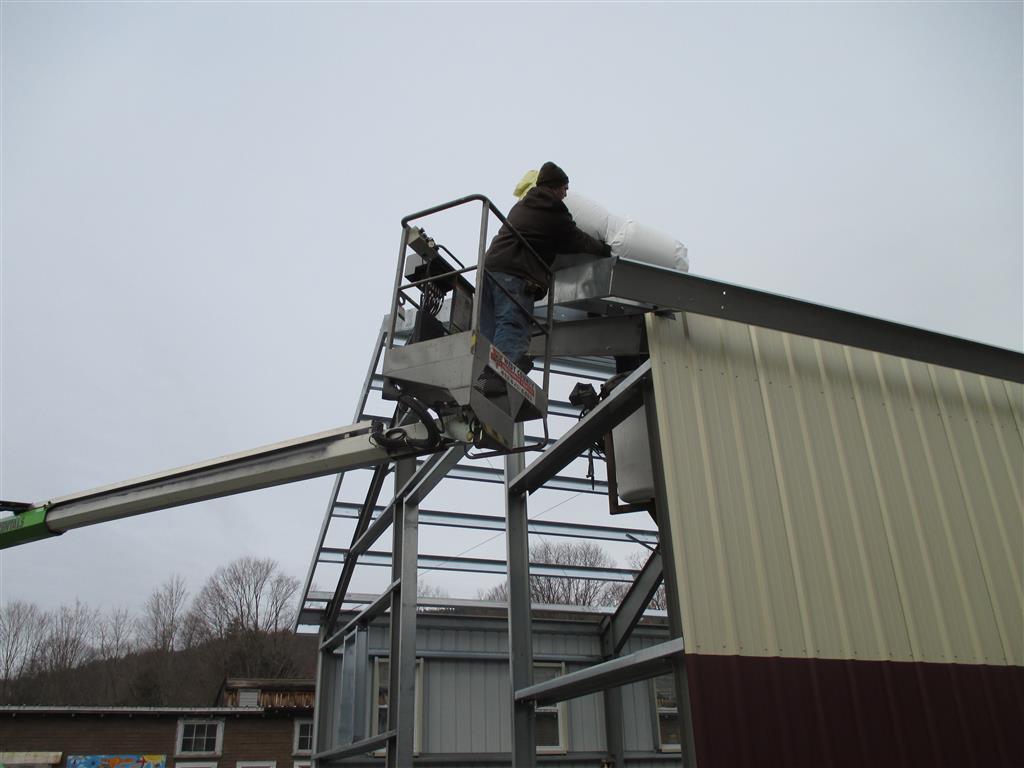
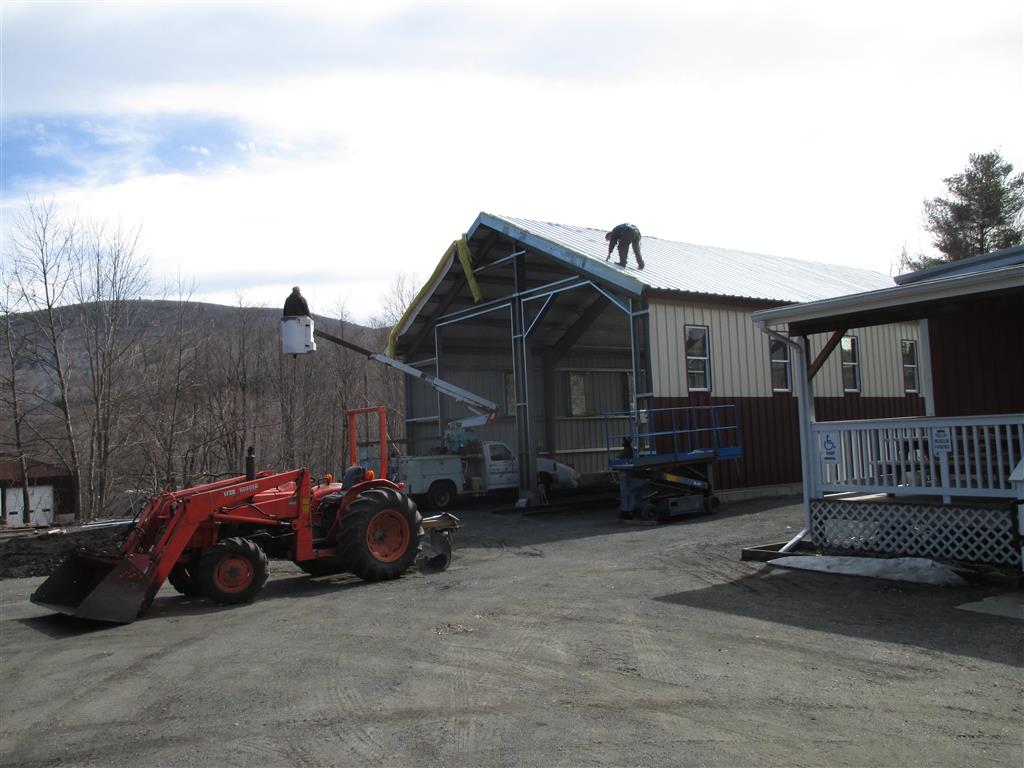
Siding, Windows and Roof, Spring 2015
Floor, Spring 2015
More siding and details, Summer 2015
Doors, Fall 2015/Winter 2016
Interior and overhead wiring, Spring 2016
Finale! Summer 2016


Spring 2015
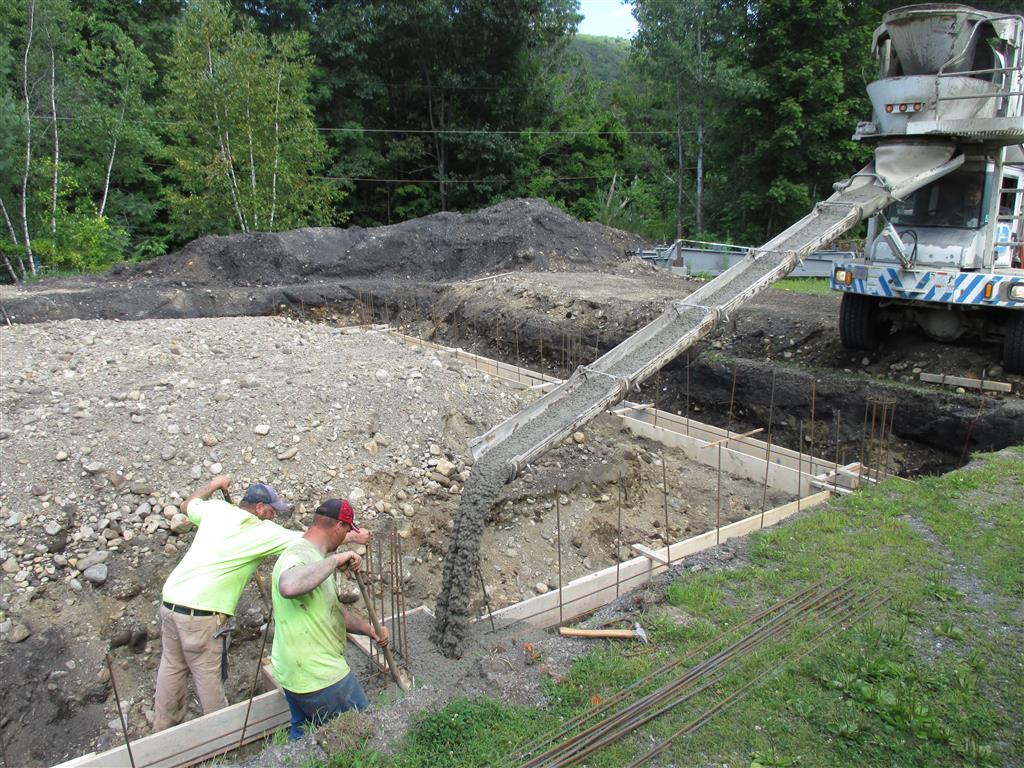
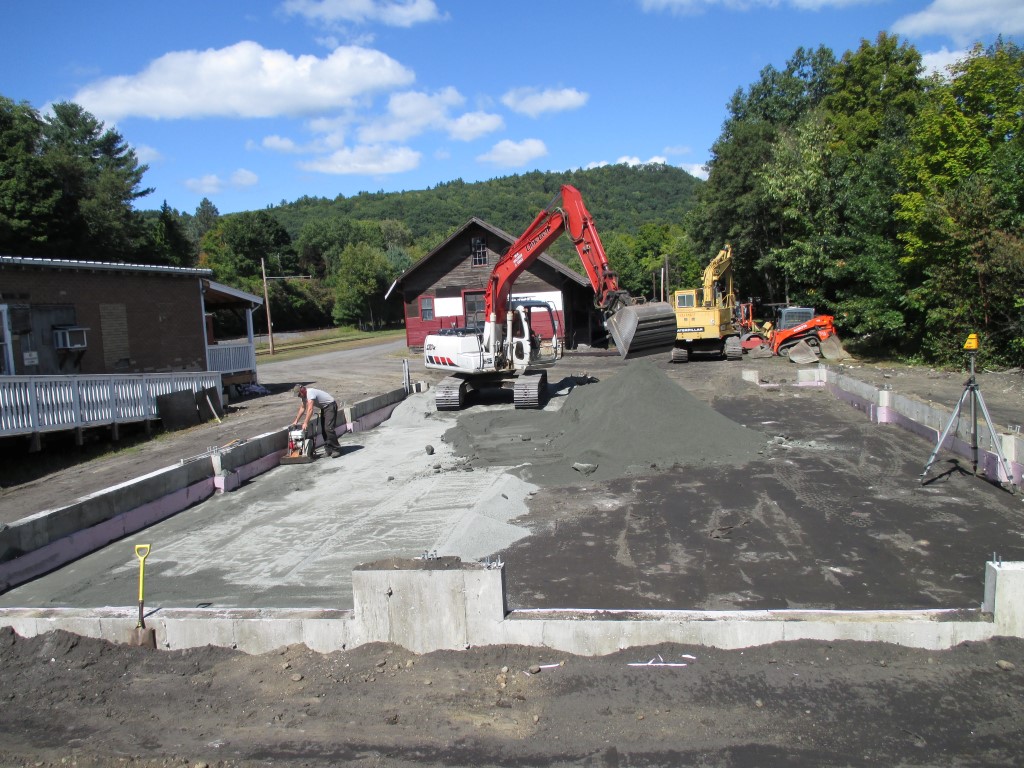
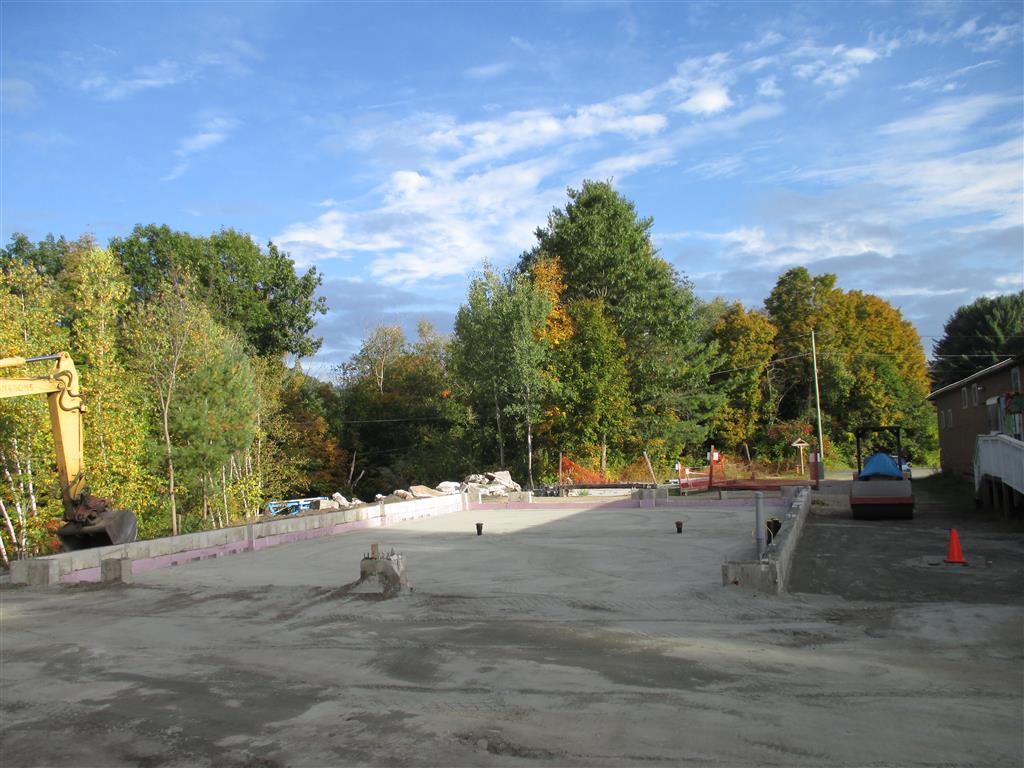
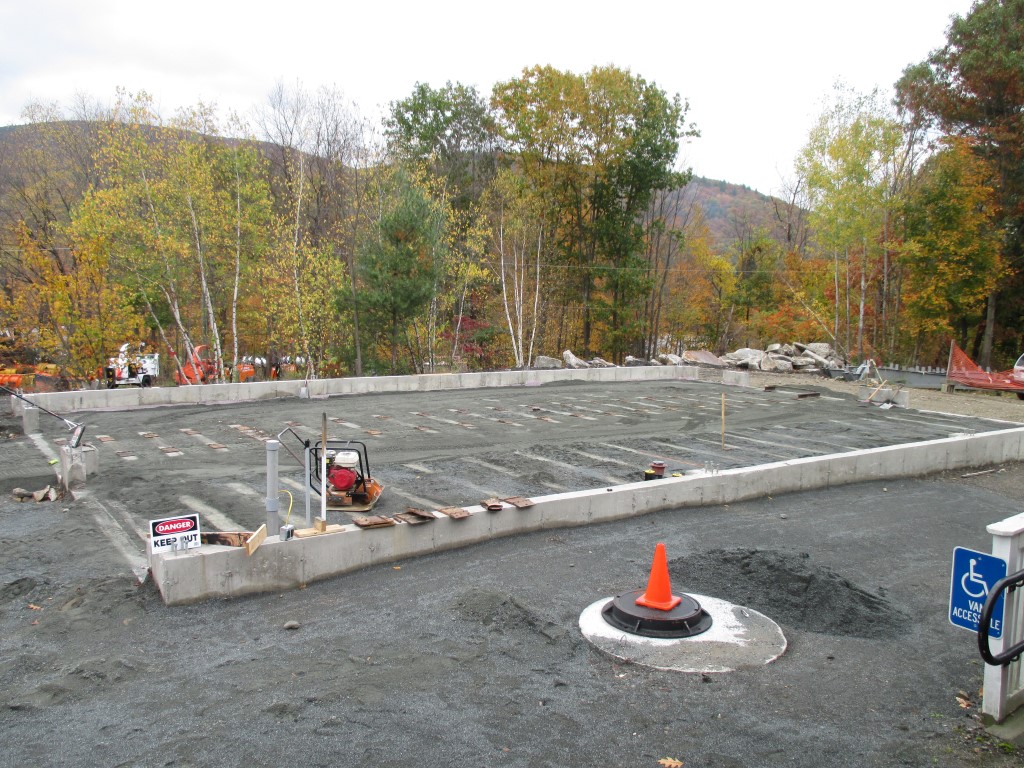
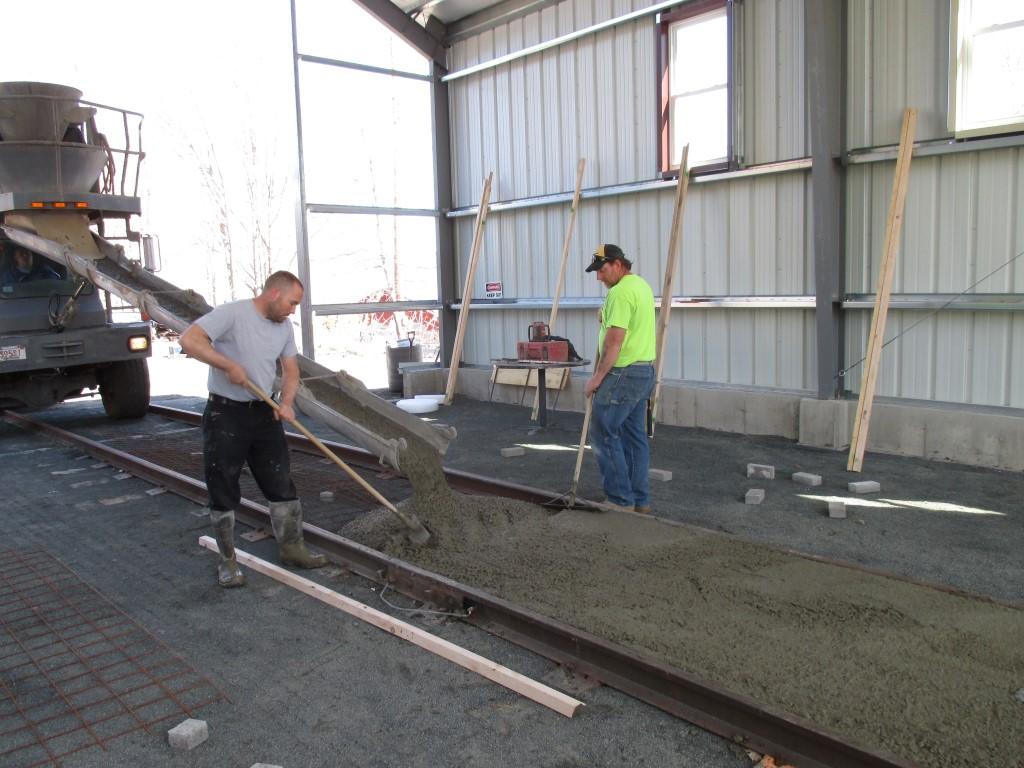
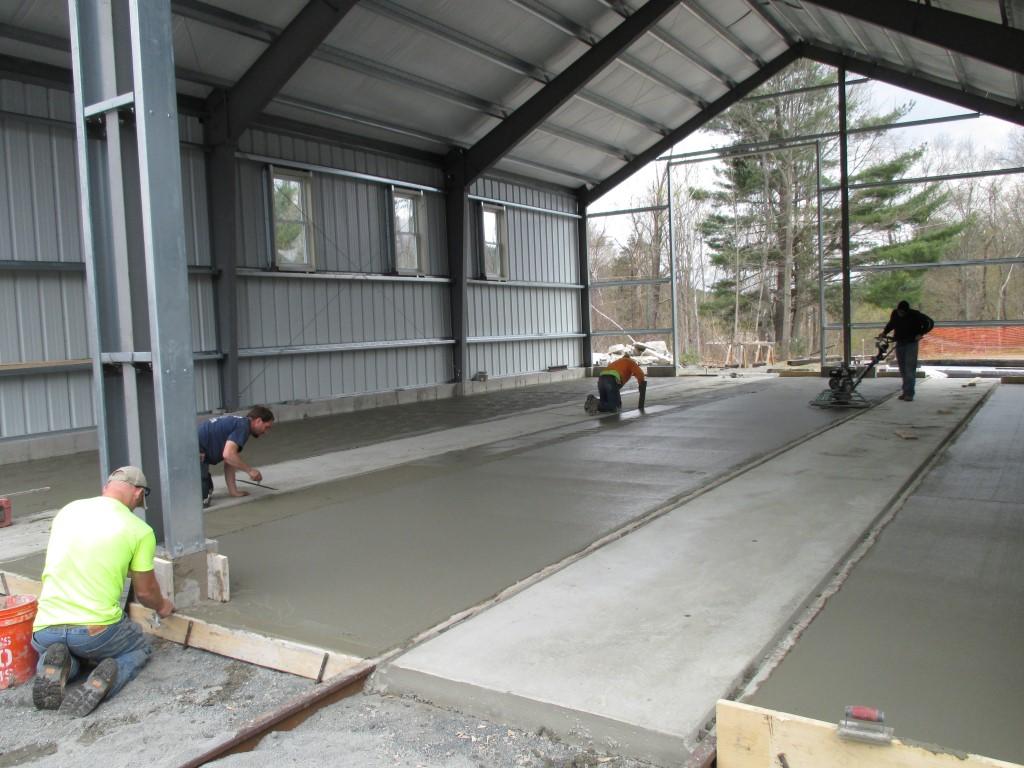
The next step was to pour the concrete floor.
Valley Concrete did this part of the job. We had hoped to do it in the fall, but just as we were ready with the tracks it got cold. So we waited for spring.
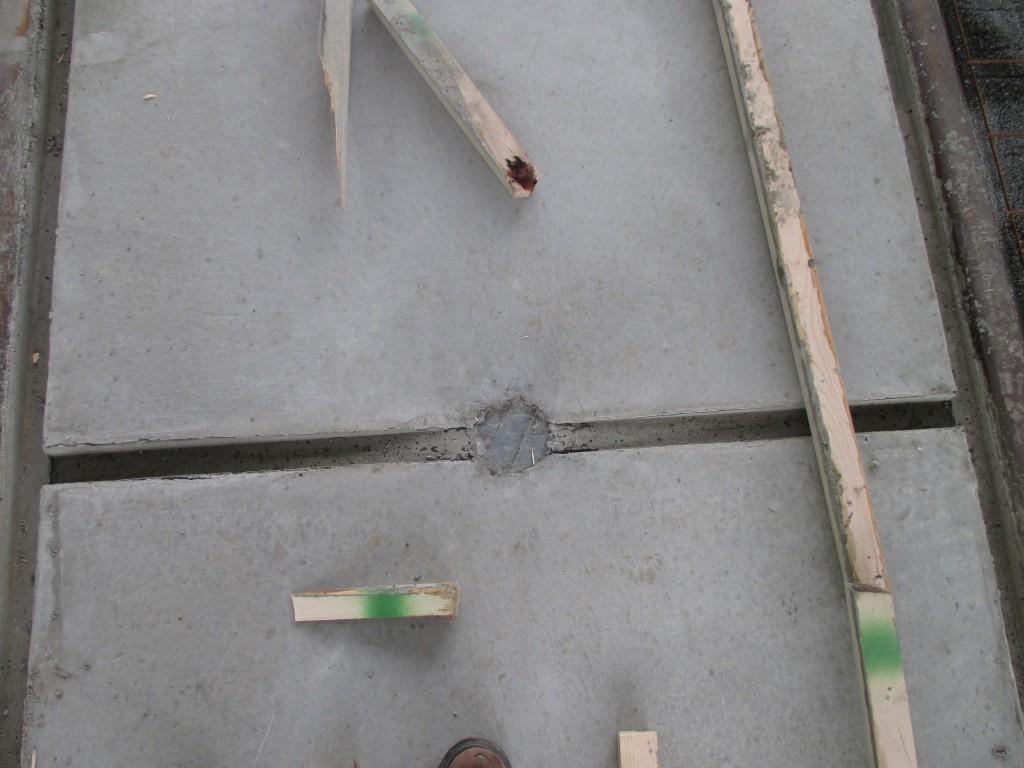
Below we can see that they poured the slabs between the rails first.
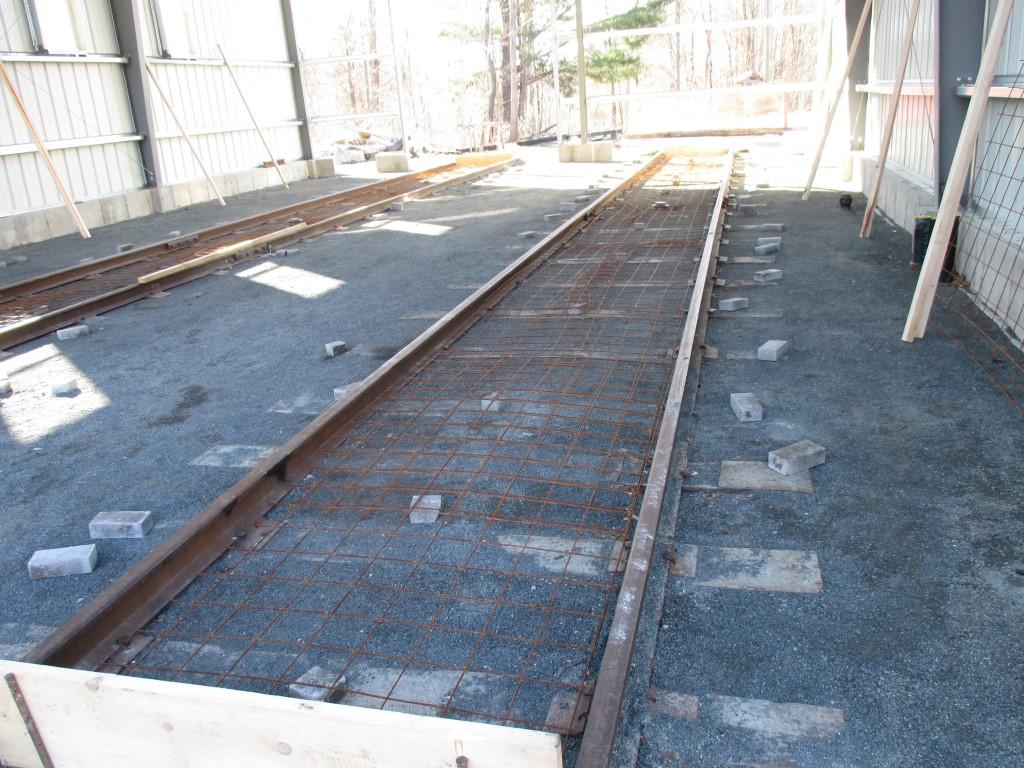
Reinforcing mesh is spread out and spaced off the grade.
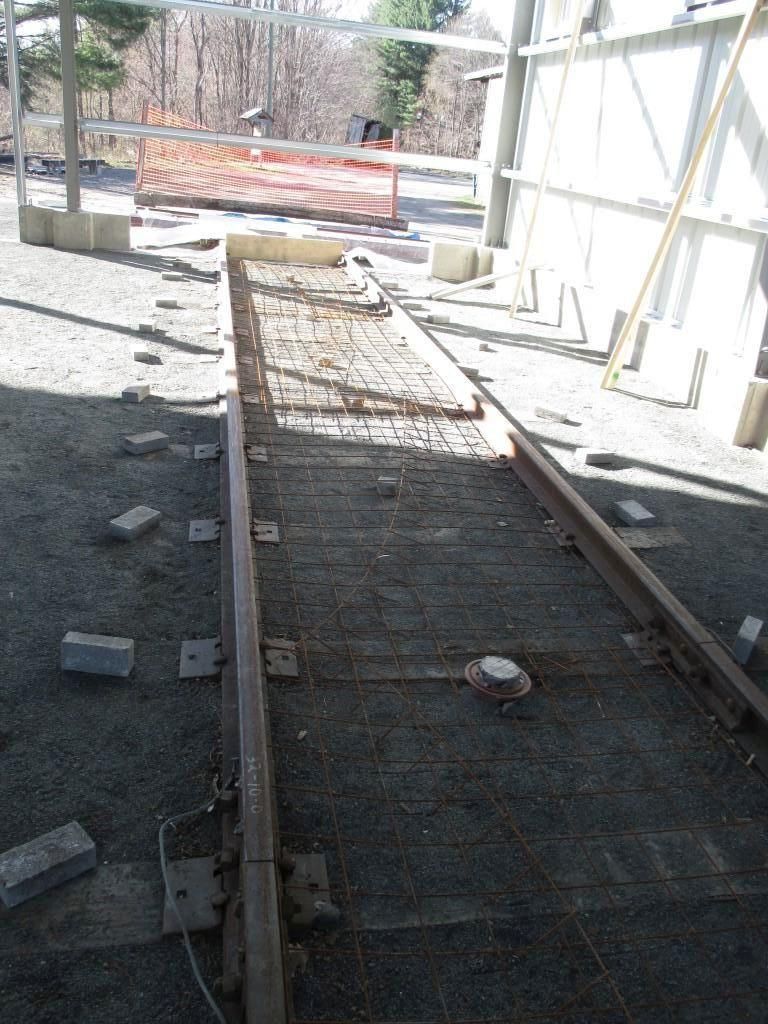
The floor drain was covered so it wouldn't get concrete in it.

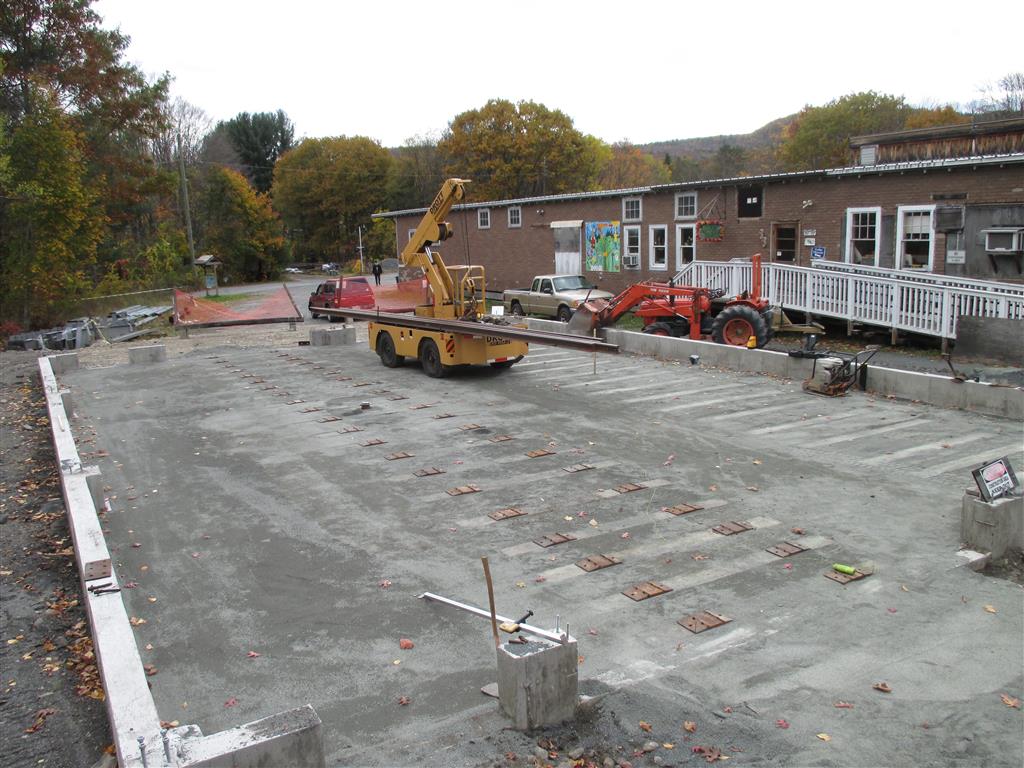
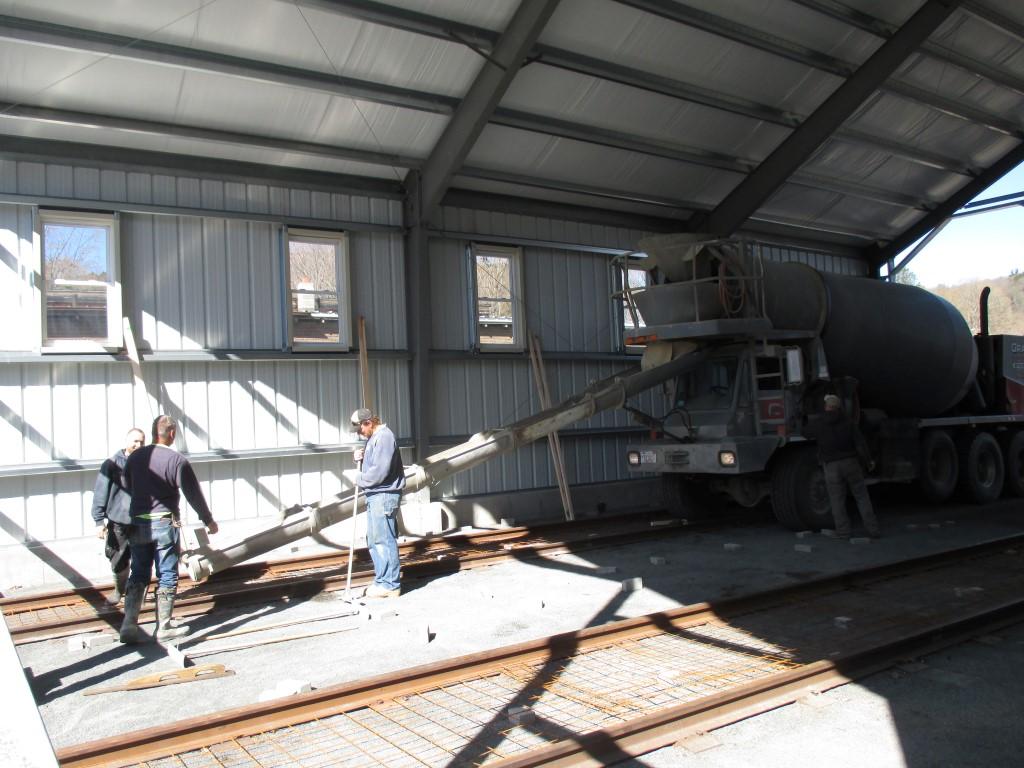
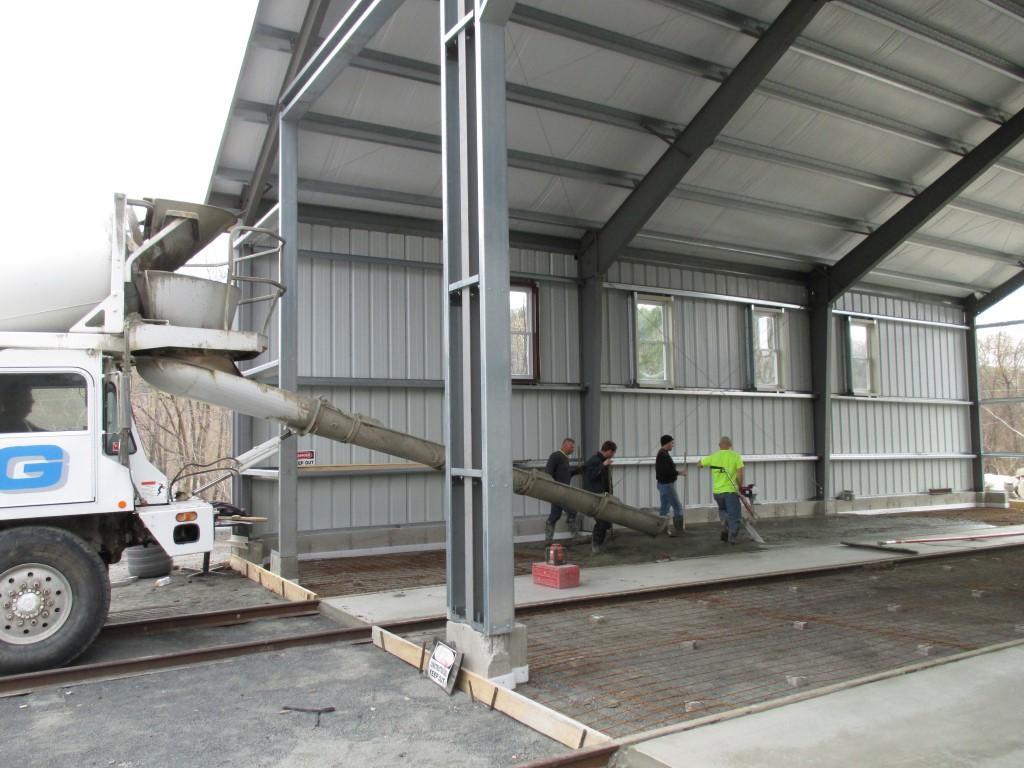
Nice to have a big building as they pour for Stall Two Track.
The 2x2s standing alongside are for forming the flangeways for the trolley wheels.
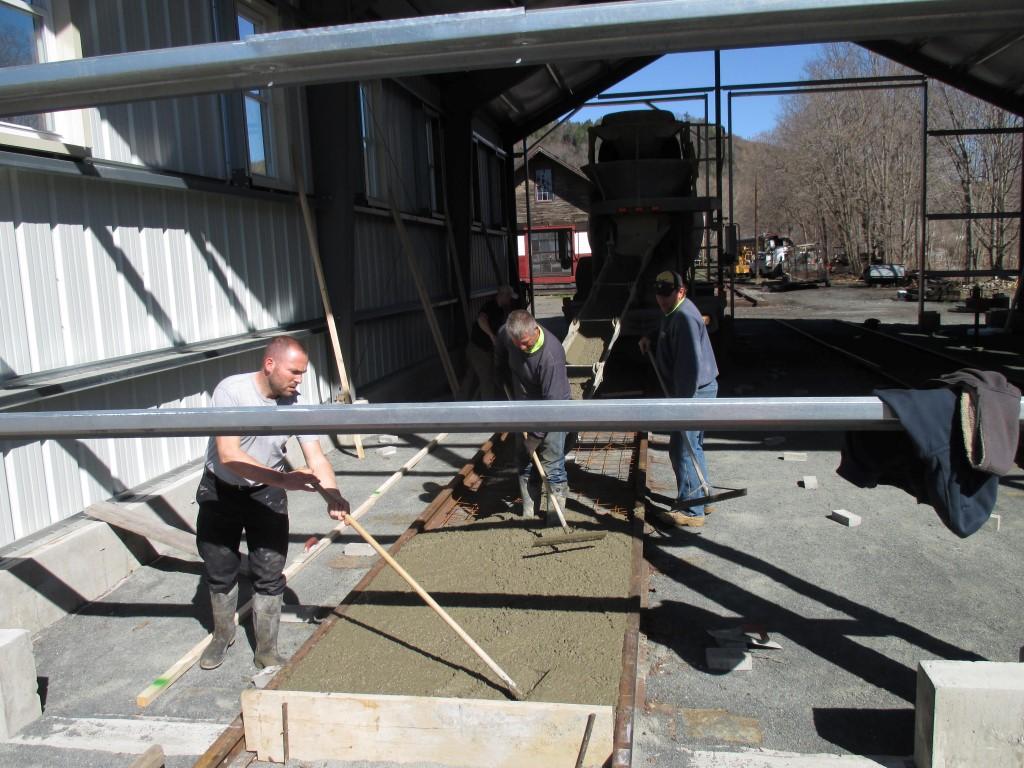
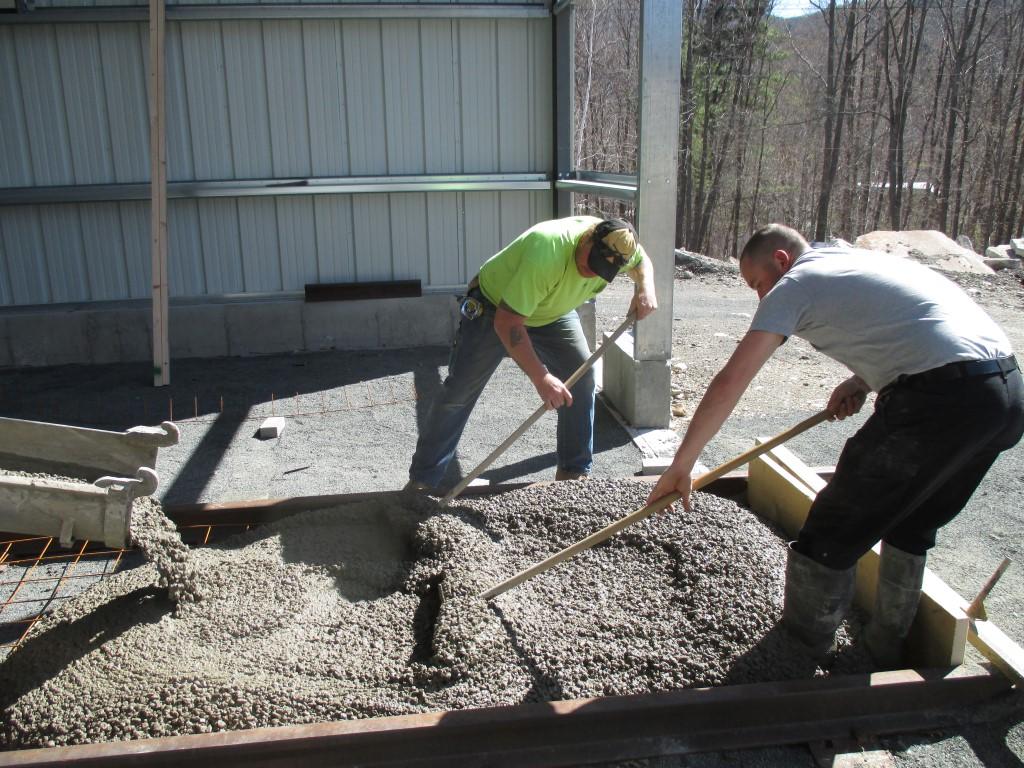
Spreading the mix..
Spreading the mix.
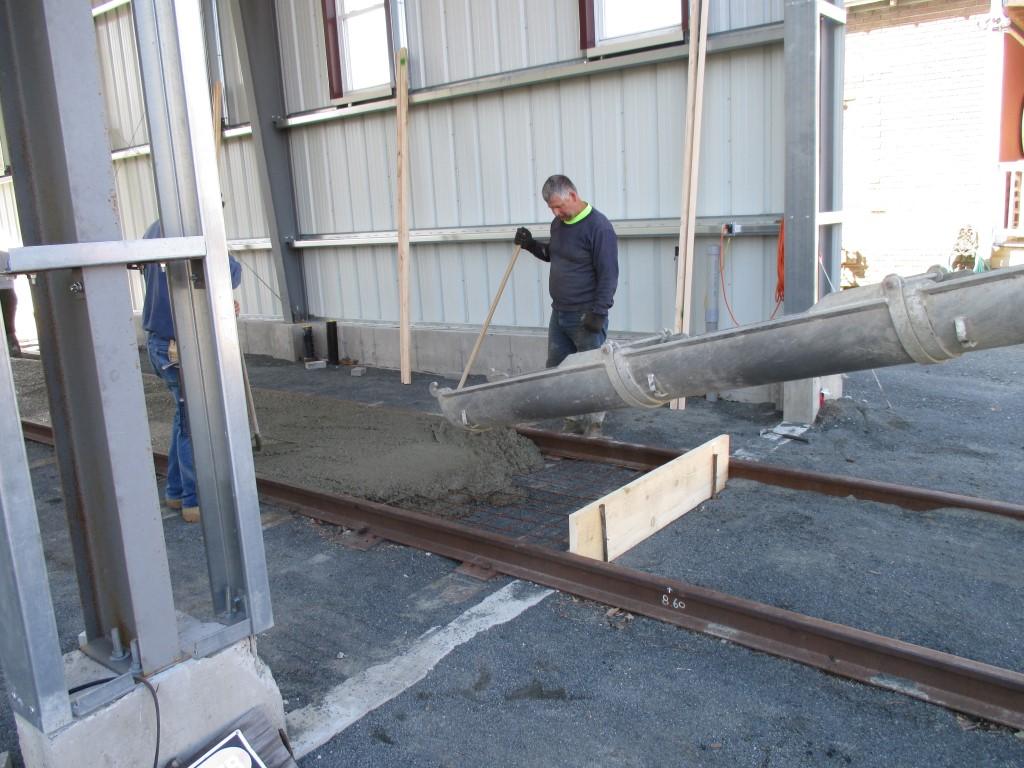
Spreading the mix.
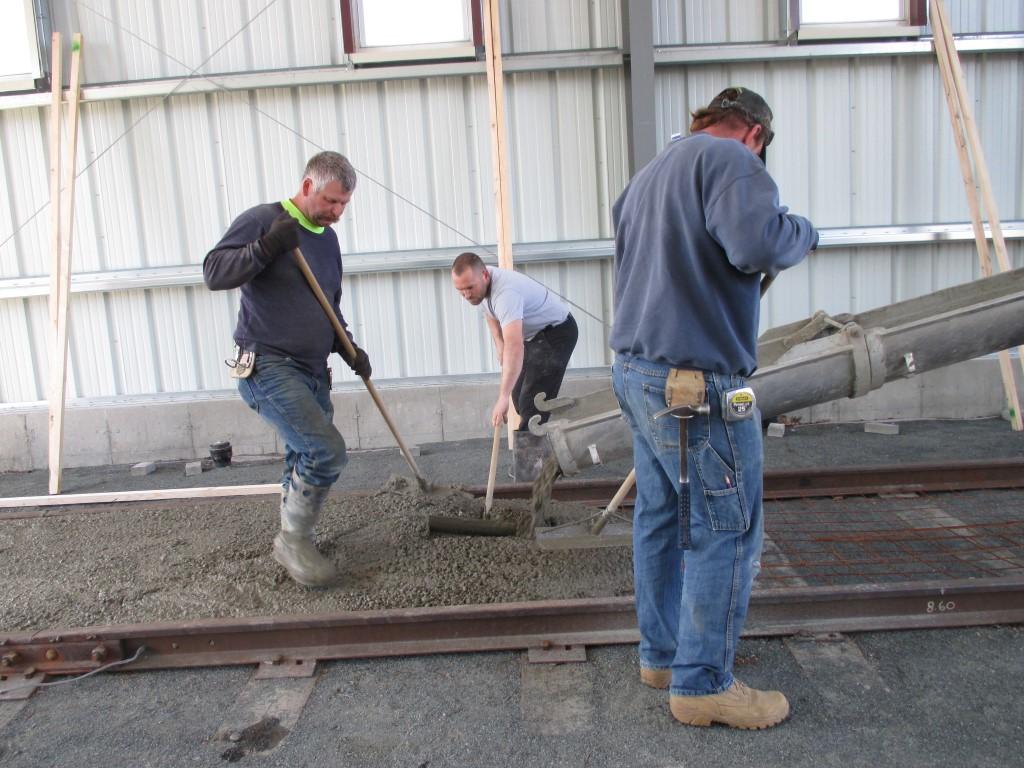
Pushing in the flangeway forms.

The blocks keep the forms from floating back up.
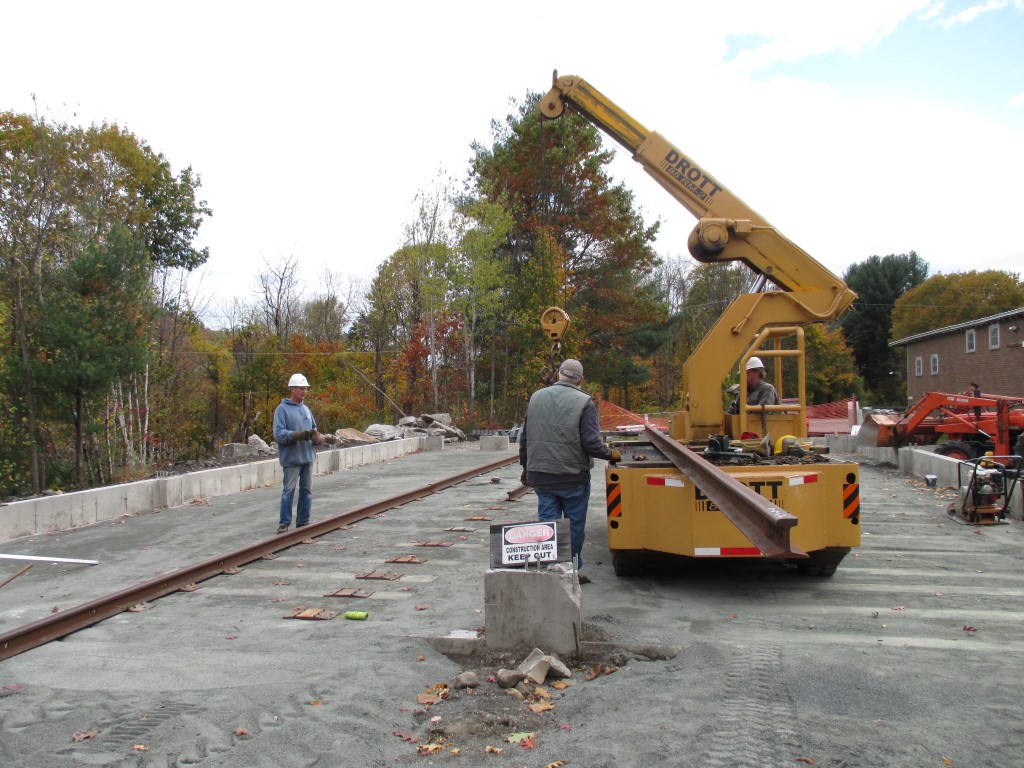
Stall One Track gets filled next.
Stall Two is smoothed off, still some flange-fillers to be put in.
Finishing up Stall One Track.

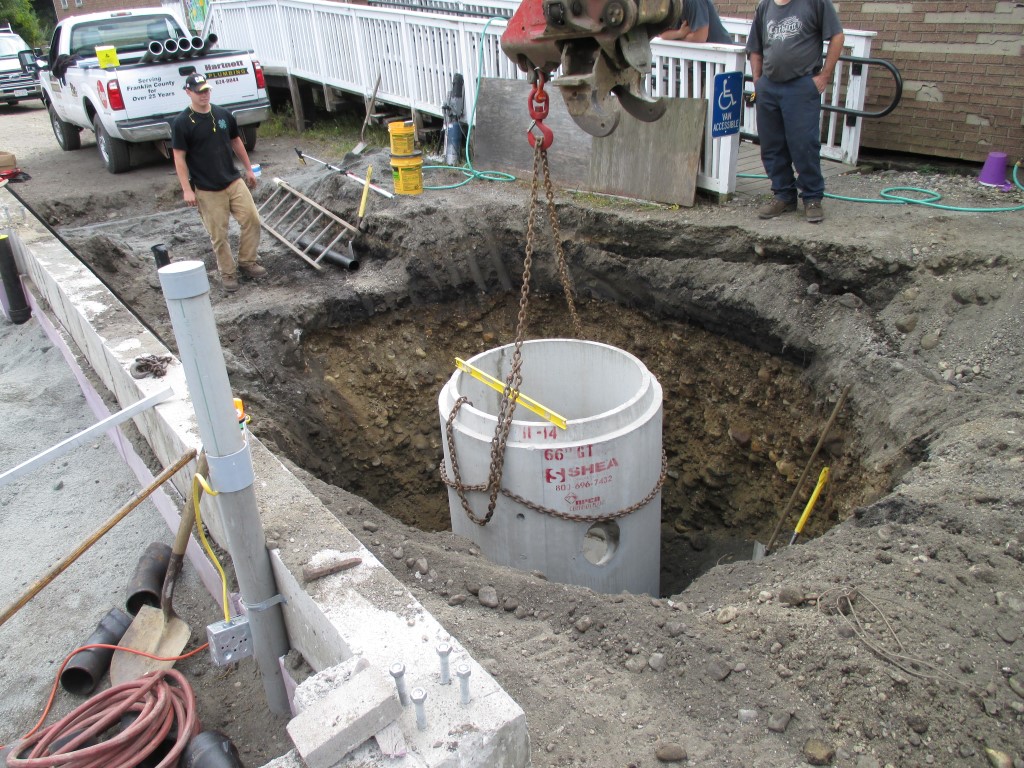
Some extra mix was filled around the oil-water separator to make it easier to plow.
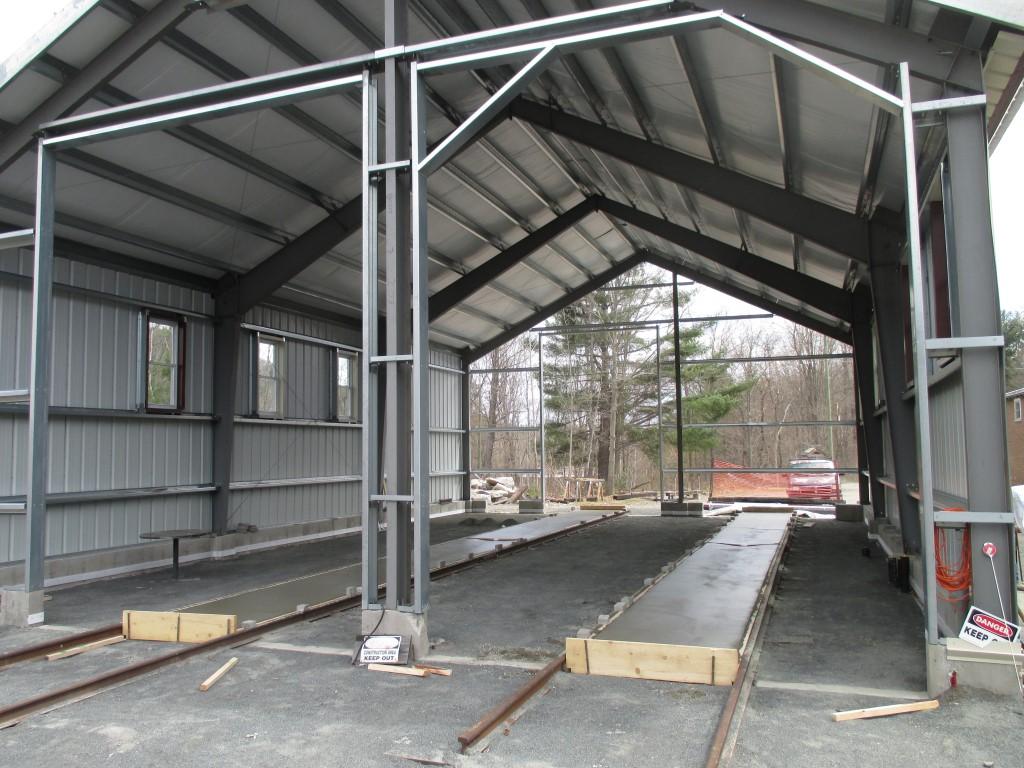
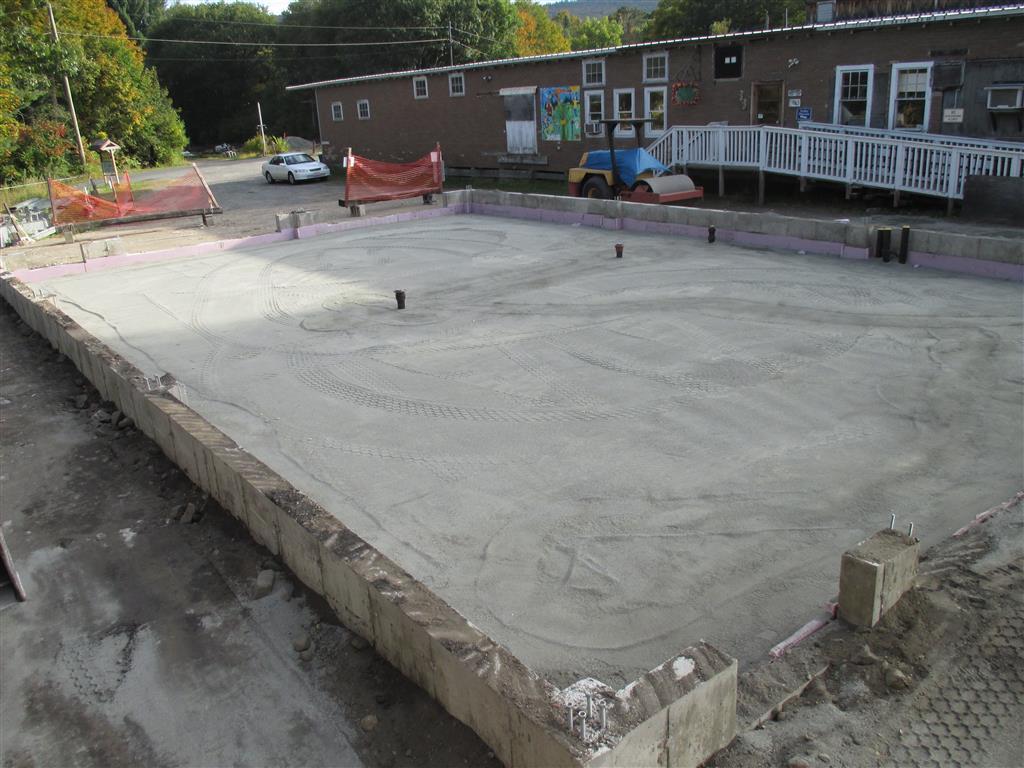
Both Tracks are curing.
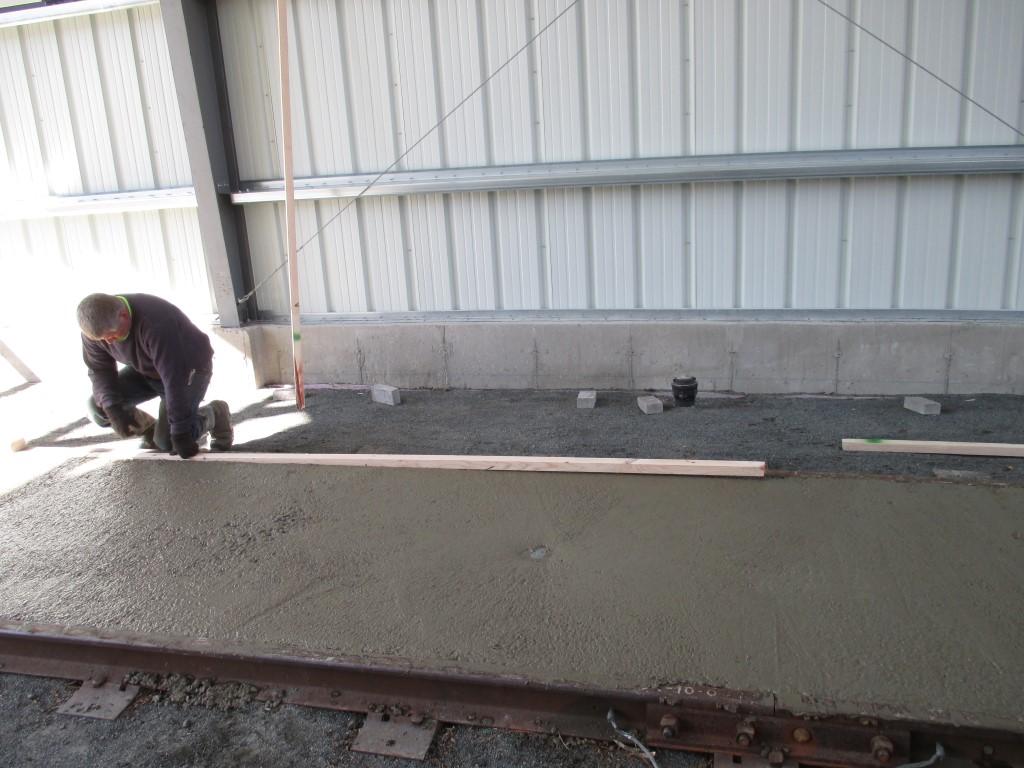
Now for the rest of the floor.
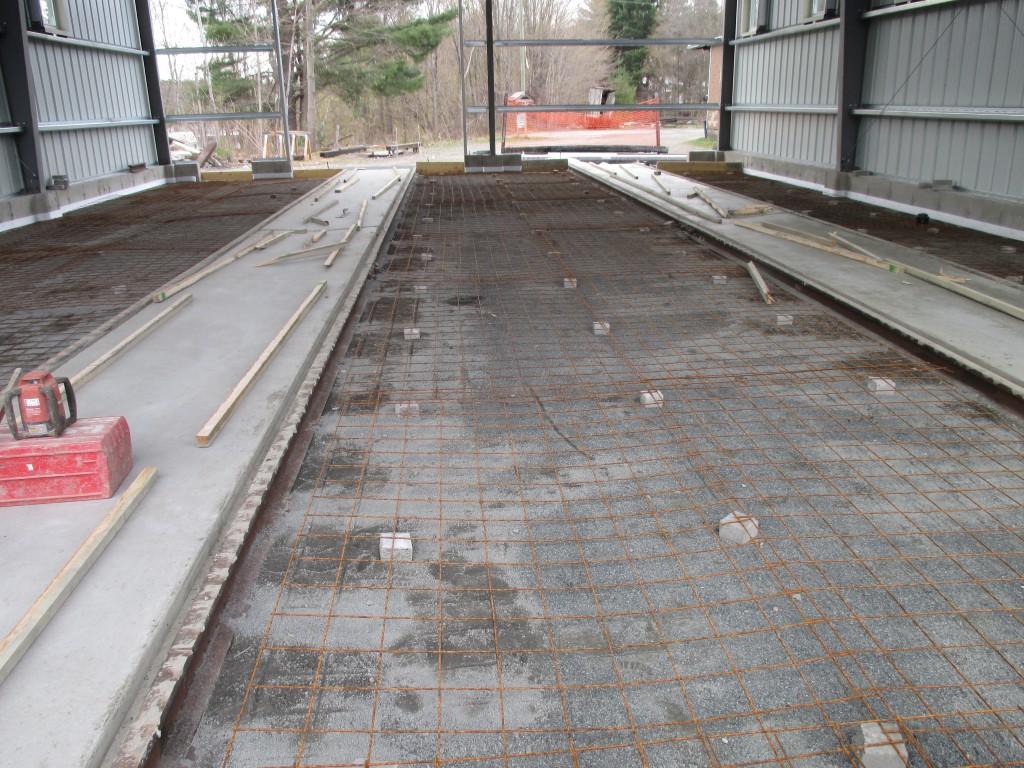
The 'gauge' slab (between the rails) is cured and the flange-forms removed, reinforcing mesh is spread.
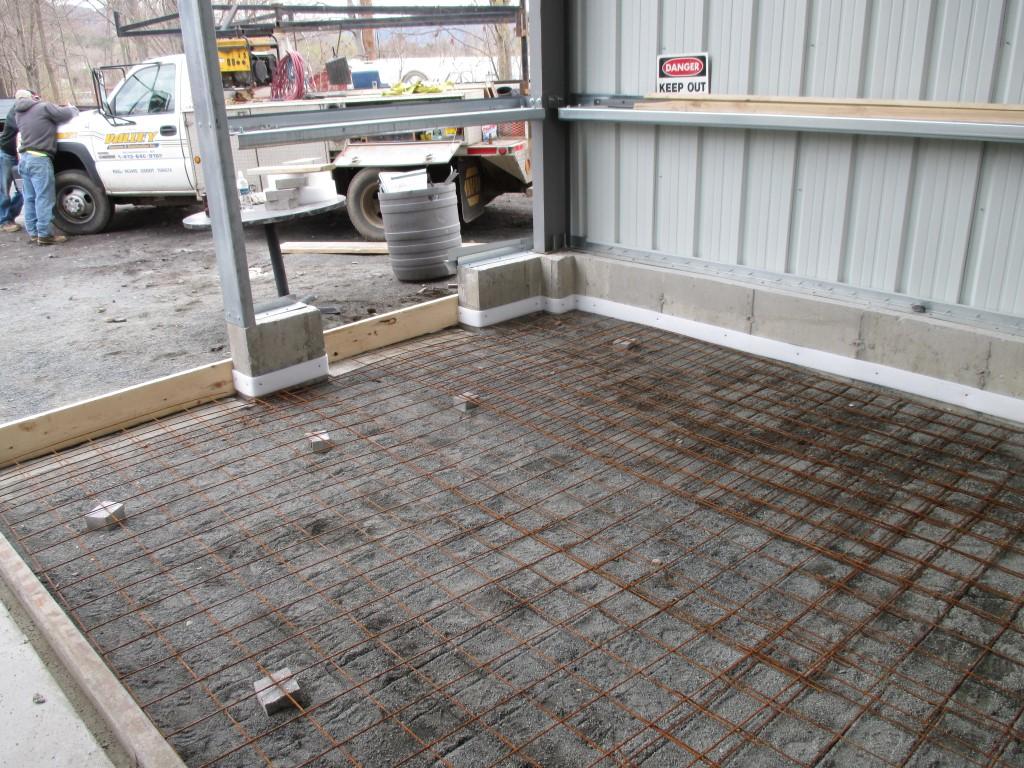
A bond break was added along the walls to keep the slab and frost walls separated.
The floor drains use the flangeways as gutters.

In the far corner (SE) we left an opening so if we want to bring in water and sewer we won't have to bust open the floor.
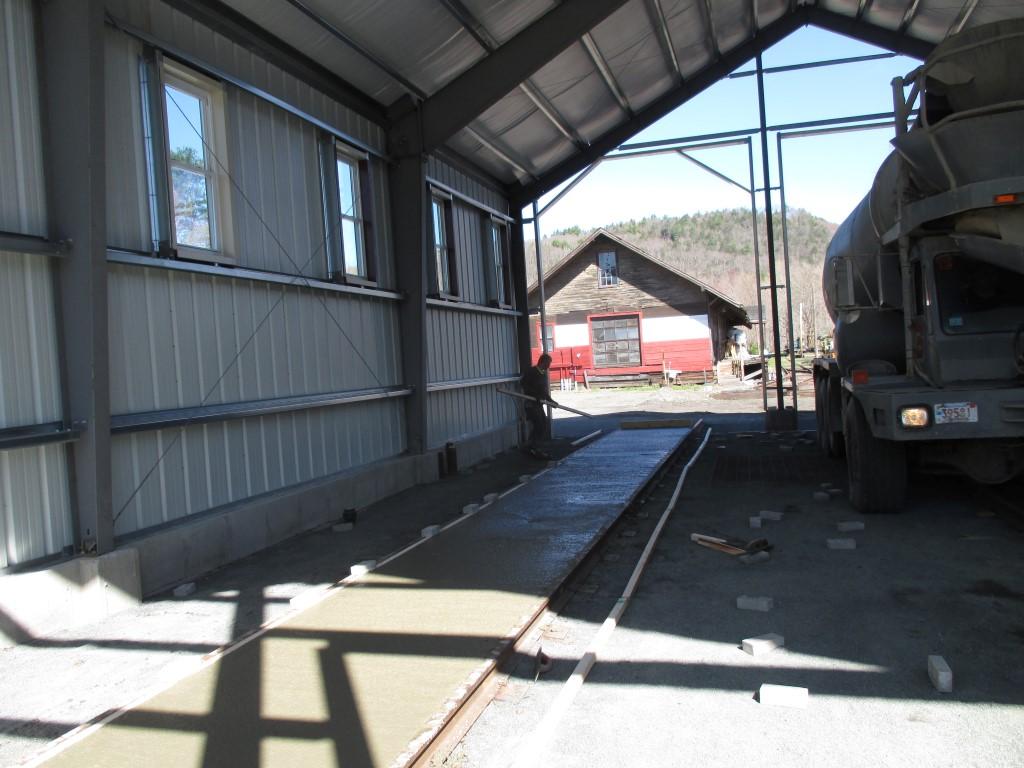
More mix.
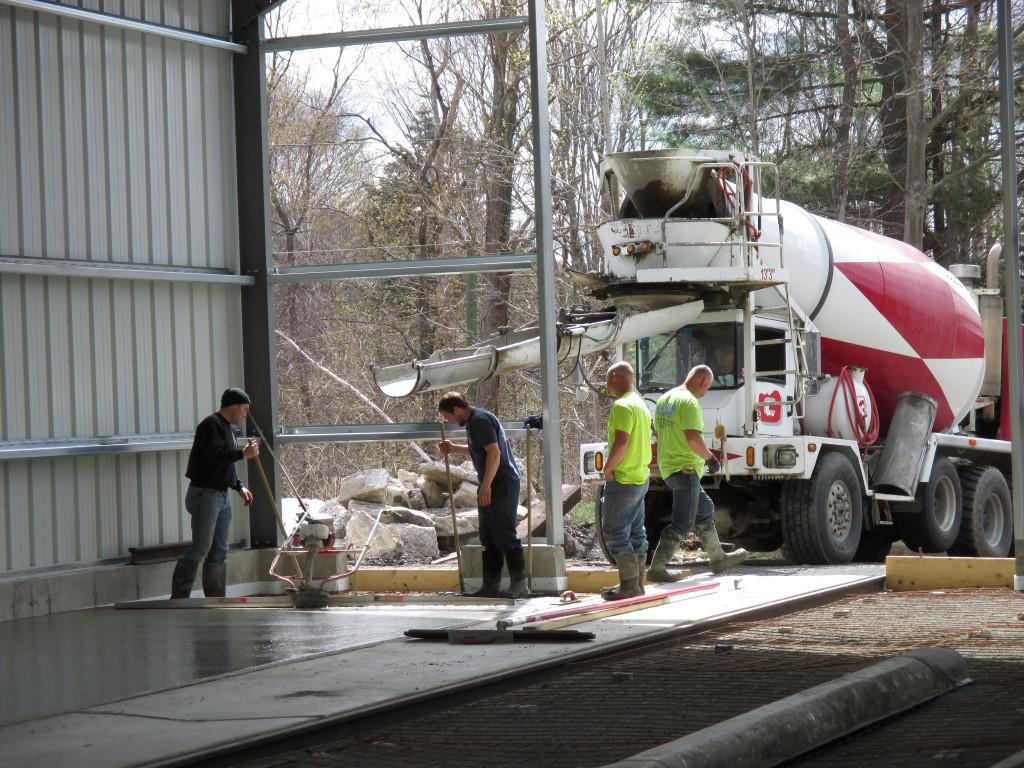
Good thing we hadn't sheathed the walls!.
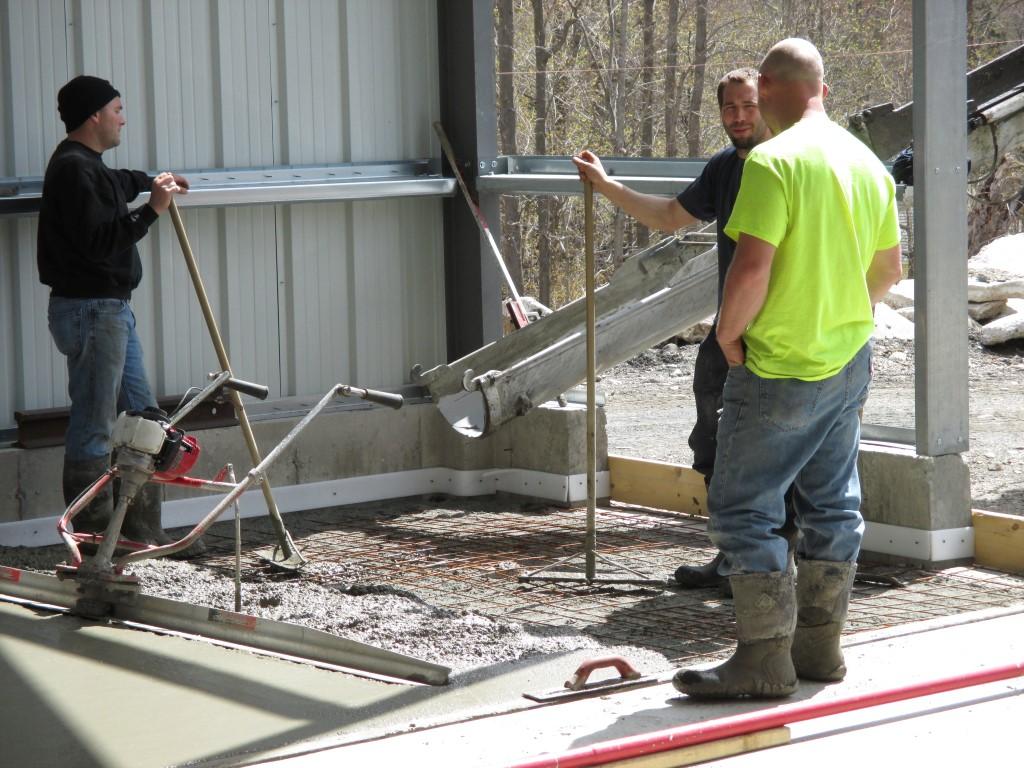
Hard at work.
Smoothing it out, the gauge slabs make good work areas.
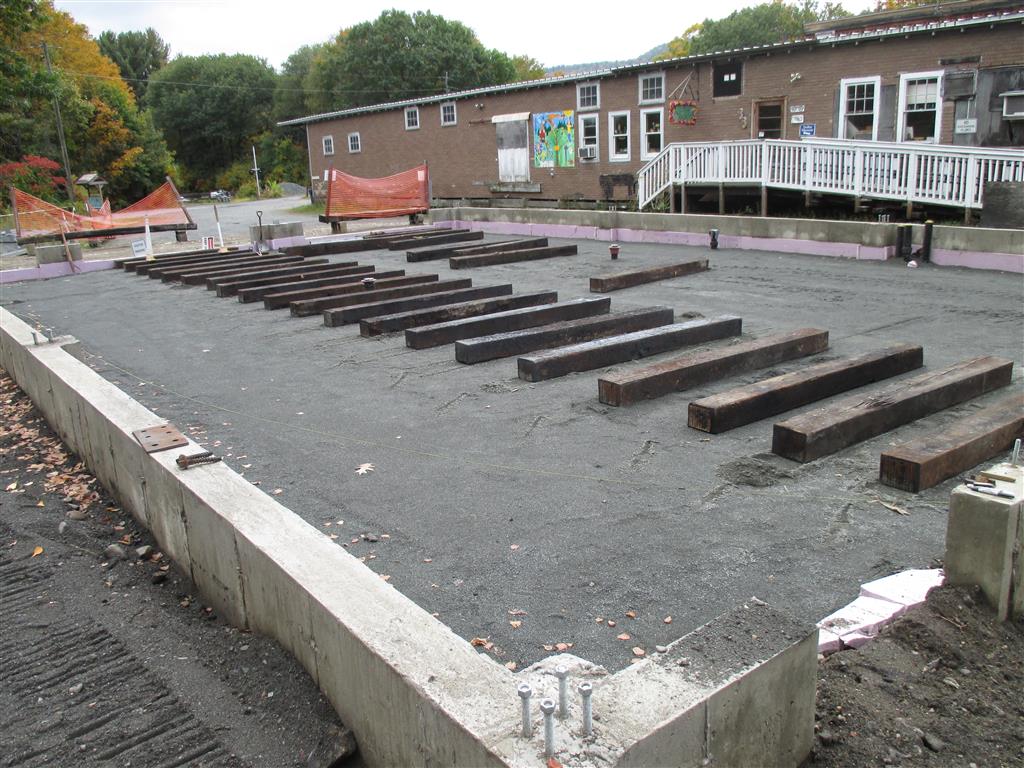
The floor is finally done.
With the floor in place, we can get ready for David Bartlett's Celebration of Life - May 30, 2015.
Notice the concrete block wall at the end of Stall Two.
If we extend the building we can knock this out to extend the tracks.
The east end and Stall One 'back' door.

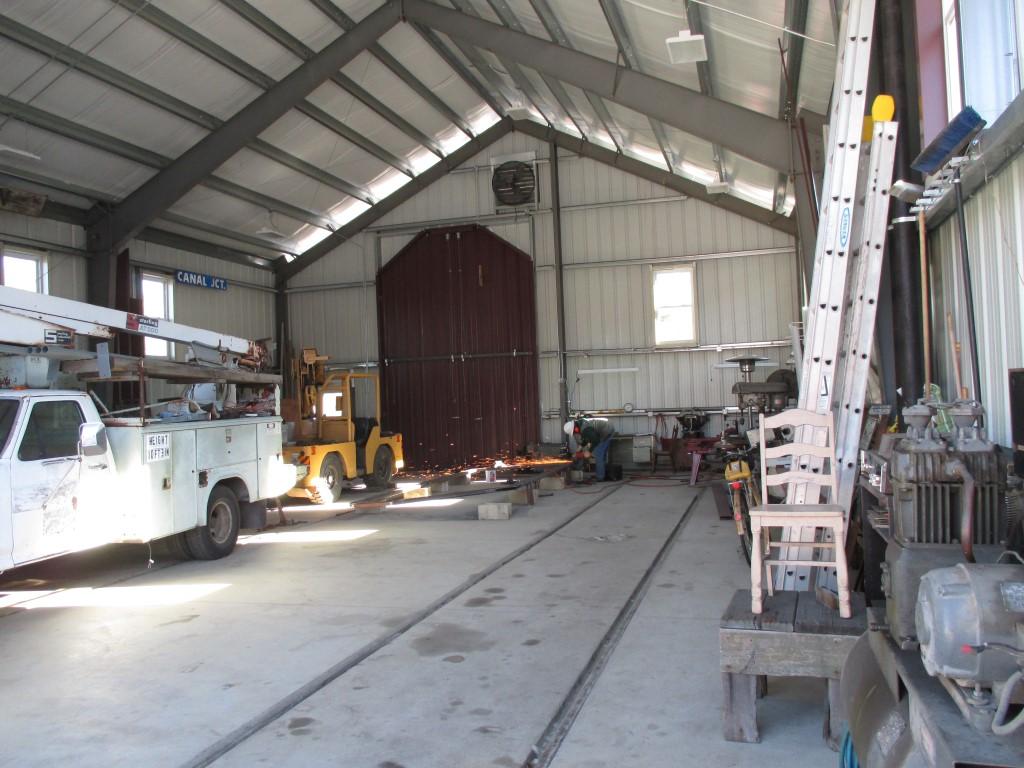
The nice open space very quickly attracts all sorts of stuff to fill it.
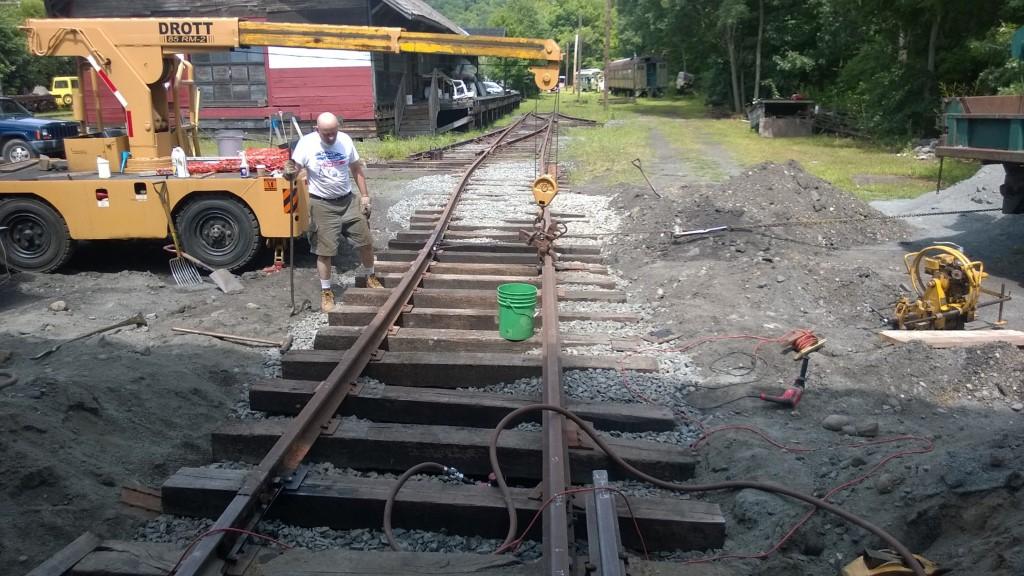
Meanwhile we were working on connecting the tracks, covered elsewhere.
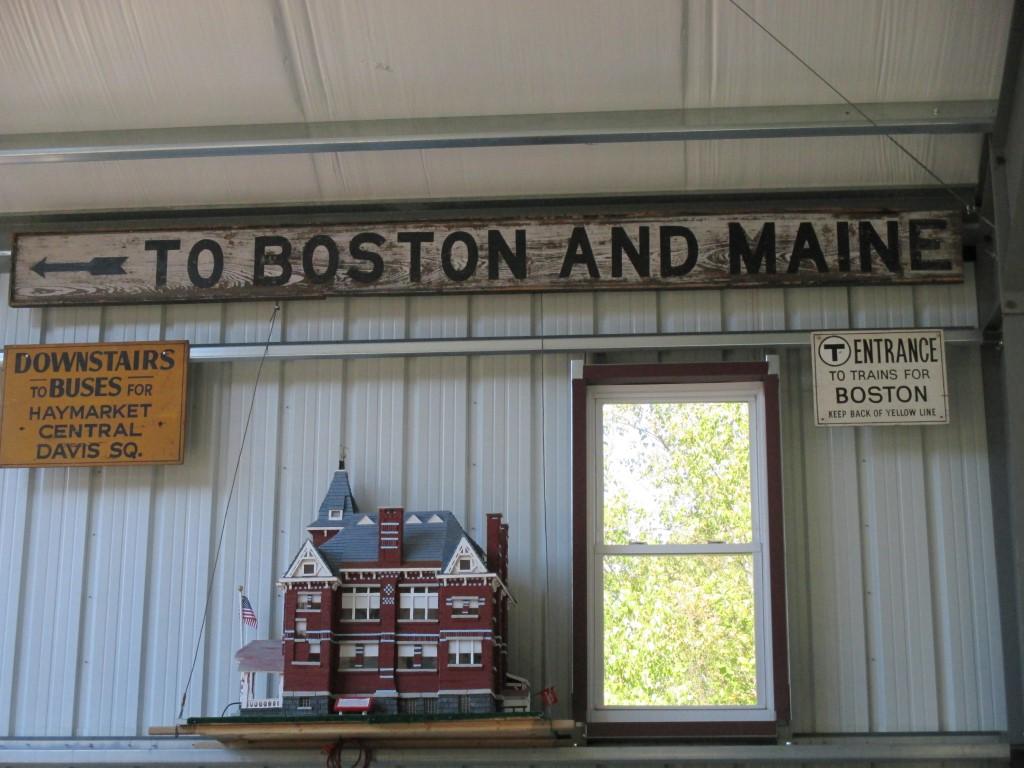
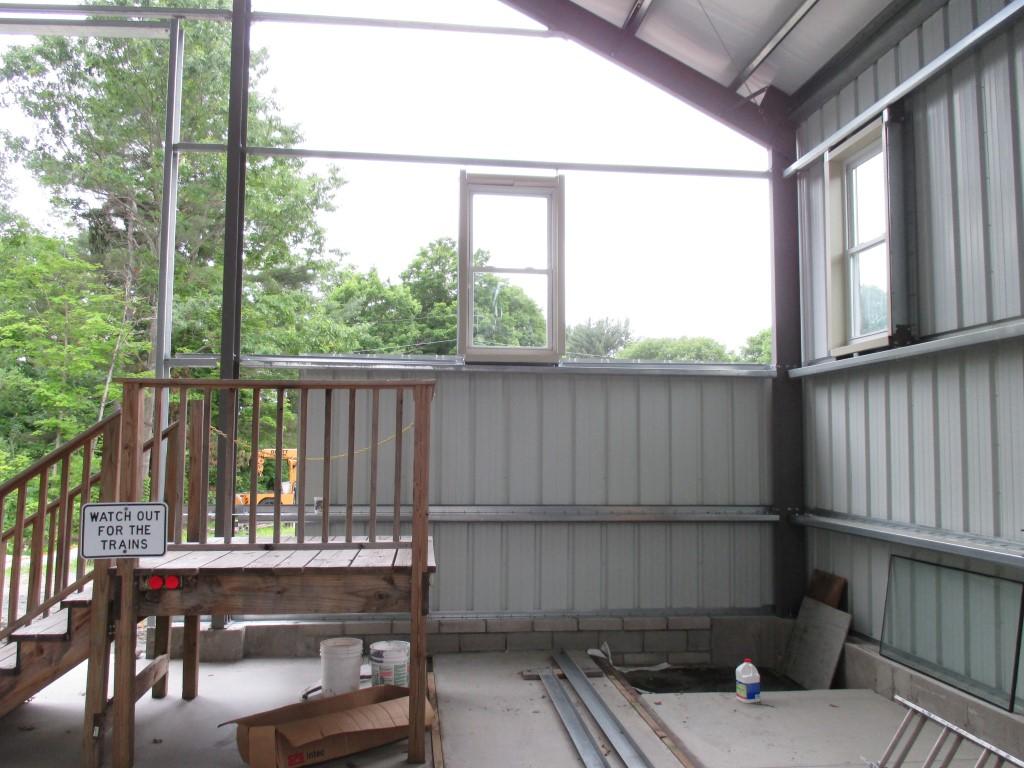
Already some things are on display.
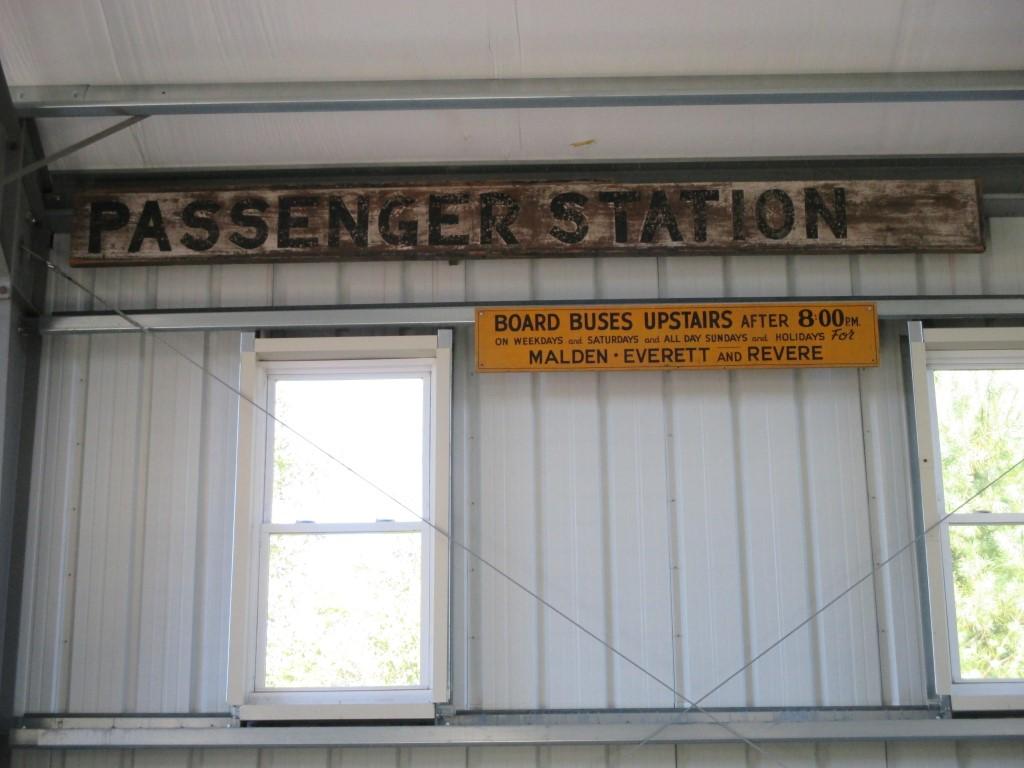
The two-part "To Boston and Maine Passenger Station" sign probably came from Northampton, MA.
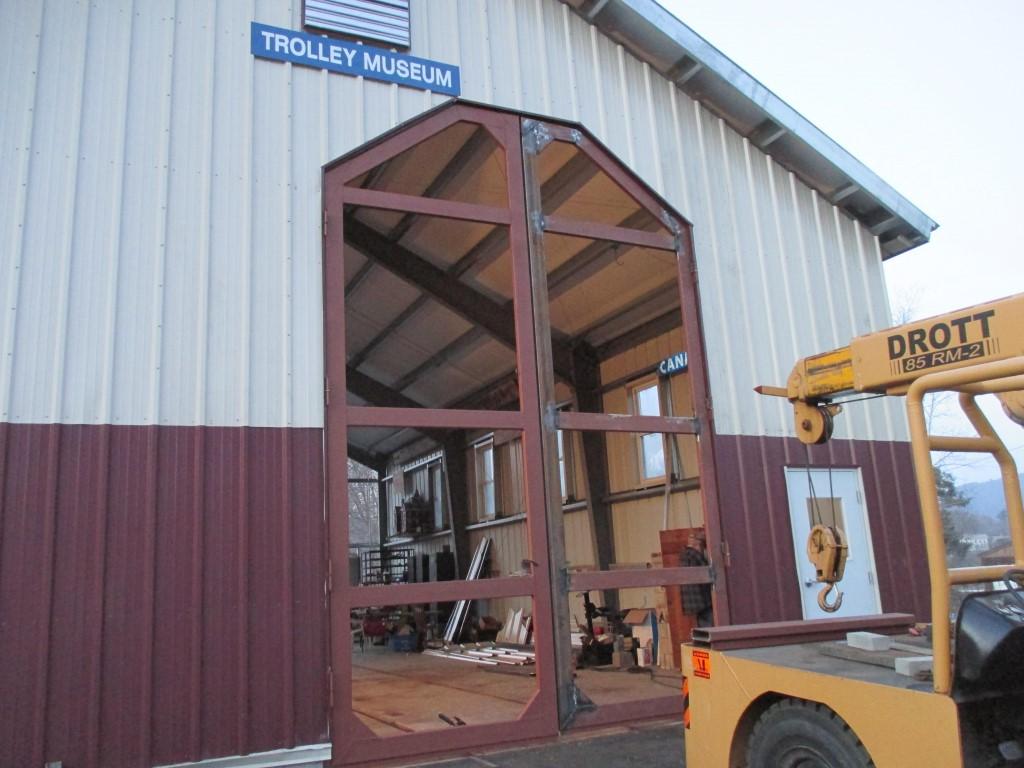
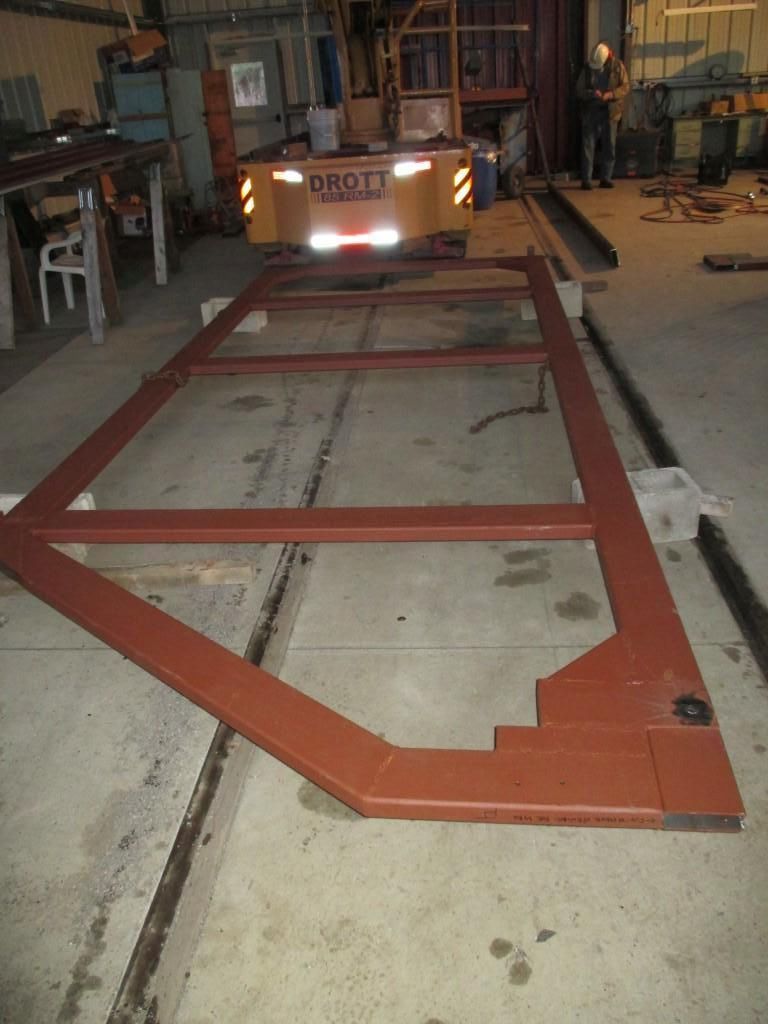
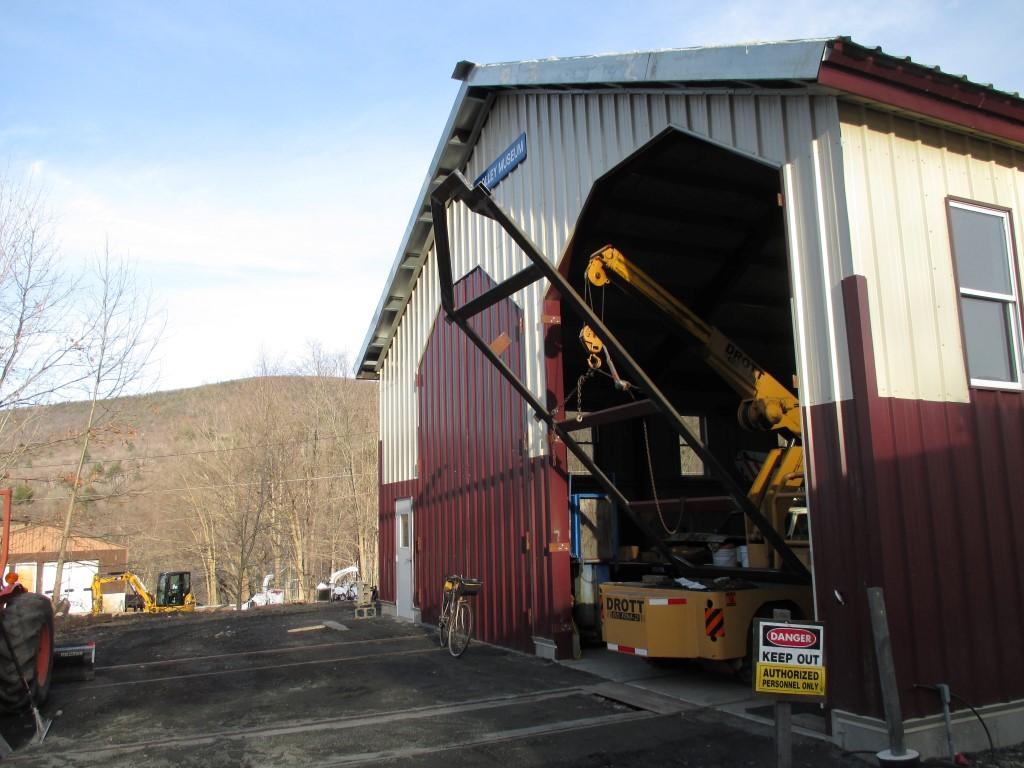
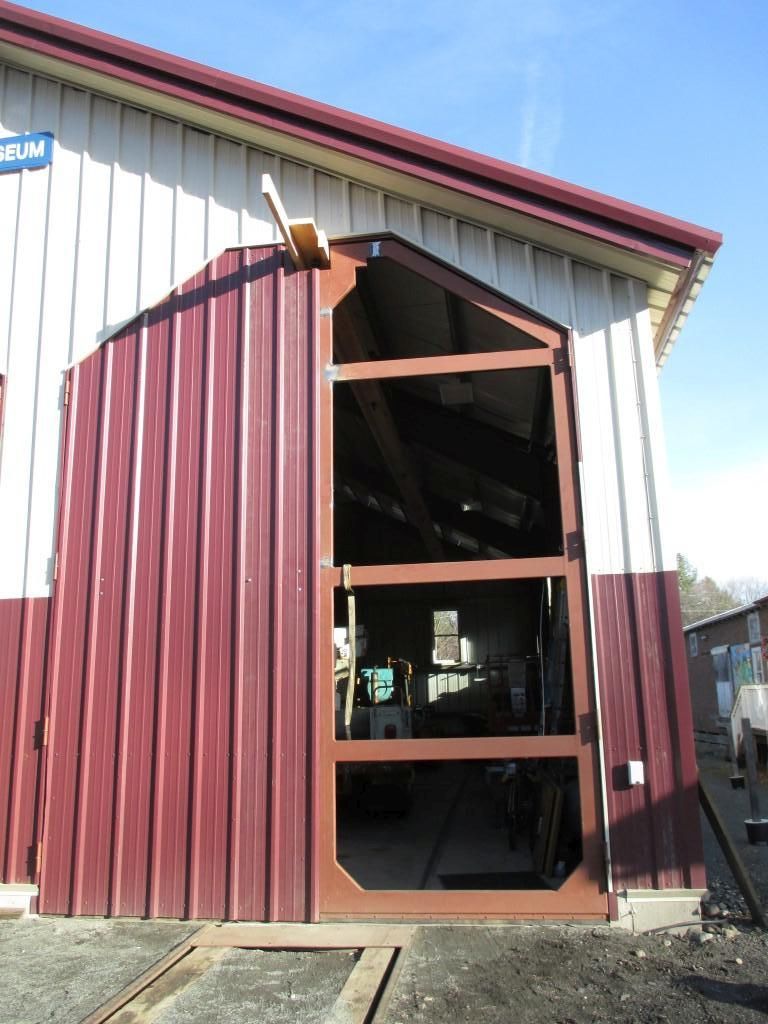
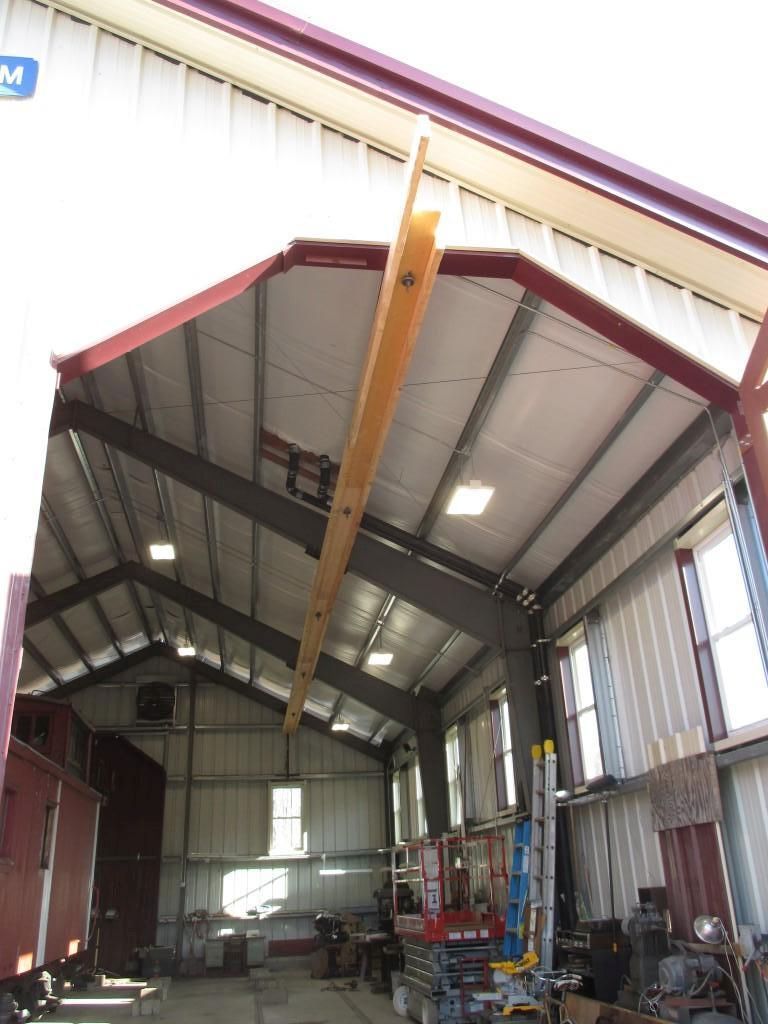
Fall 2015 - The Track doors are very large, each half is 6 or 7 feet wide and 18 feet tall at the top.
They weigh about 1000lbs each half. The following pictures show how we built them and installed them.
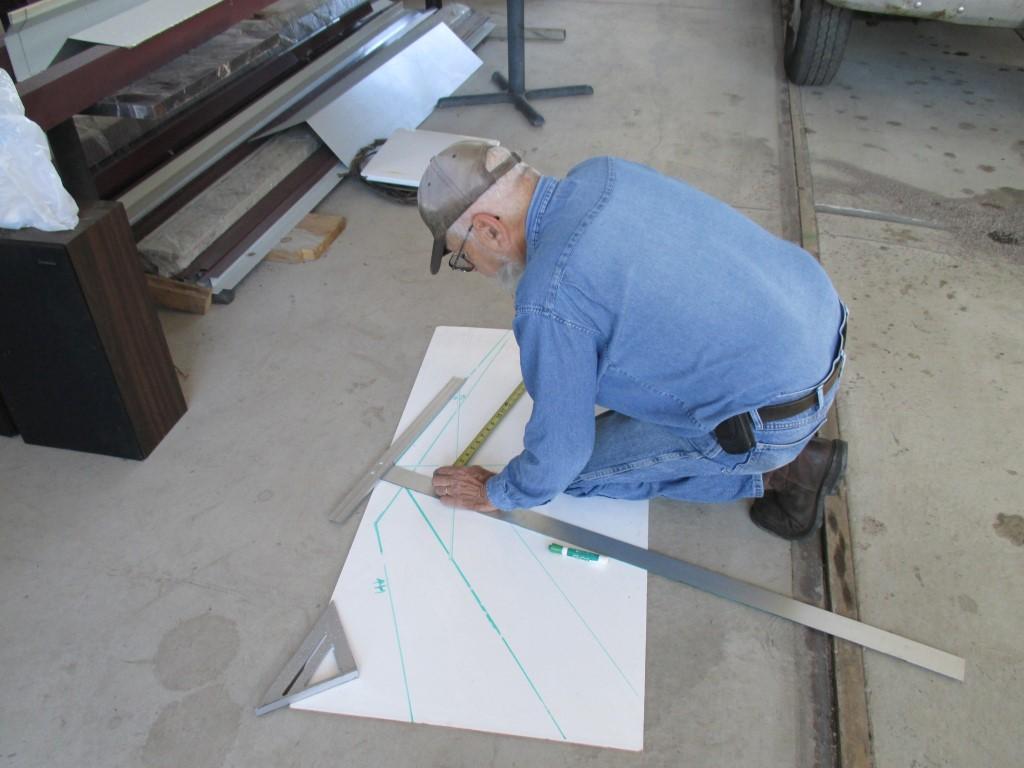
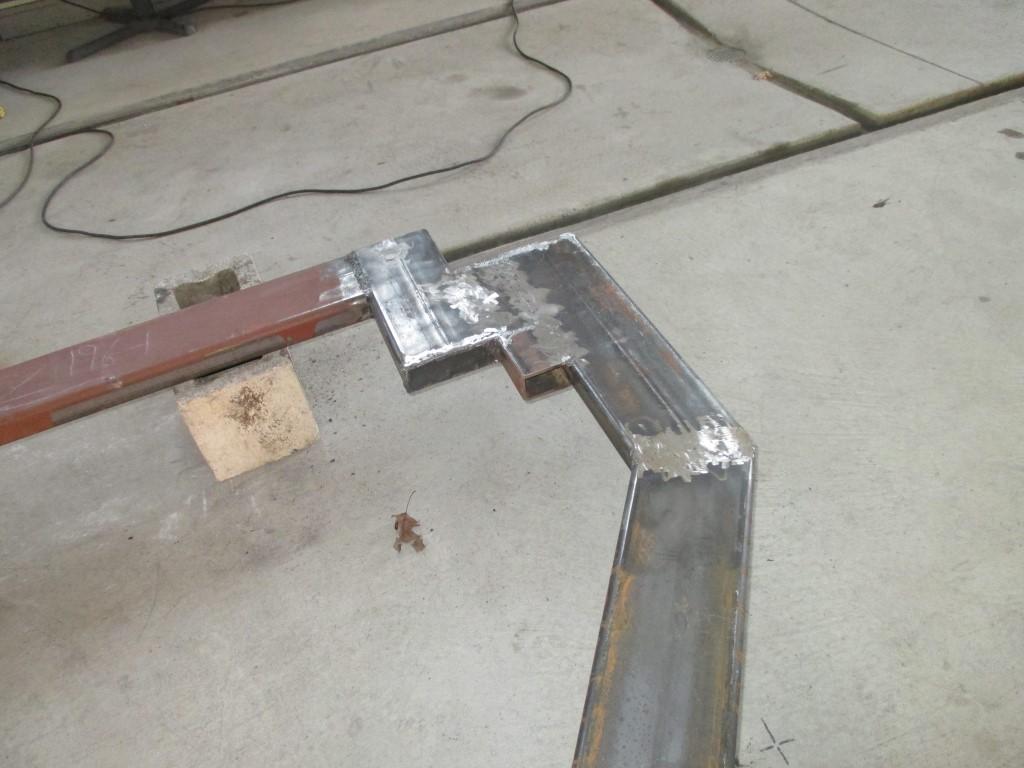
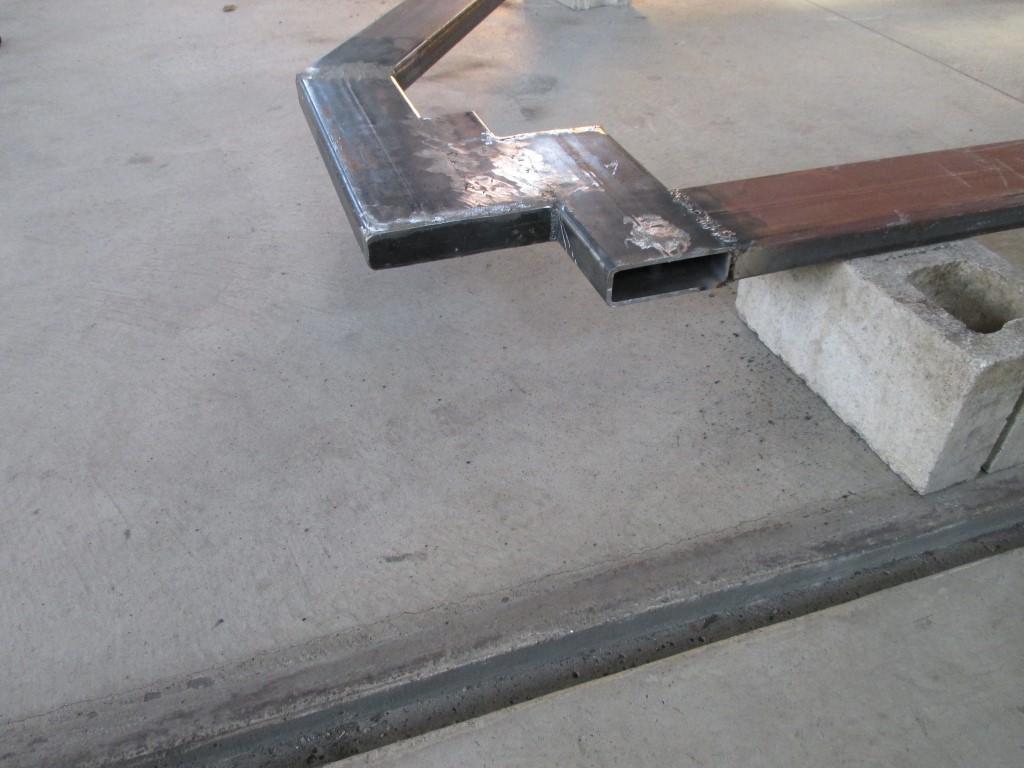
The angled top required some fussy design work, here our welder Larry works out the angles.

After much cutting and thinking and welding the first half is ready to hang.
The door has been clamped in place, Larry is welding the hinges to the frame.
One down, five to go!
Filling up fast.....
Door half number 2, note the hinge halves on the building frame.
And some more sheathing and a pass door have been installed.
And sheathing and a pass door on the west end.
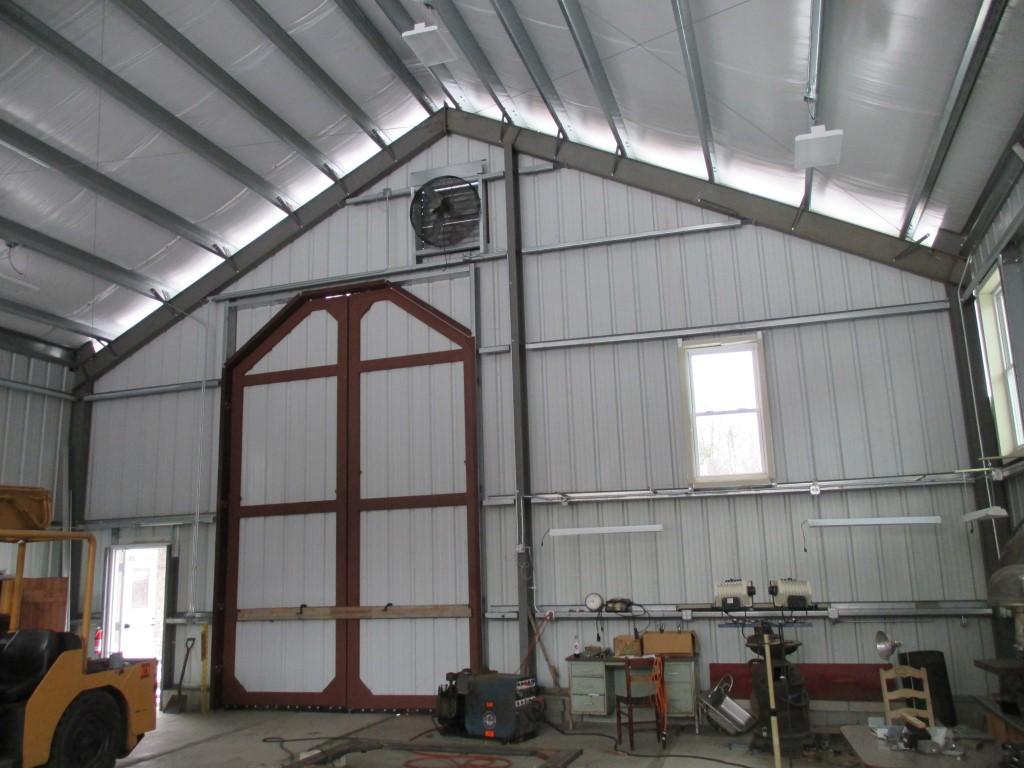
East end wall is finished, notice the vent fan up high.
Both east doors are built, we primed them even though they will soon be sheathed over.
East doors complete on the outside, we are still going to sheath the inside too.
Like that. Seems we have everything here, even the kitchen sink if you look closely.

All done on the east end (except for trim and soffits).
On to the west doors, these are 7 feet wide each half.
The west end wall is sheathed and has a pass door.
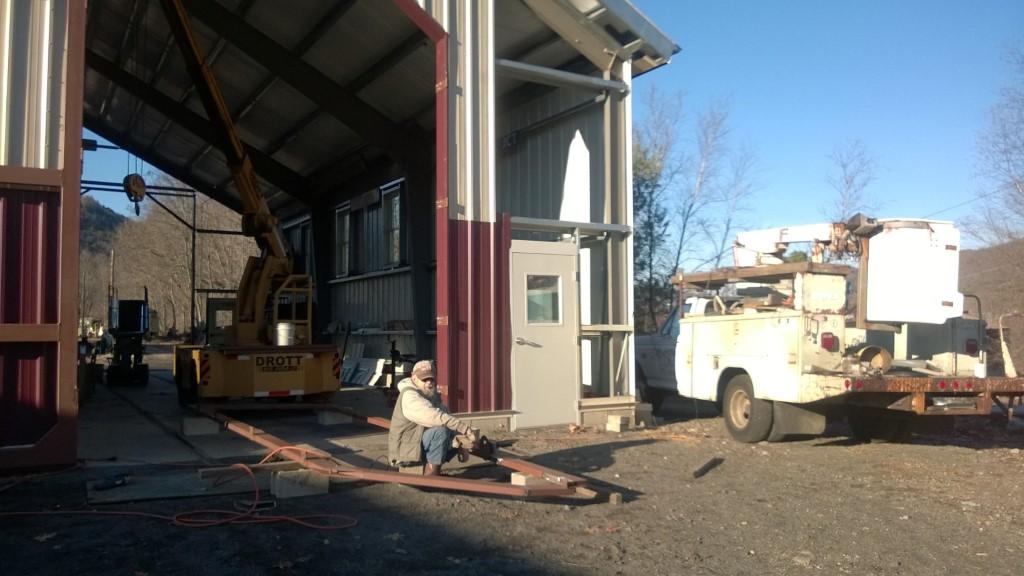
Larry prefers to weld horizontally, we used the Drott crane a lot to keep flipping the door over.
We had to weld a little, then flip it and weld the other side a little, then back, to prevent warping.
These doors need to be able to have a trolley wire pass between them without touching.
We wanted the option to have a wire in Stall One, but aren't planning to put it in immediately.
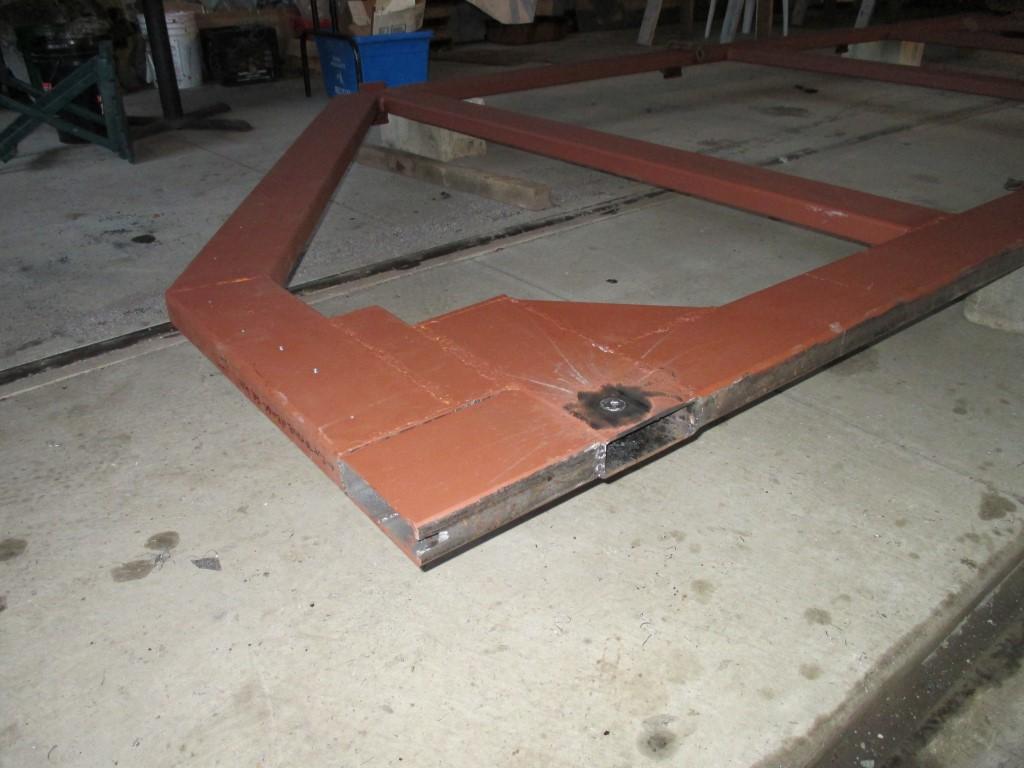
This complicated-looking structure allows us to easily cut out the nearest block if we want to have a 8"x12" notch for the trolley wire.
This might make more sense when you see the finished doors for Stall Two, which have the wire notch.
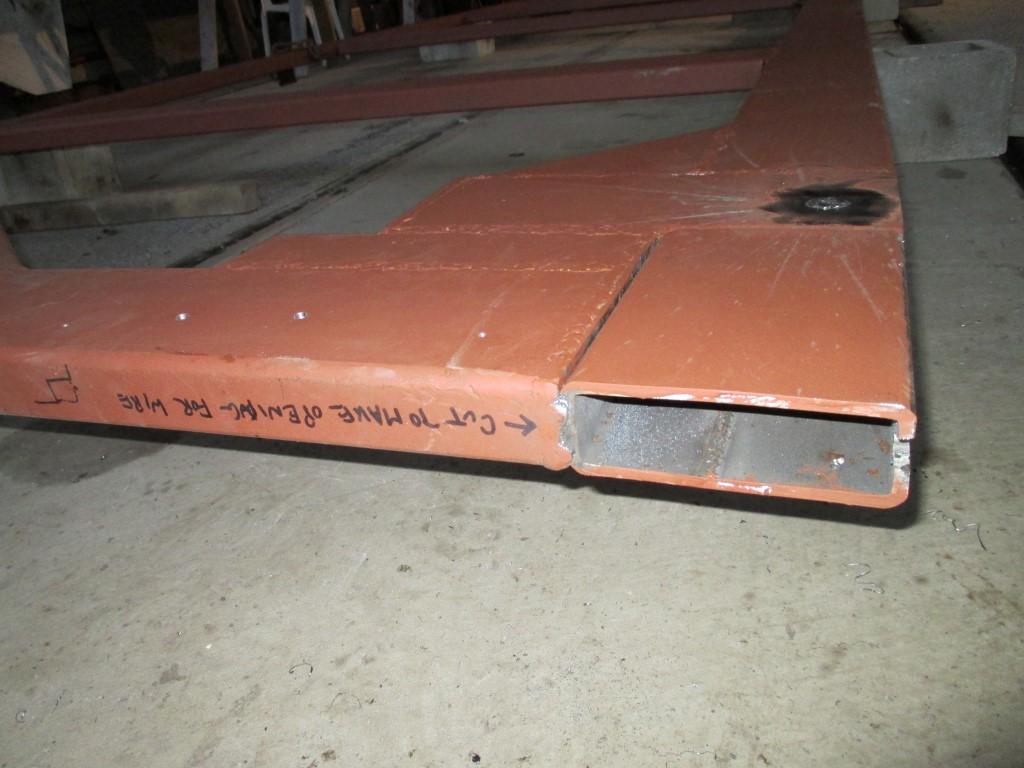
The pin and opening on the right provide a lift point after the siding is on, if we ever need to remove a door.
The removable block is just tacked in to fill the hole.
Half-way done.
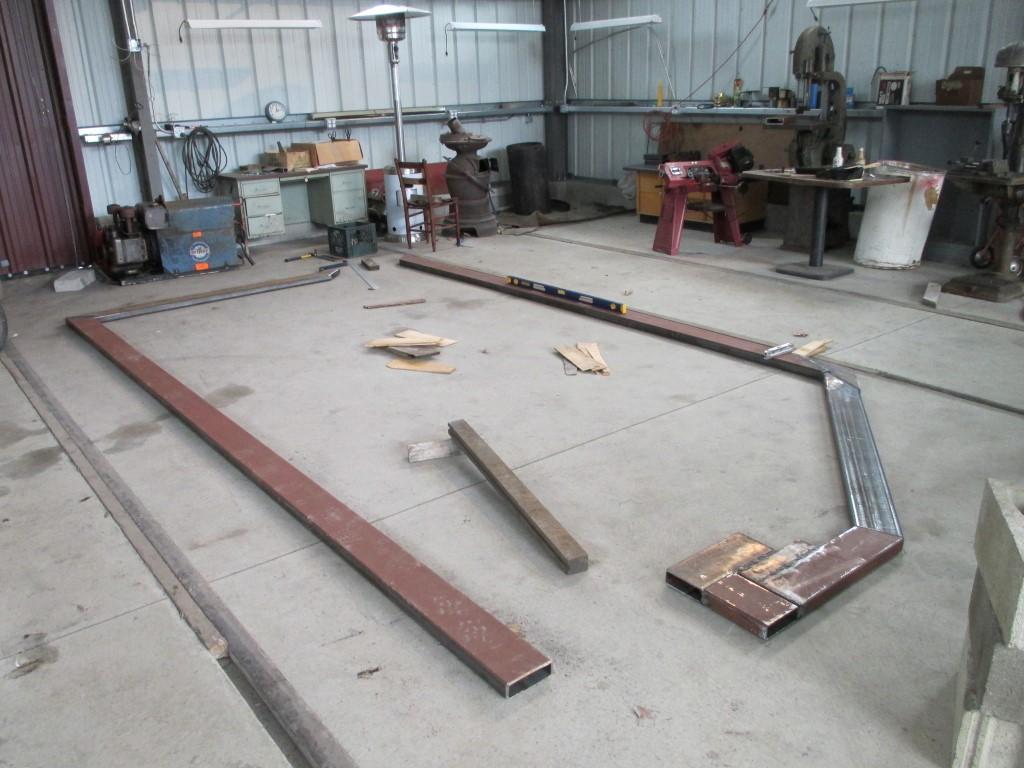
Pieces for door number 4 are laid out on the floor

Meanwhile, we put siding on the other door frame.
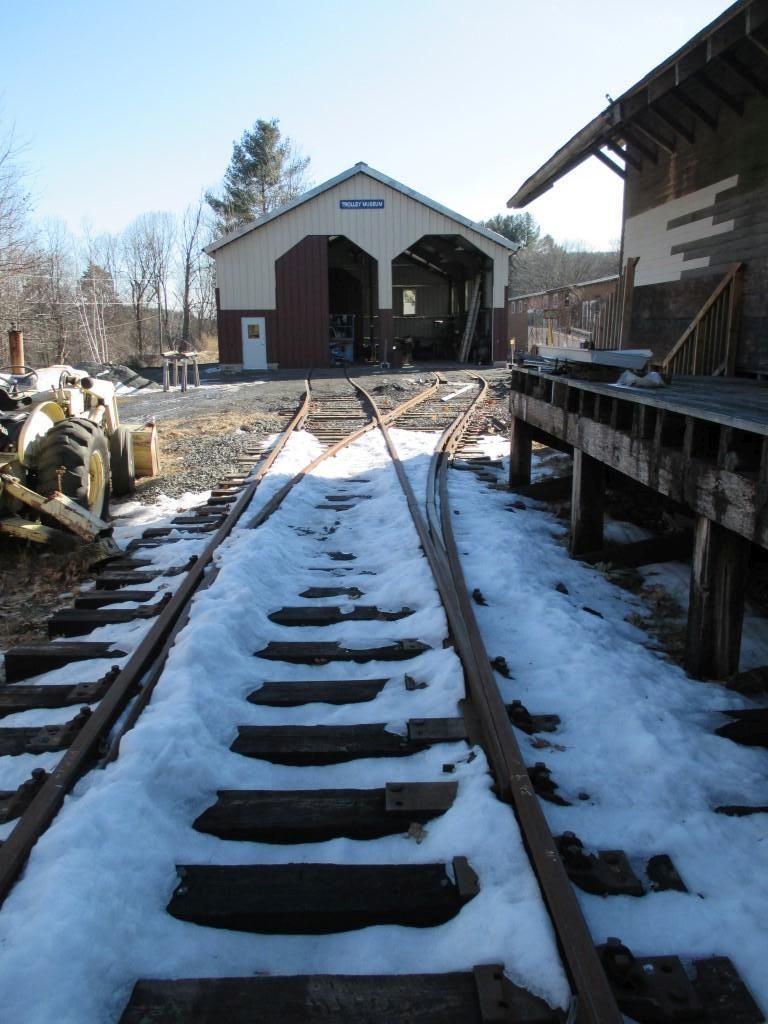
Here are the Stall One Track (left) and Stall Two Track and Turnout 7 emerging from the snow.
Stall One now has all its doors.

Larry cleans off some of his welds.
We hung the doors by picking them up with the Drott, then driving it to the opening and swinging it into place.

Last but one!
Here you can see better the notch to allow space for the trolley wire in Stall Two.
One end or the other of every frame 6"x2" tube (1/4" thick) was boxed off to keep weather out.
More sheathing.
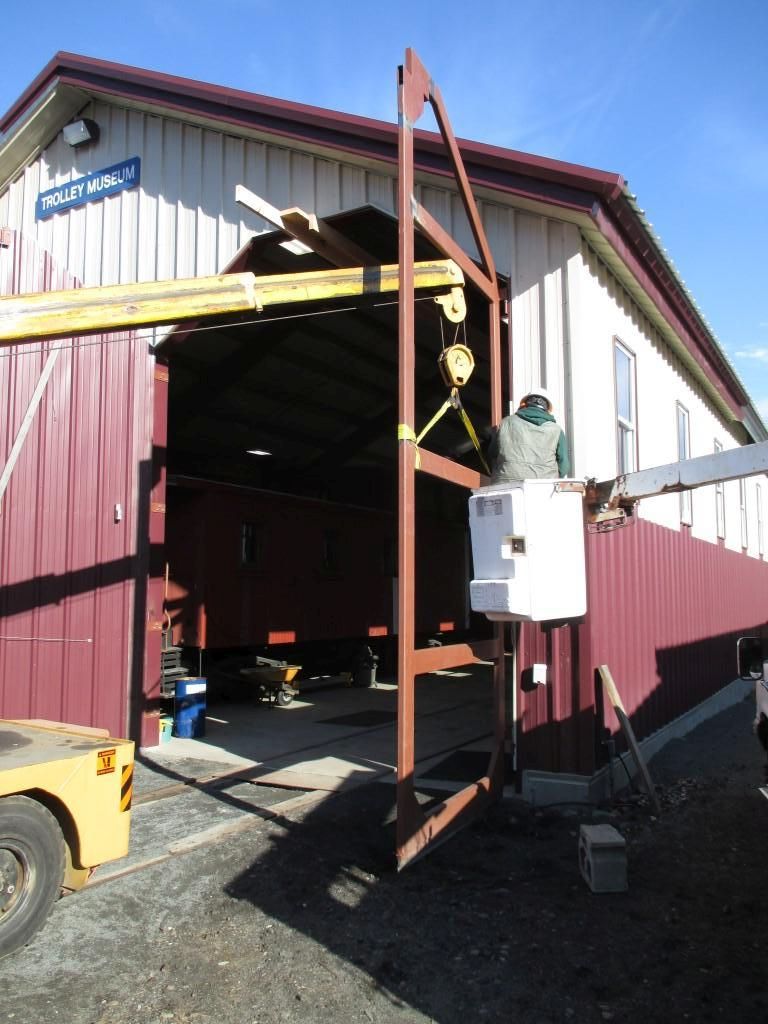
Larry installs the hinge pins from the bucket truck while the Drott holds the door.
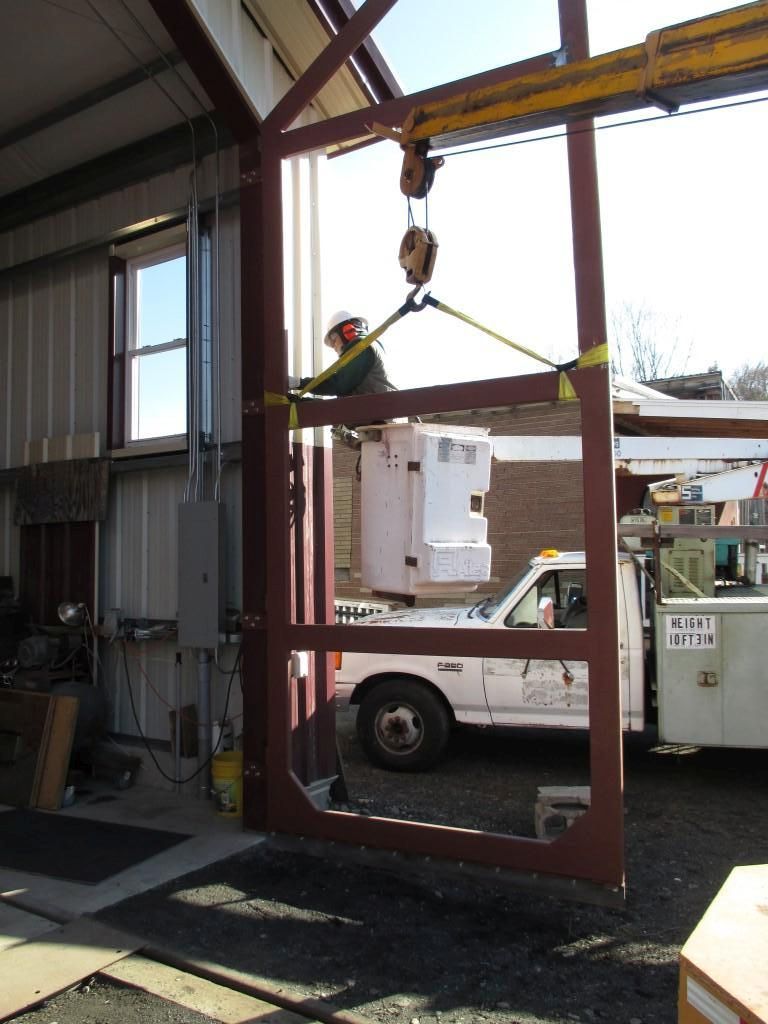
We won't be able to lift the doors this way once the sheathing is on.
Last door frame is up! See the wire trough sticking through the notch in the top of the doors?
And all the siding is on, just some trim and soffits left.
Spring 2016 - Wiring the interior and overhead trolley wire.
Still lots to do, but it looks and feels a lot more complete with the doors on.
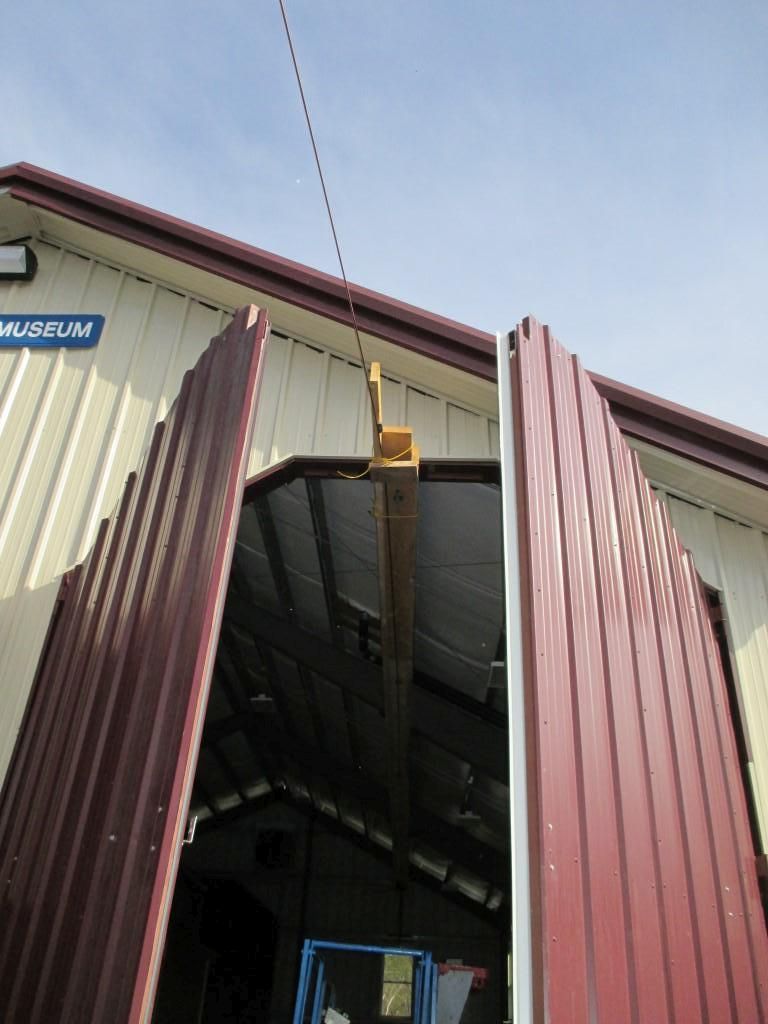
The wooden wire trough keeps the trolley pole from shorting the wire to the building.
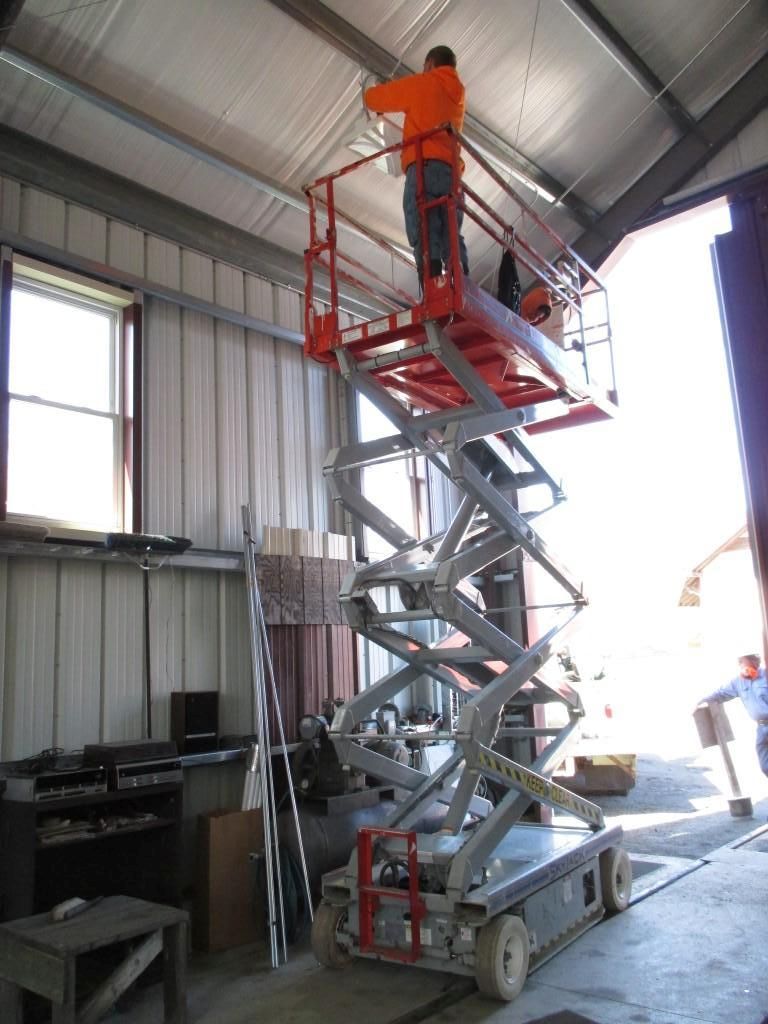
Franklin County Technical School wiring students did our wiring, here they are putting up the LED lights.
This view also shows the LED lights and the vent pipes for the oil-water separator and floor drains.
Tech shool students installing the switch for the ventilation fan.

Lights, and the caboose is under cover.
Summer 2016 - We were also working on putting up the overhead wire (see pictures of that project here).
You can see the overhead wire coming in in the picture below. The heavy-duty door latches also show in this picture.
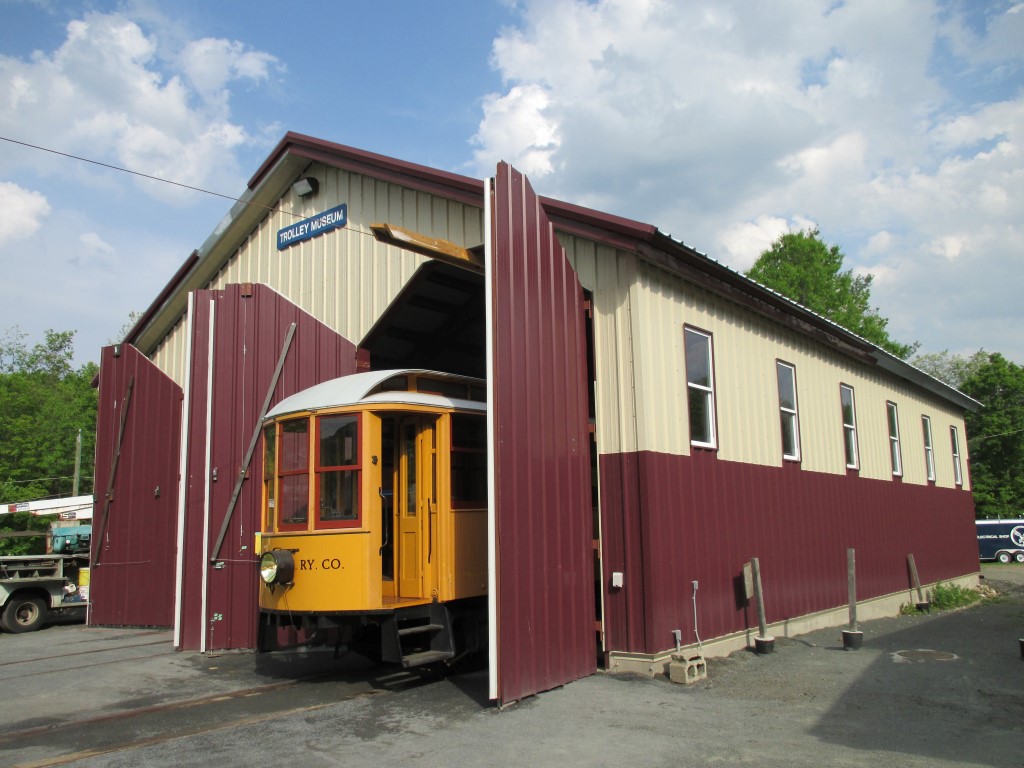
No. 10 pokes her nose out from the New Carbarn!
This video by D. Goff shows No. 10 on one of her first test trips into Stall 2 of the New Carbarn, on the new Approach Tracks under the new trolley wire.
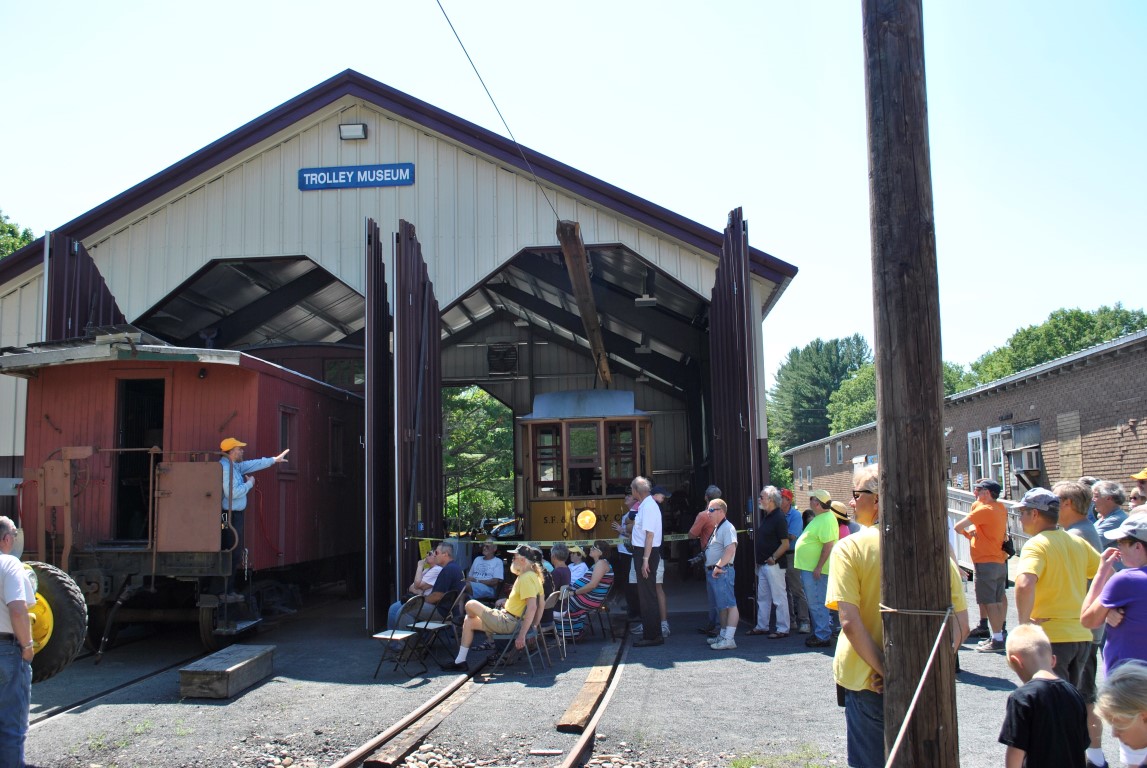
At Trolleyfest July 23, 2016, President Sam Bartlett welcomes guests, thanks donors and volunteers, and gives a brief history of the Carbarn Project.
At Trolleyfest July 23, 2016, No. 10 breaks the (very stretchy Caution Tape) ribbon to celebrate the completion (mostly) of this very important project.
At Trolleyfest July 23, 2016, No. 10 does the ribbon breaking honors. Video by D. Goff.
A big thank you to all the donors, large and small, and everyone who helped build this building, teenagers, college students, working people, retirees, octegenarians. It will protect No. 10 for decades to come, and allow our volunteer crews to maintain and restore our growing collection or trolley cars and rolling stock.
So that project is essentially done and paid for, with help from our members, supporters and volunteers. Now (2024) we are building an extension to our Car Barn.
If you want to support our future restoration projects (the MBTA Line Car 3283, the "Berkshire Hills" or the MBTA PCC car 3321, ) you can Renew your Membership or Join us as a new Member or join our crew of volunteers or make a donation at the bottom of the Membership page.
If you haven't already, you can see a report on the installation of the new trolley wire over the House Track and one on the rebuilding of the House Track which are part of this overall project.
Any questions? Contact Sam Bartlett at trolley@sftm.org.
14 Depot Street Shelburne Falls MA 01370 413-625-9443 trolley@sftm.org